Categories
Gear Photography Reviews Travel

Leica M – The Full Review

It was early in 2014, long enough after the introduction of the Leica M (also known as the ‘Typ 240’, or ‘M10’) when I finally bit the bullet and decided to sell my trusty Leica M-E for this newest, rather different digital rangefinder camera from the German niche camera maker.

I always vowed I’d write a thorough review on it, much like I’d done for the Bessaflex TM. I do always feel, however, that a truly great review puts a product through its paces. It frustrates me when a journalist only gets to use a product for a short amount of time to deliver a rushed impression to an inquisitive reader. I didn’t want to be that guy. So, I ditched a few drafts in the last two and a half years.

Until now.

Screen Shot 2015-10-15 at 5.11.47 PM

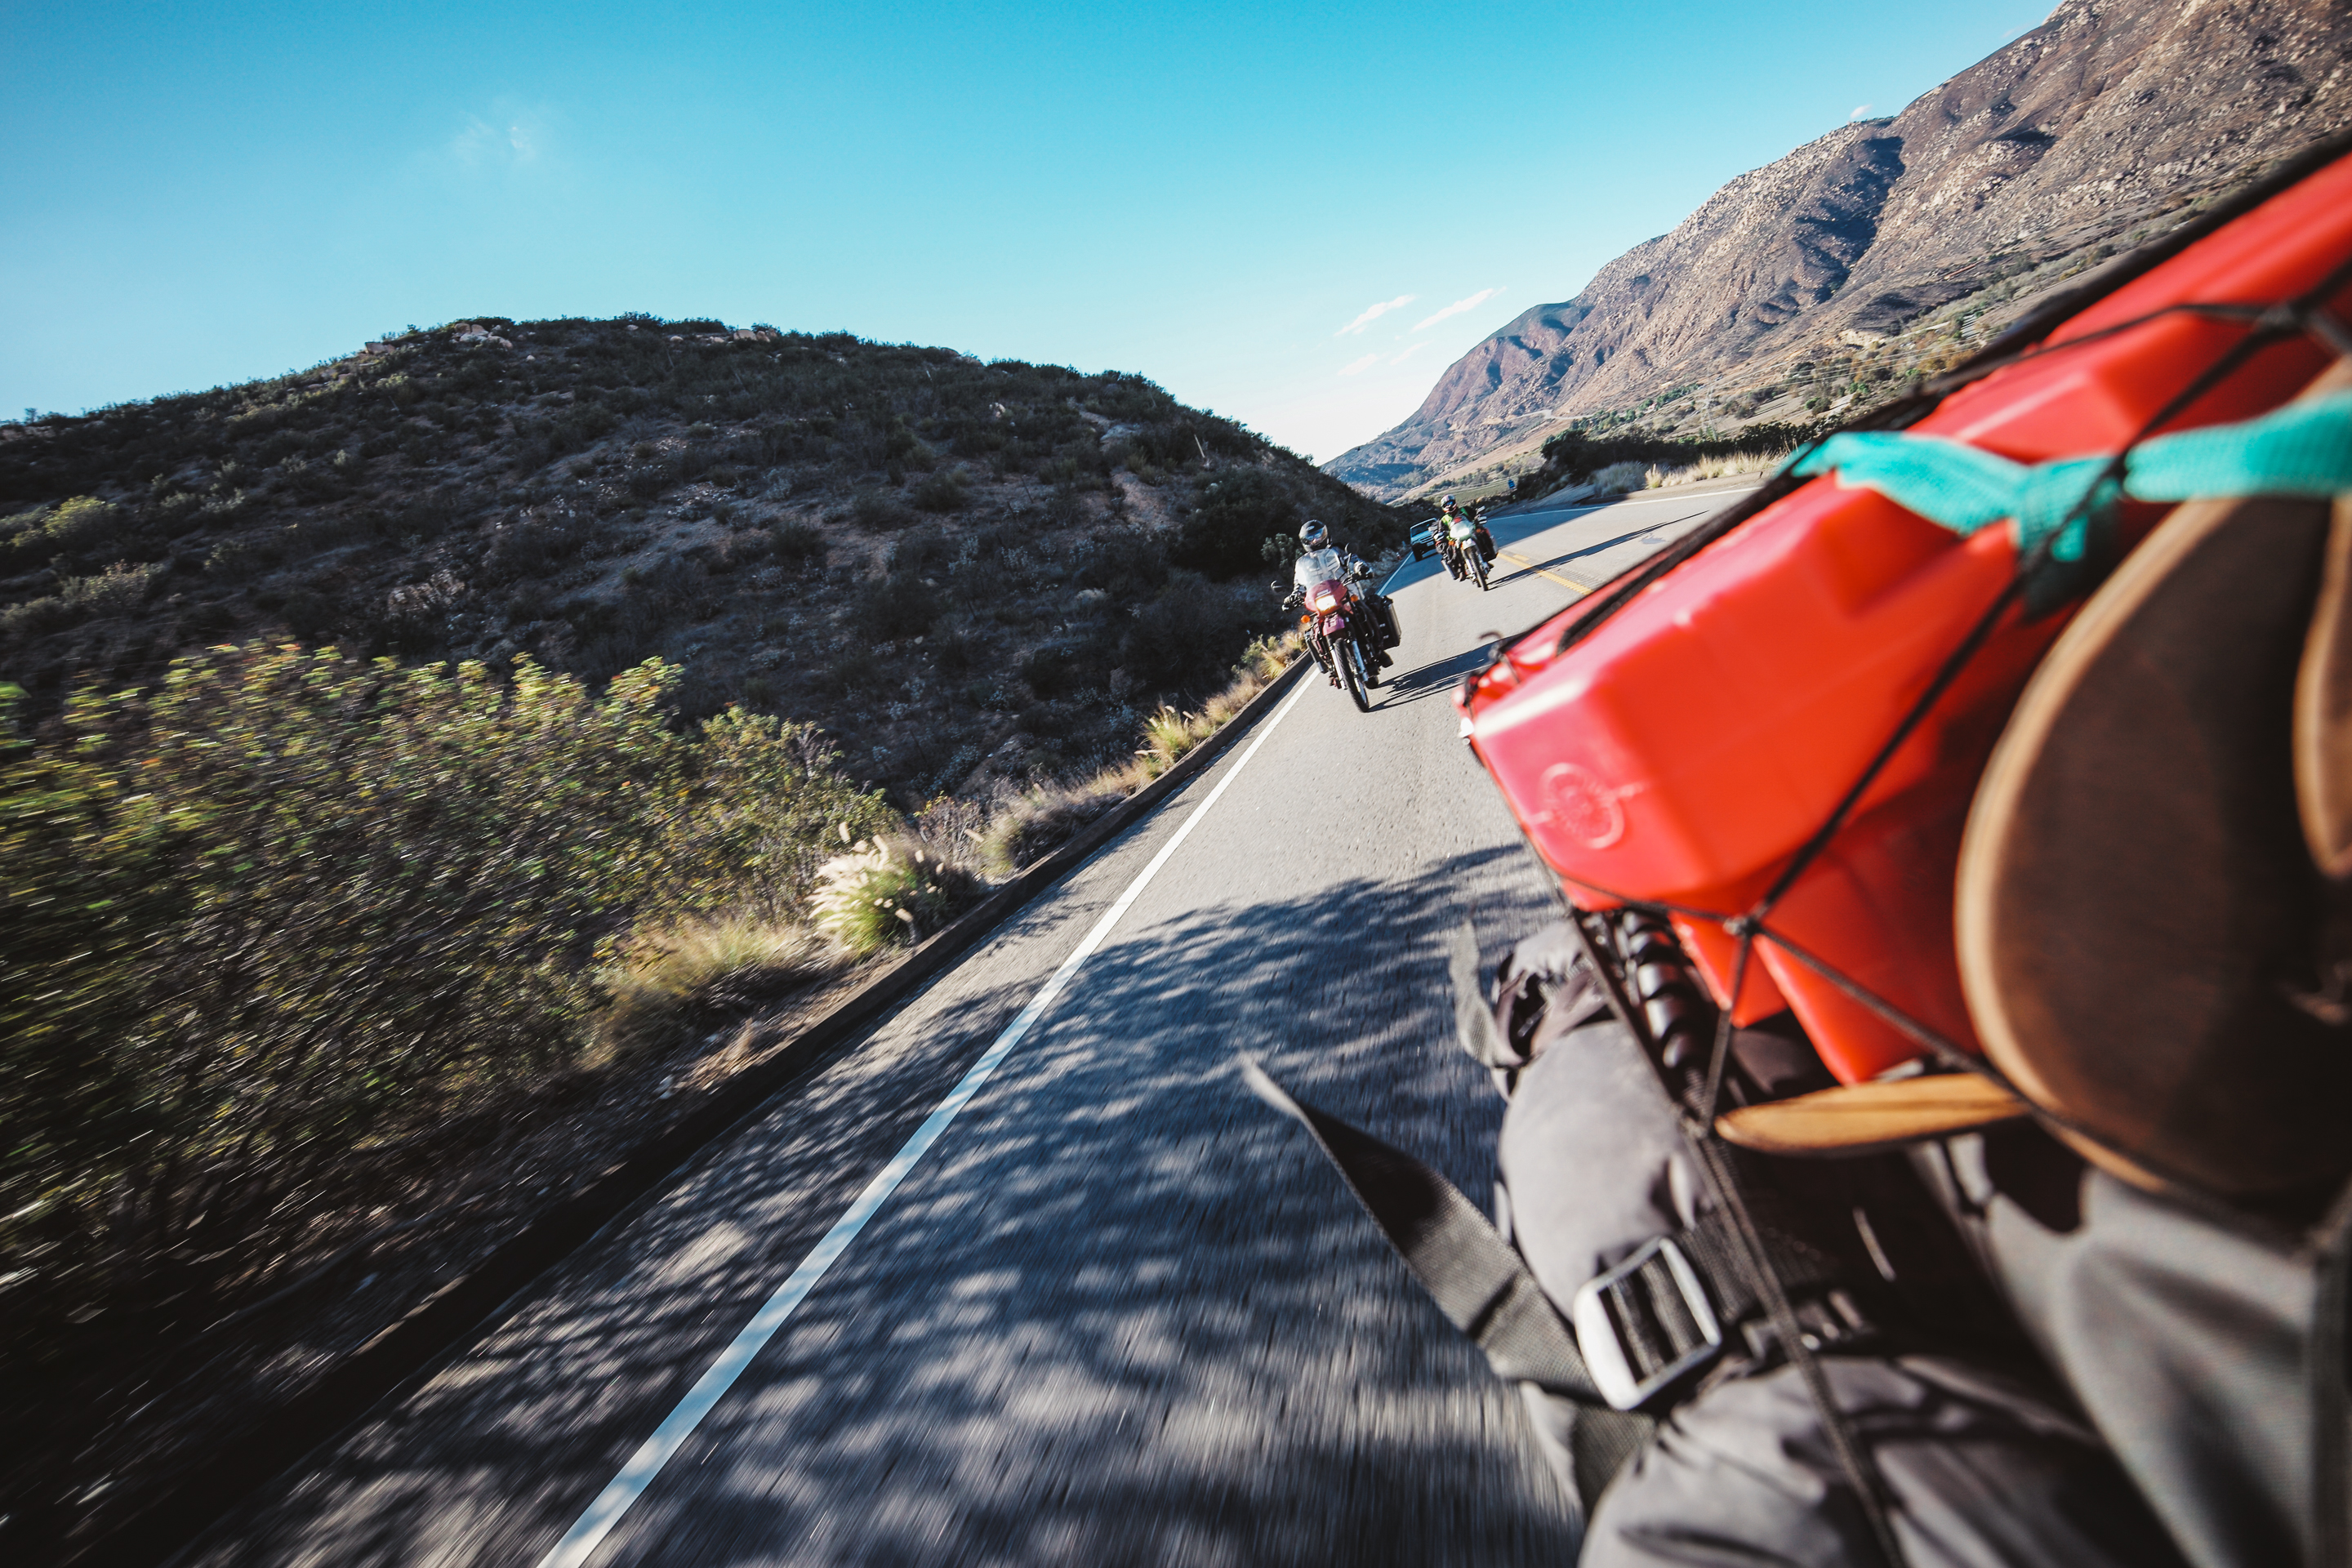
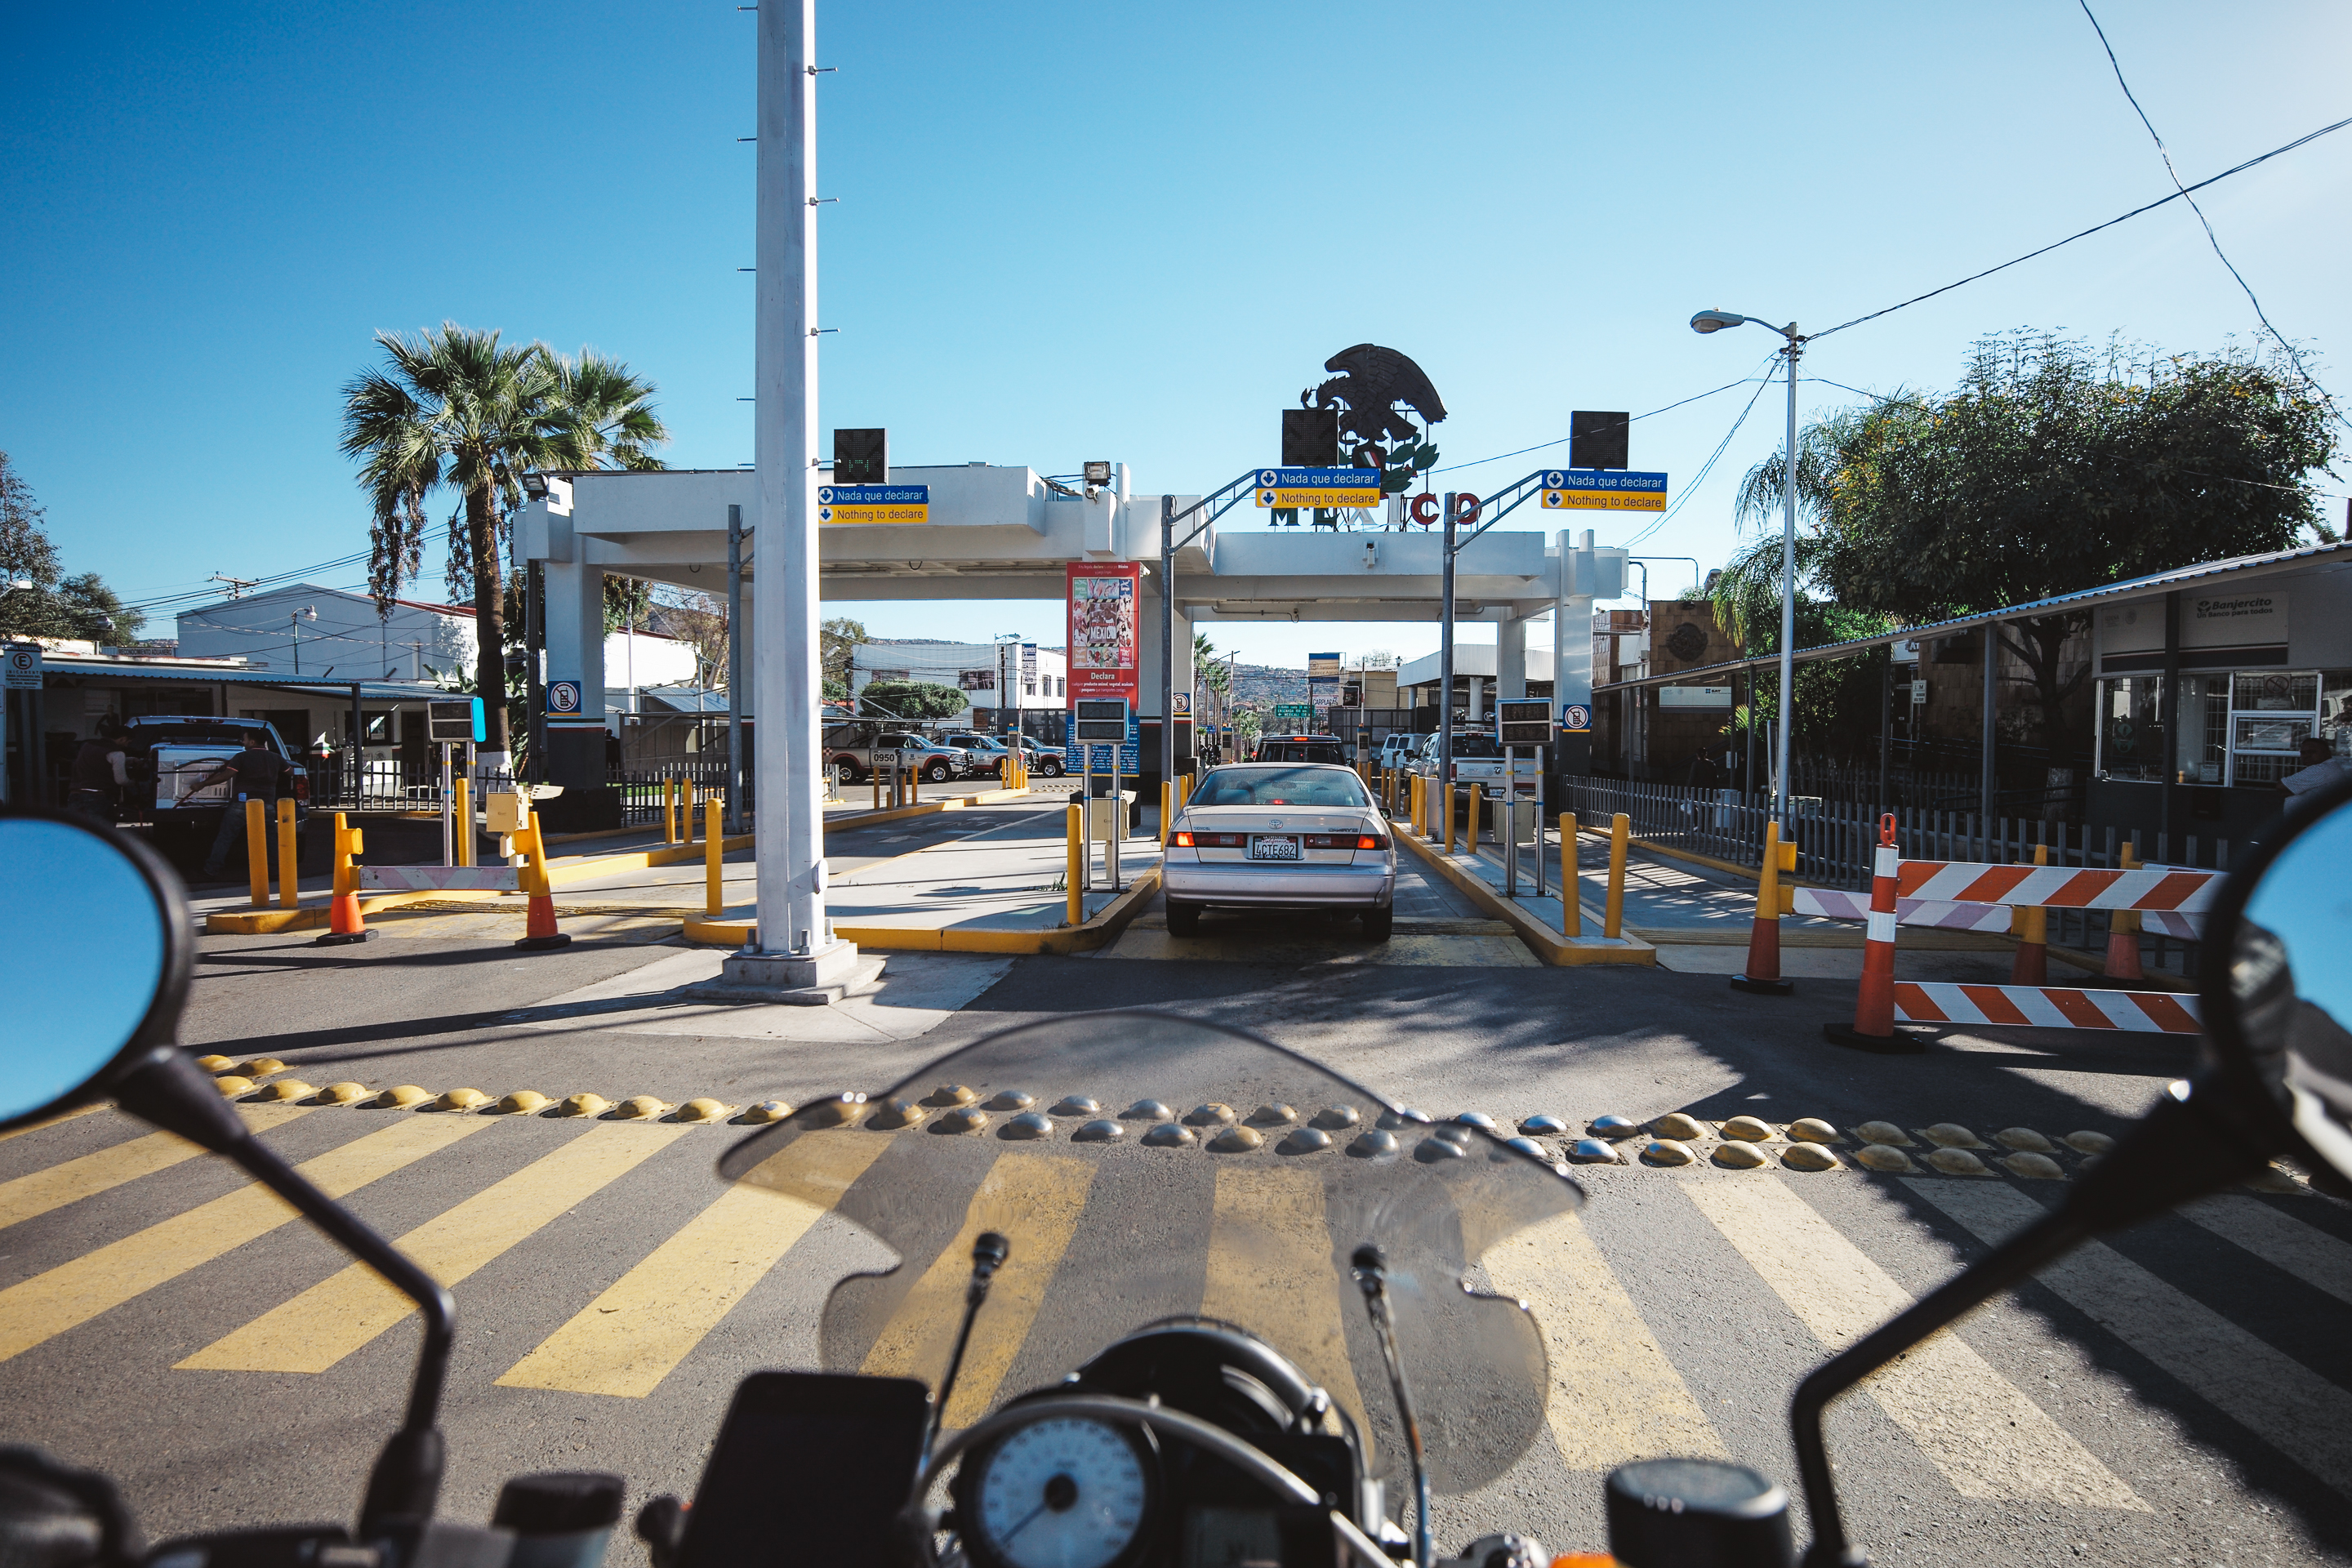
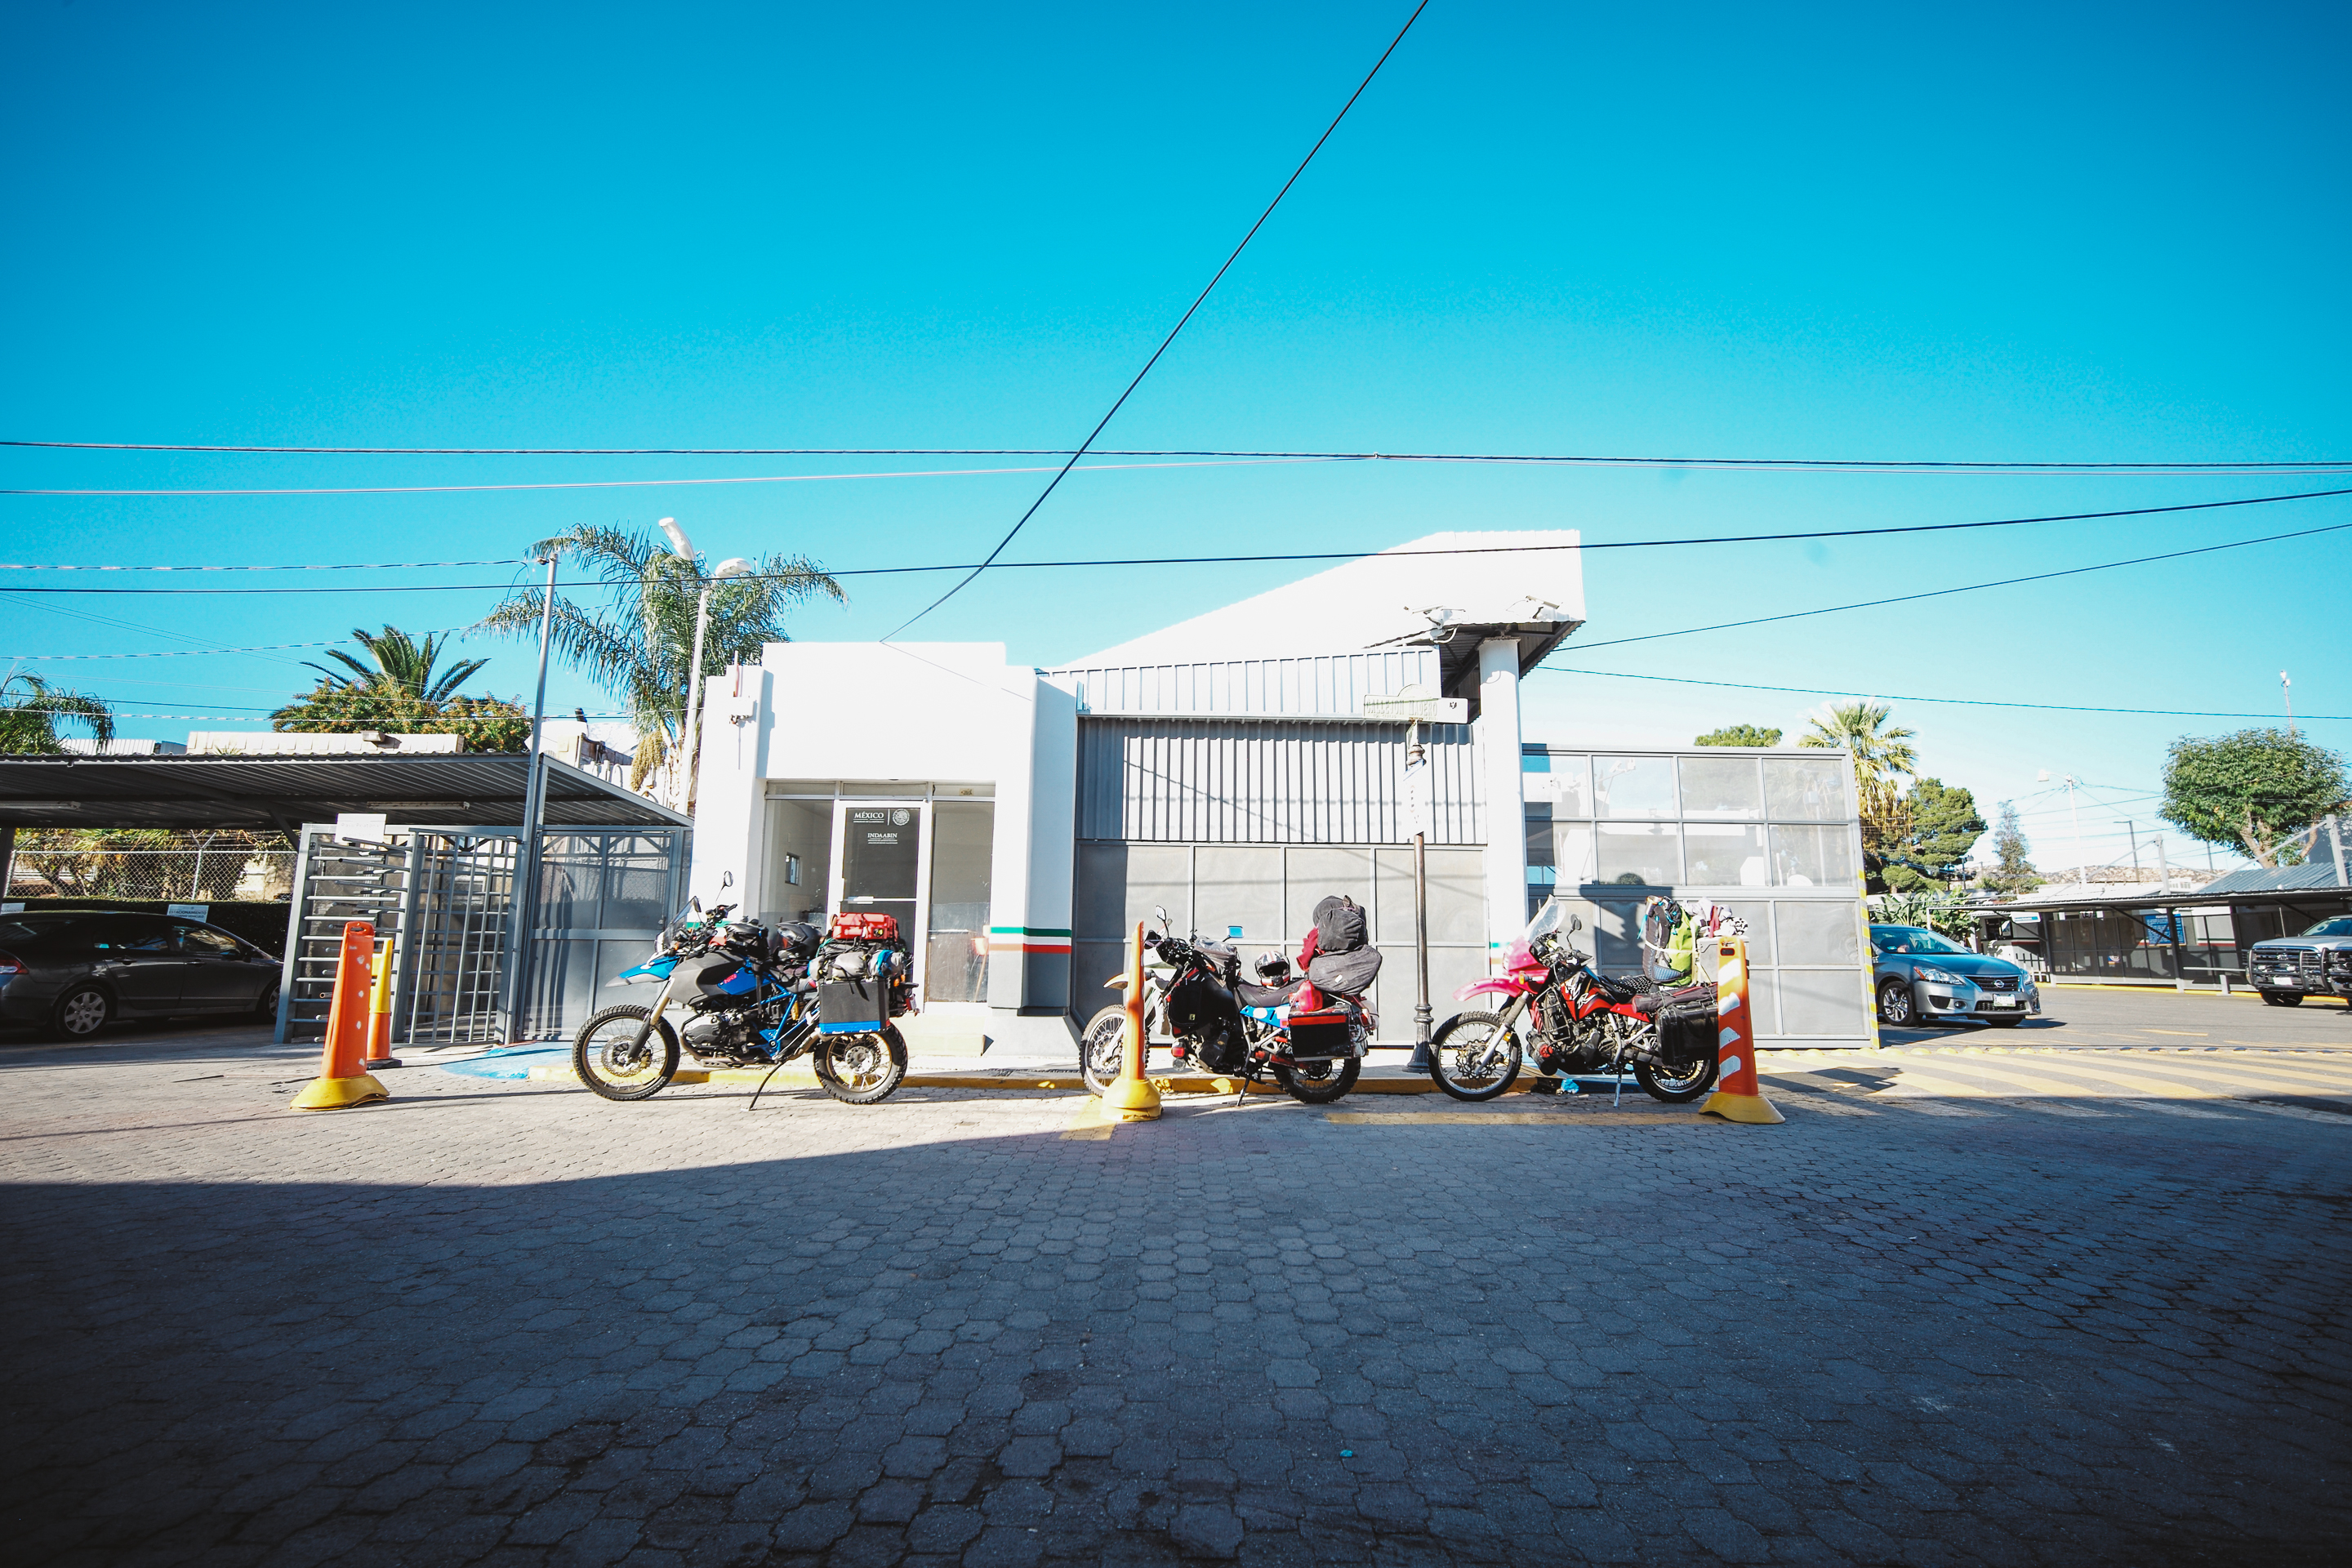
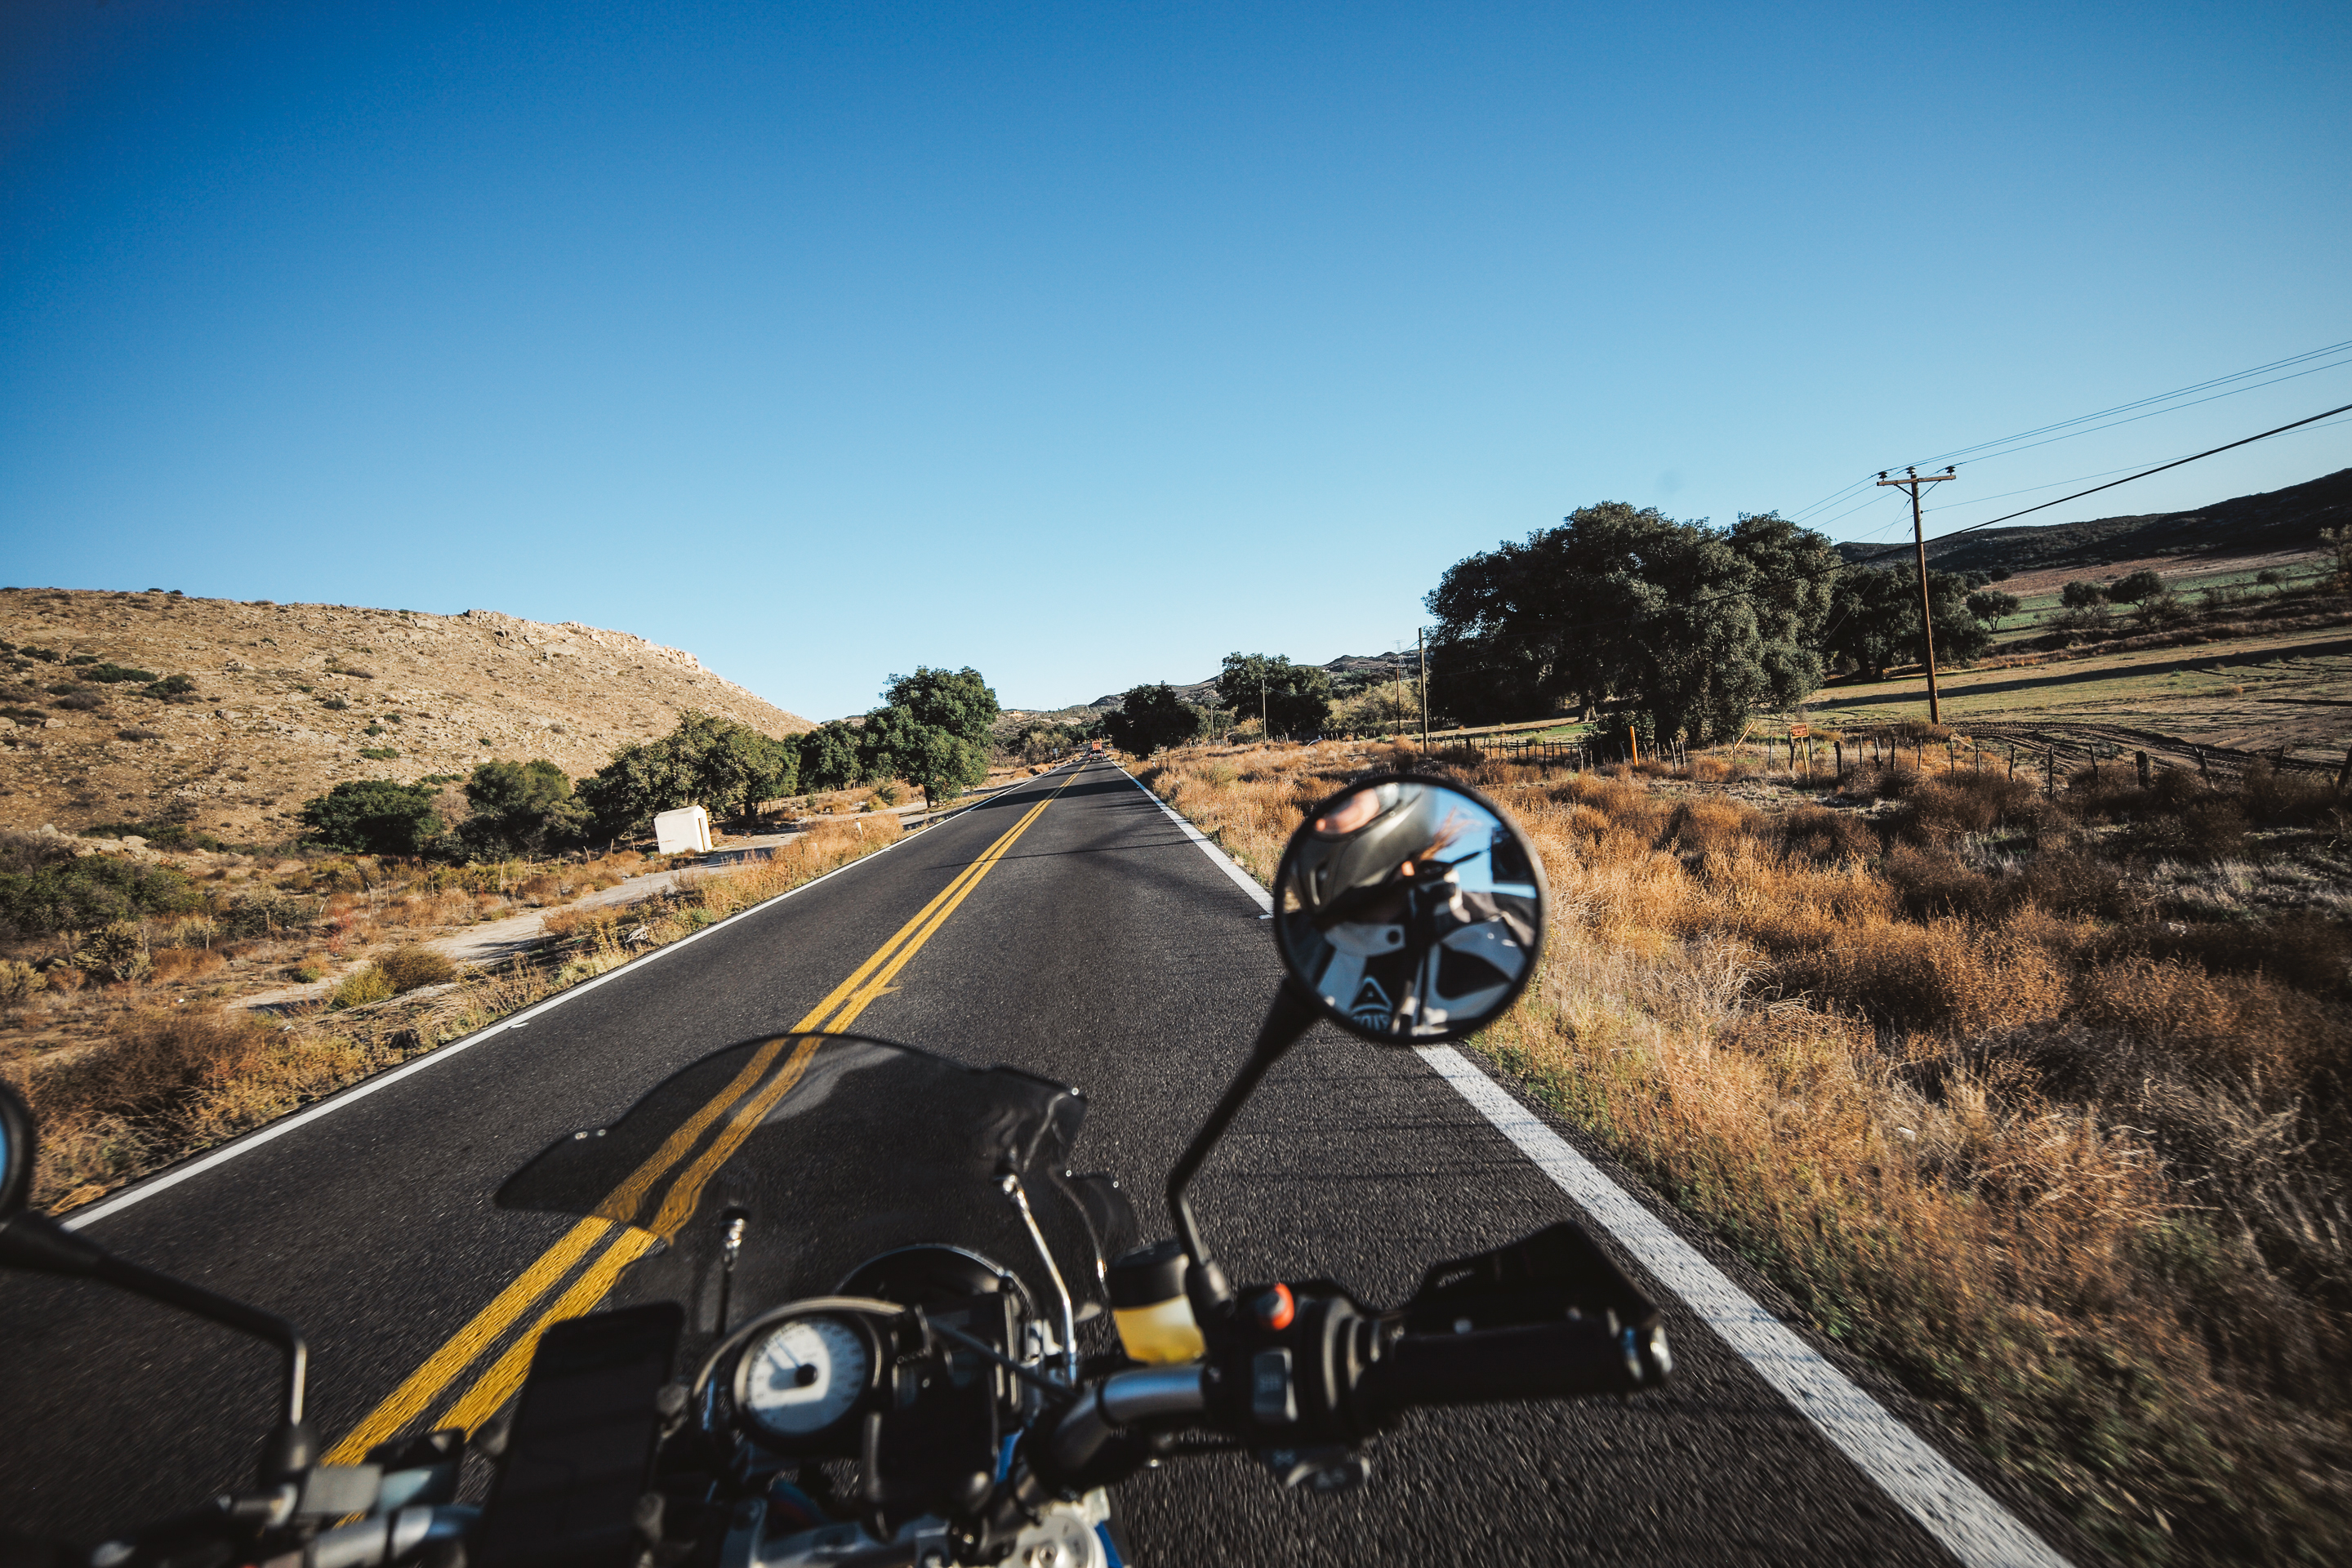
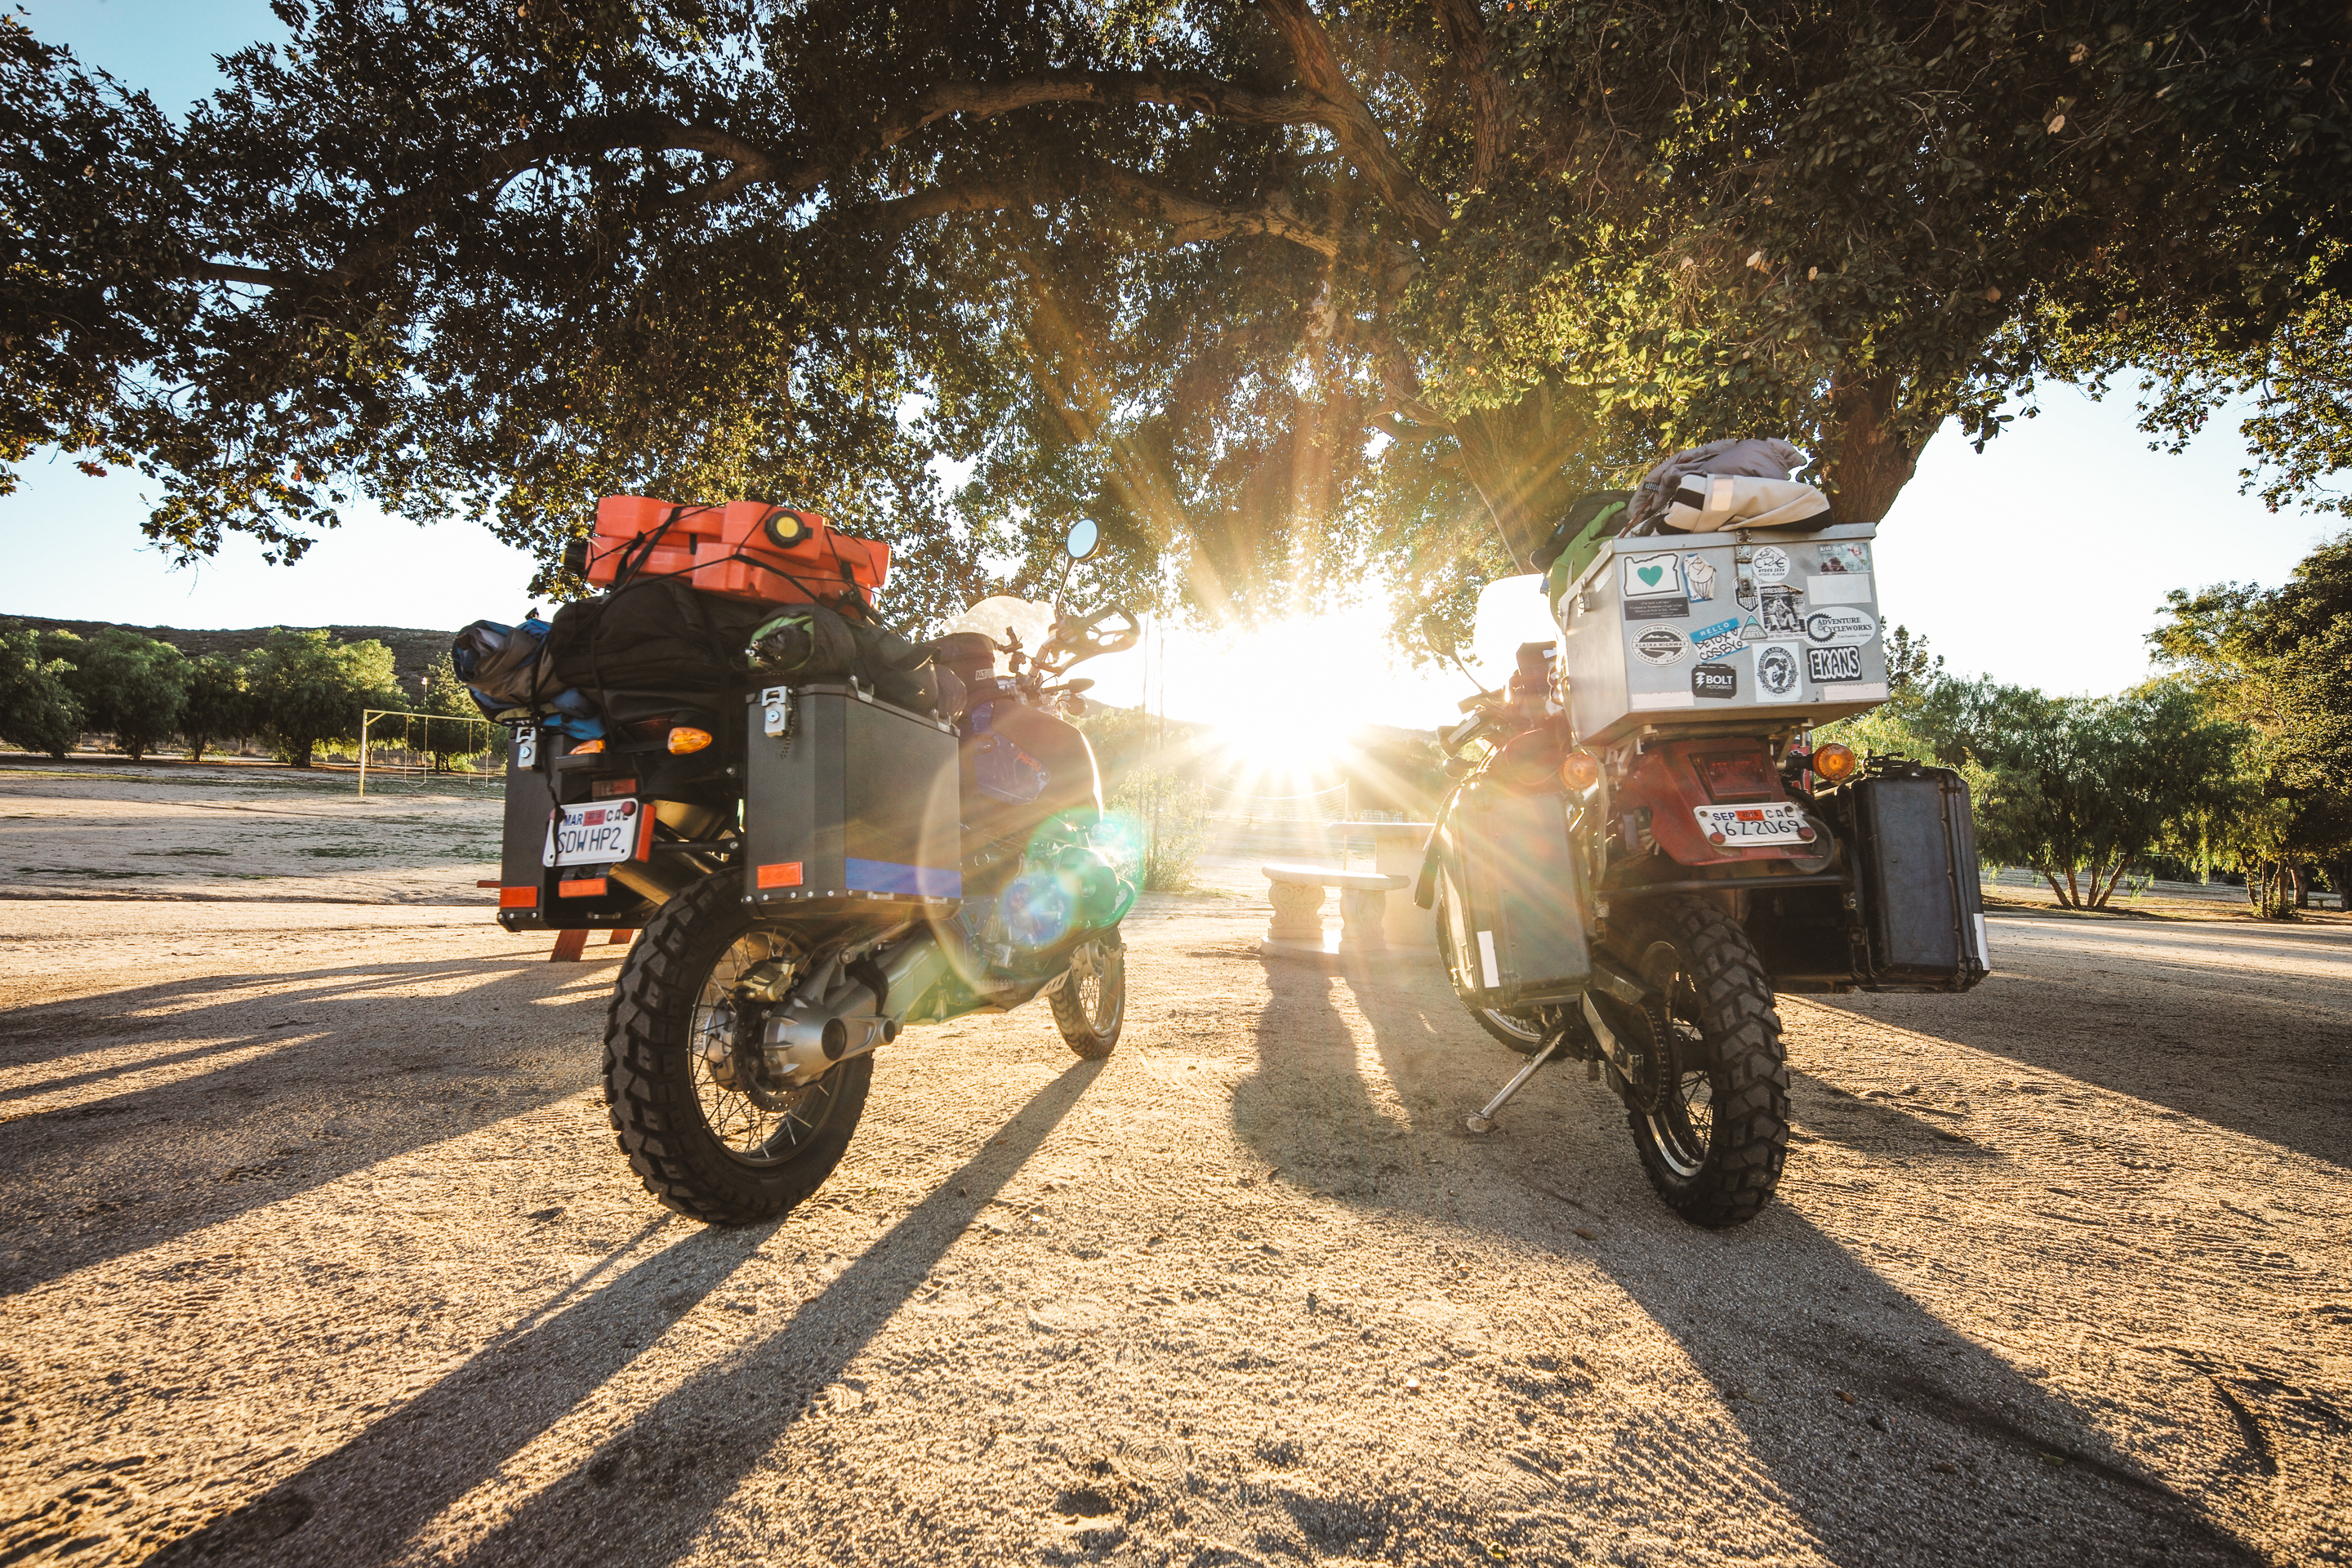
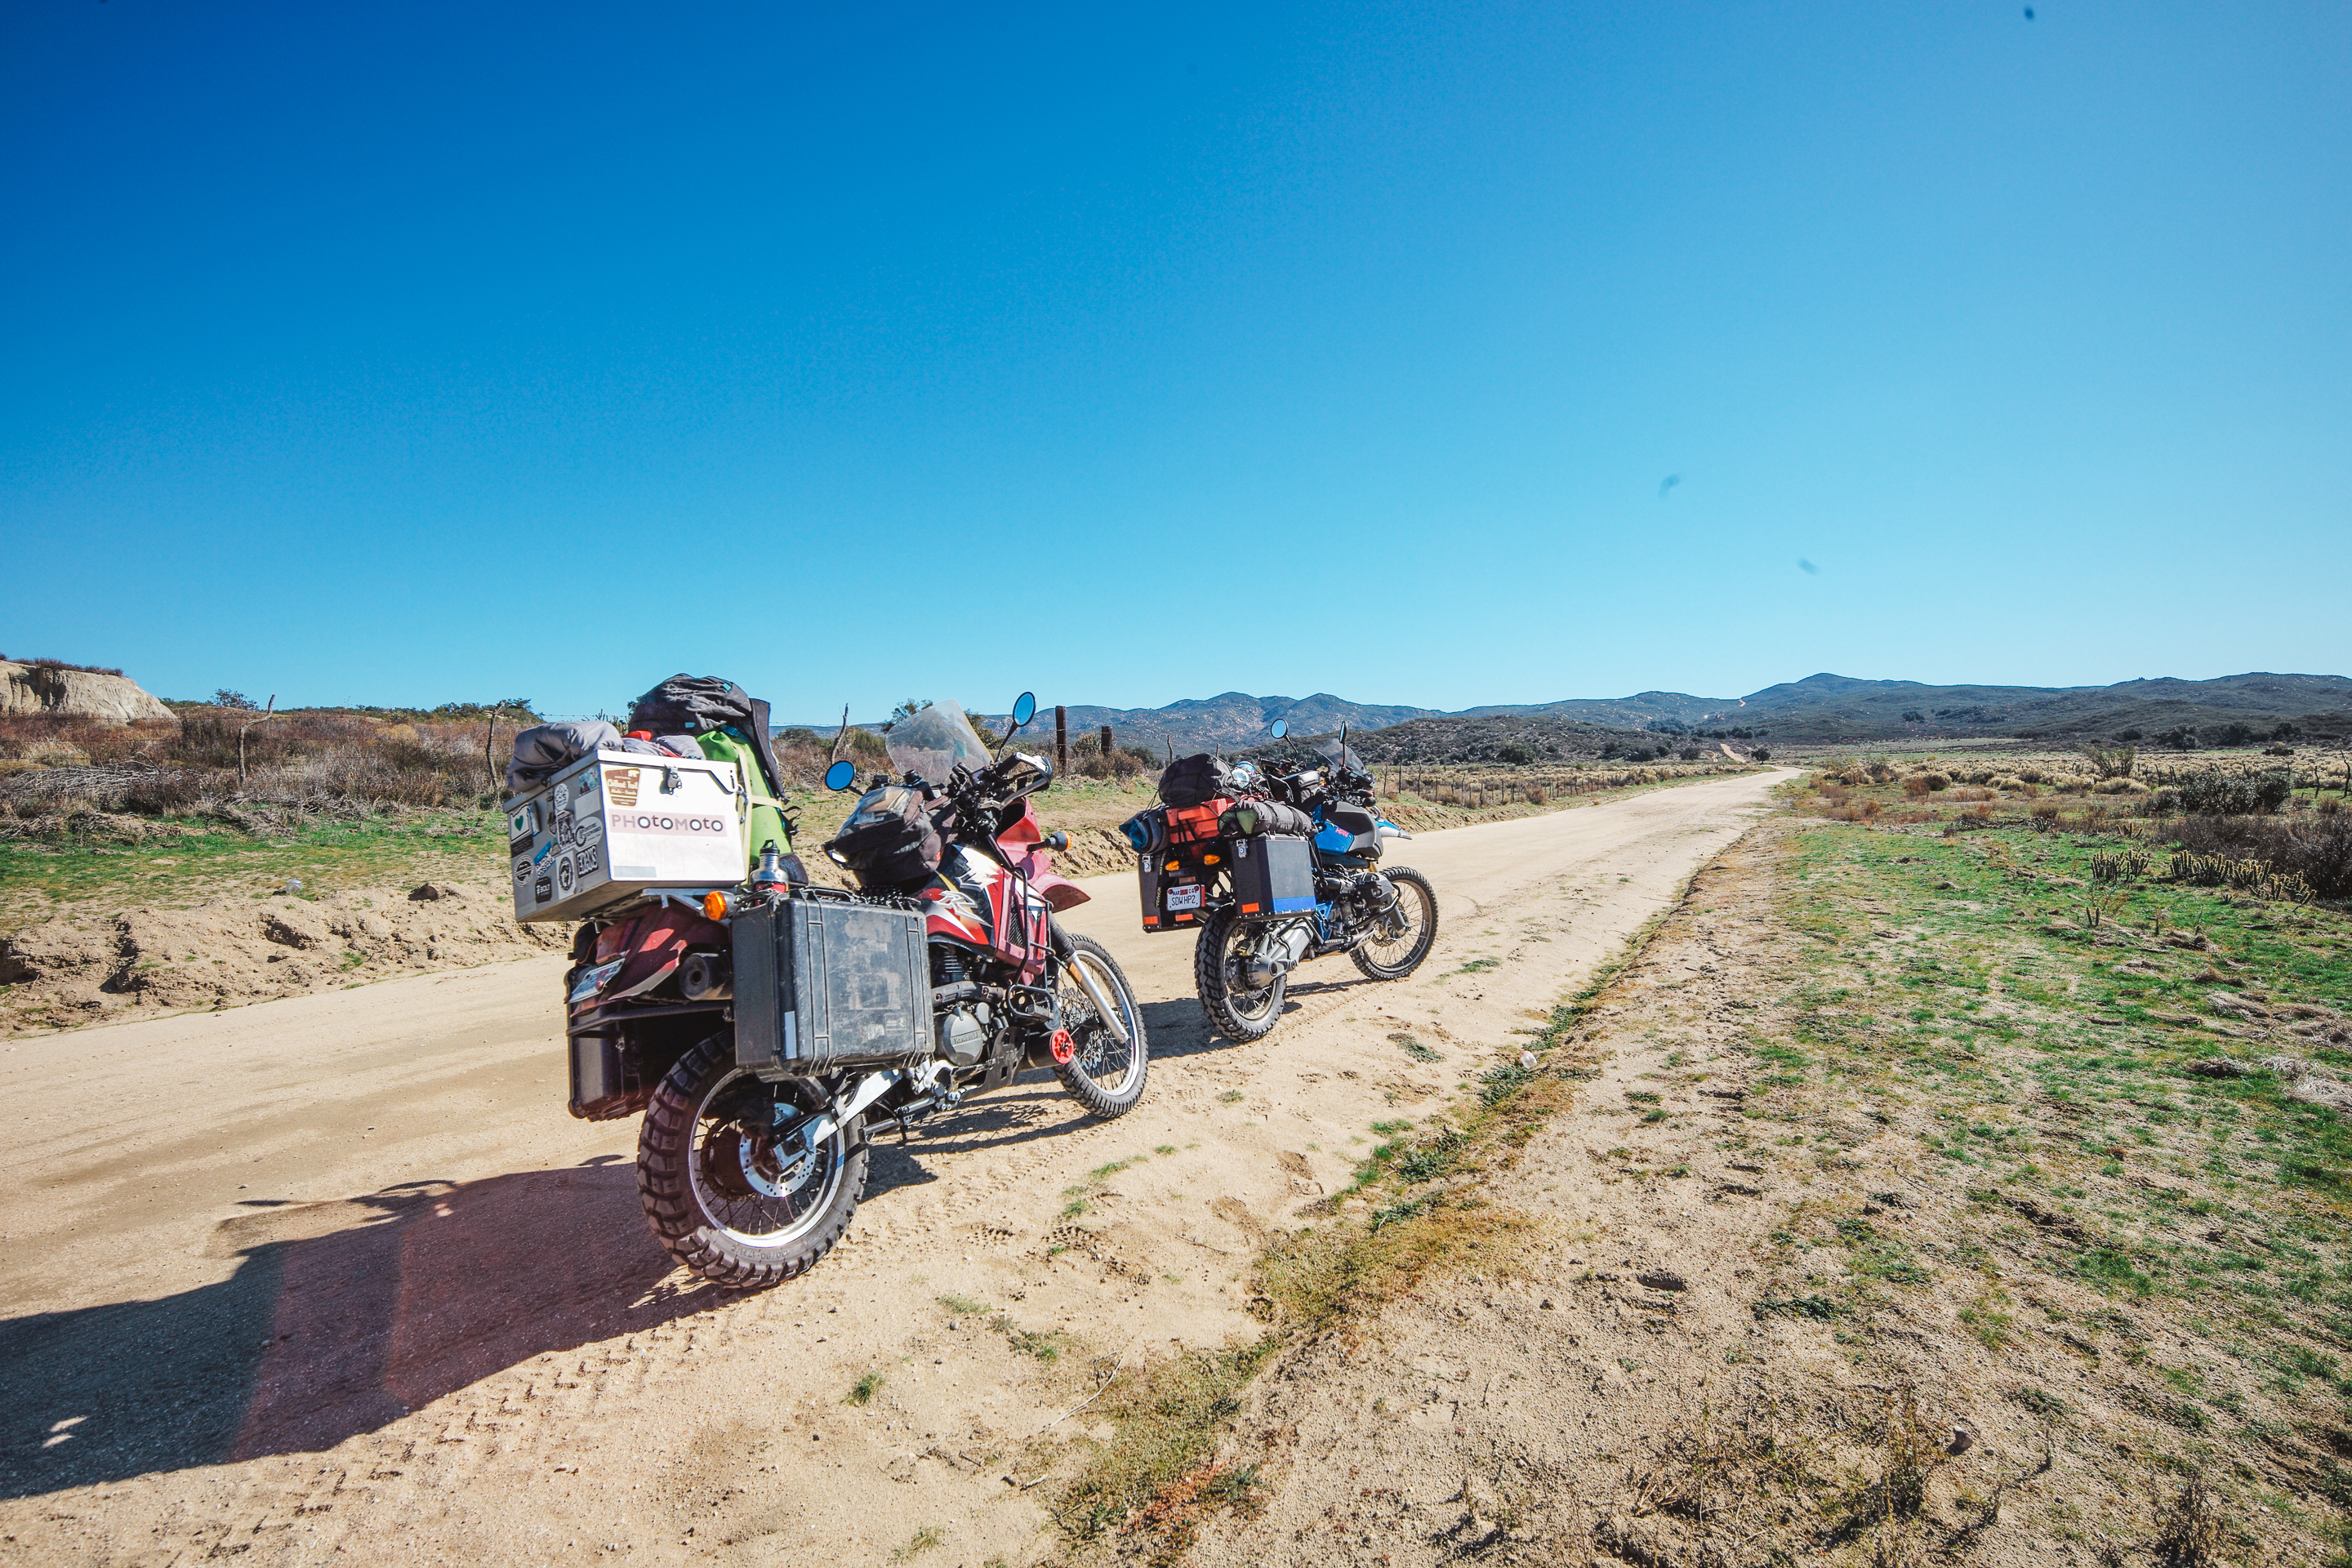
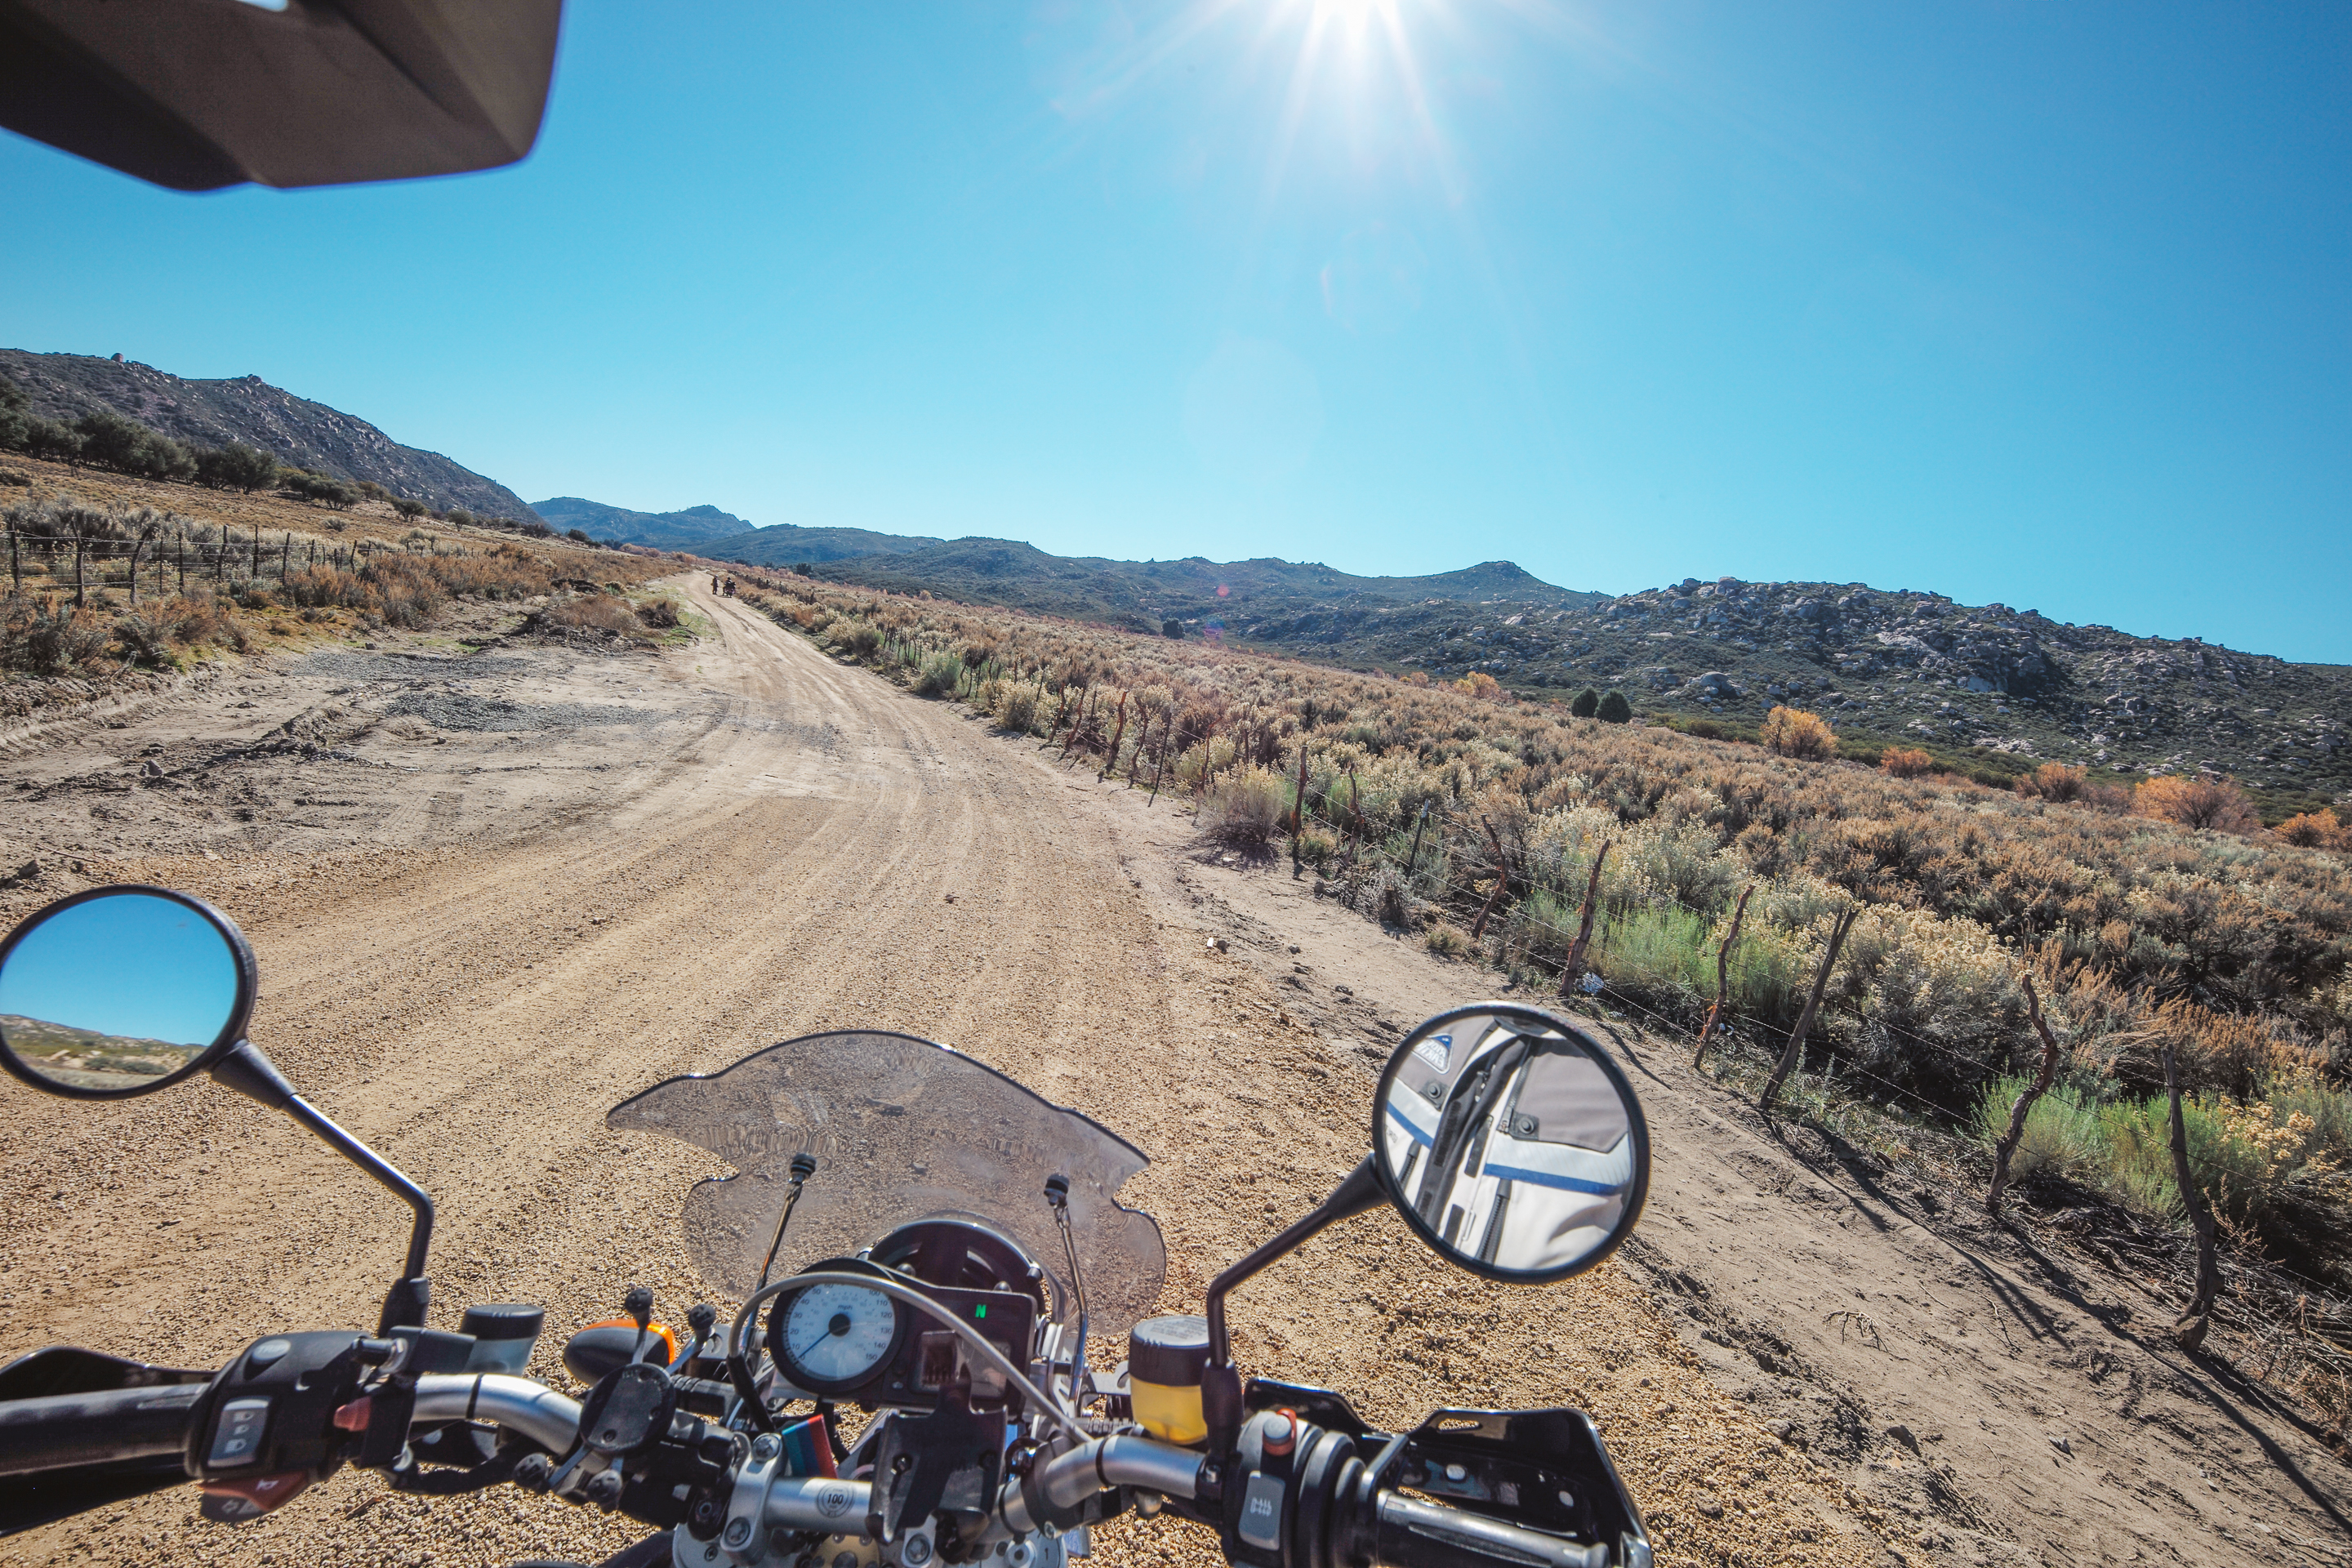
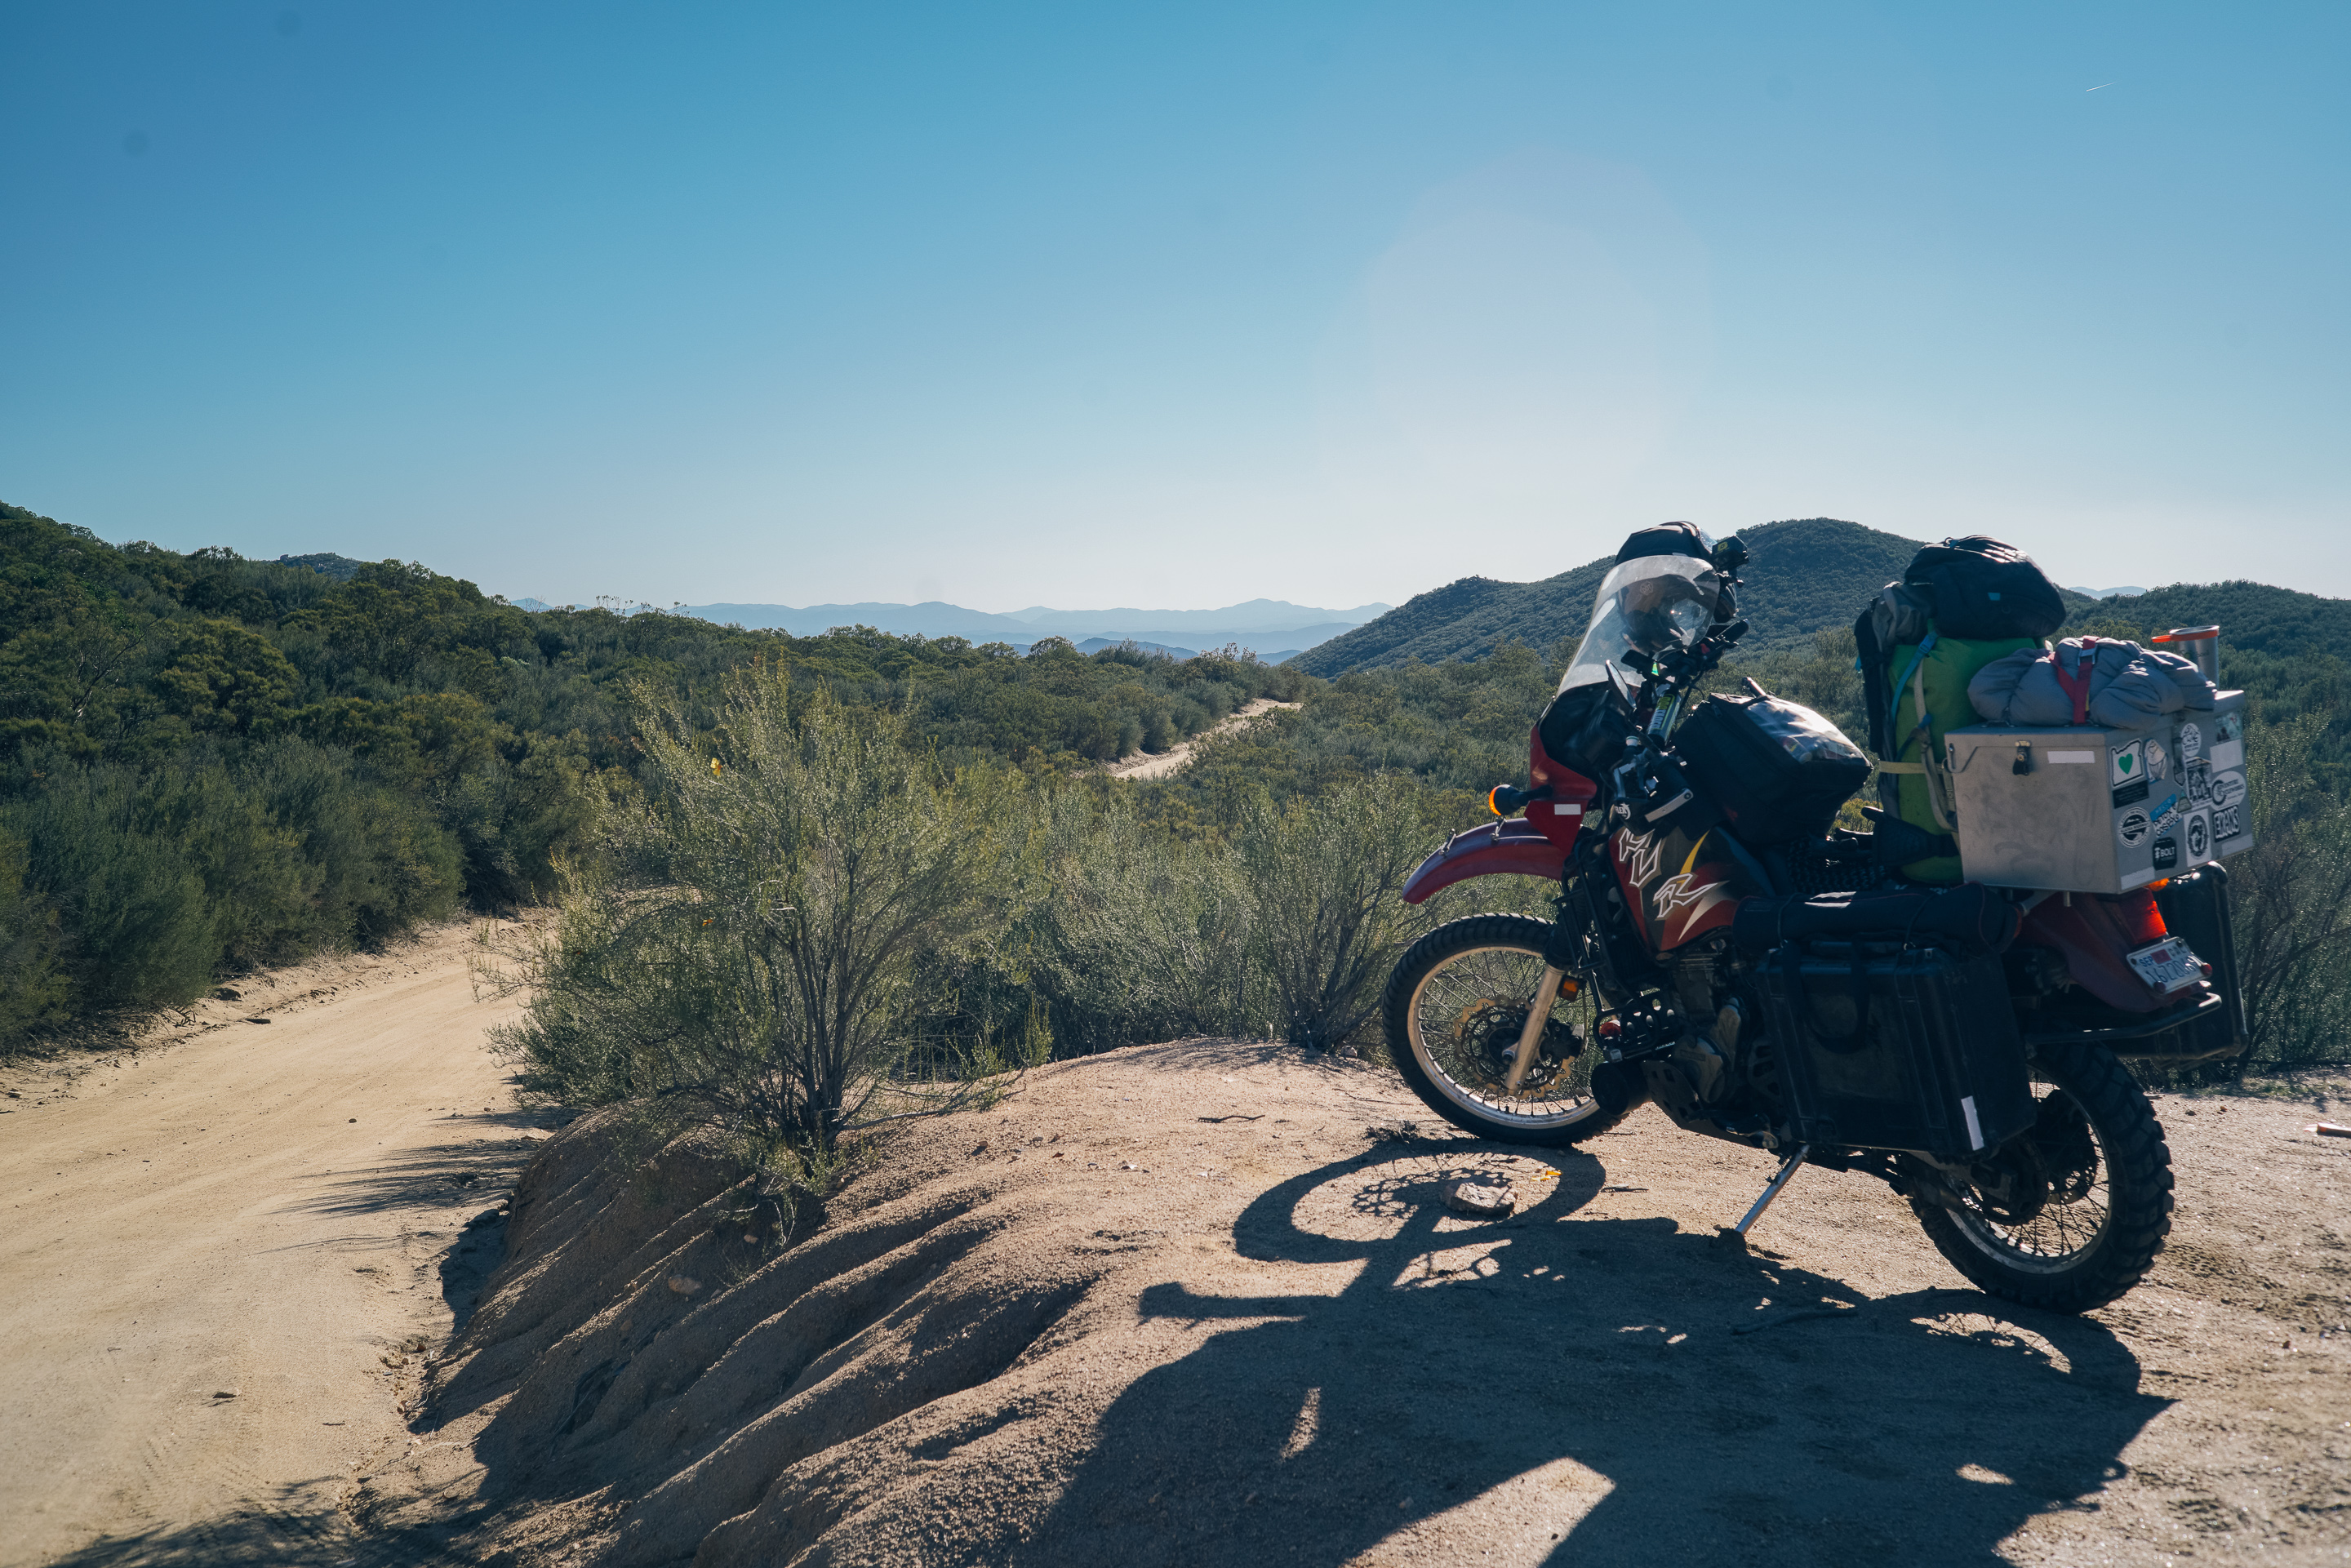
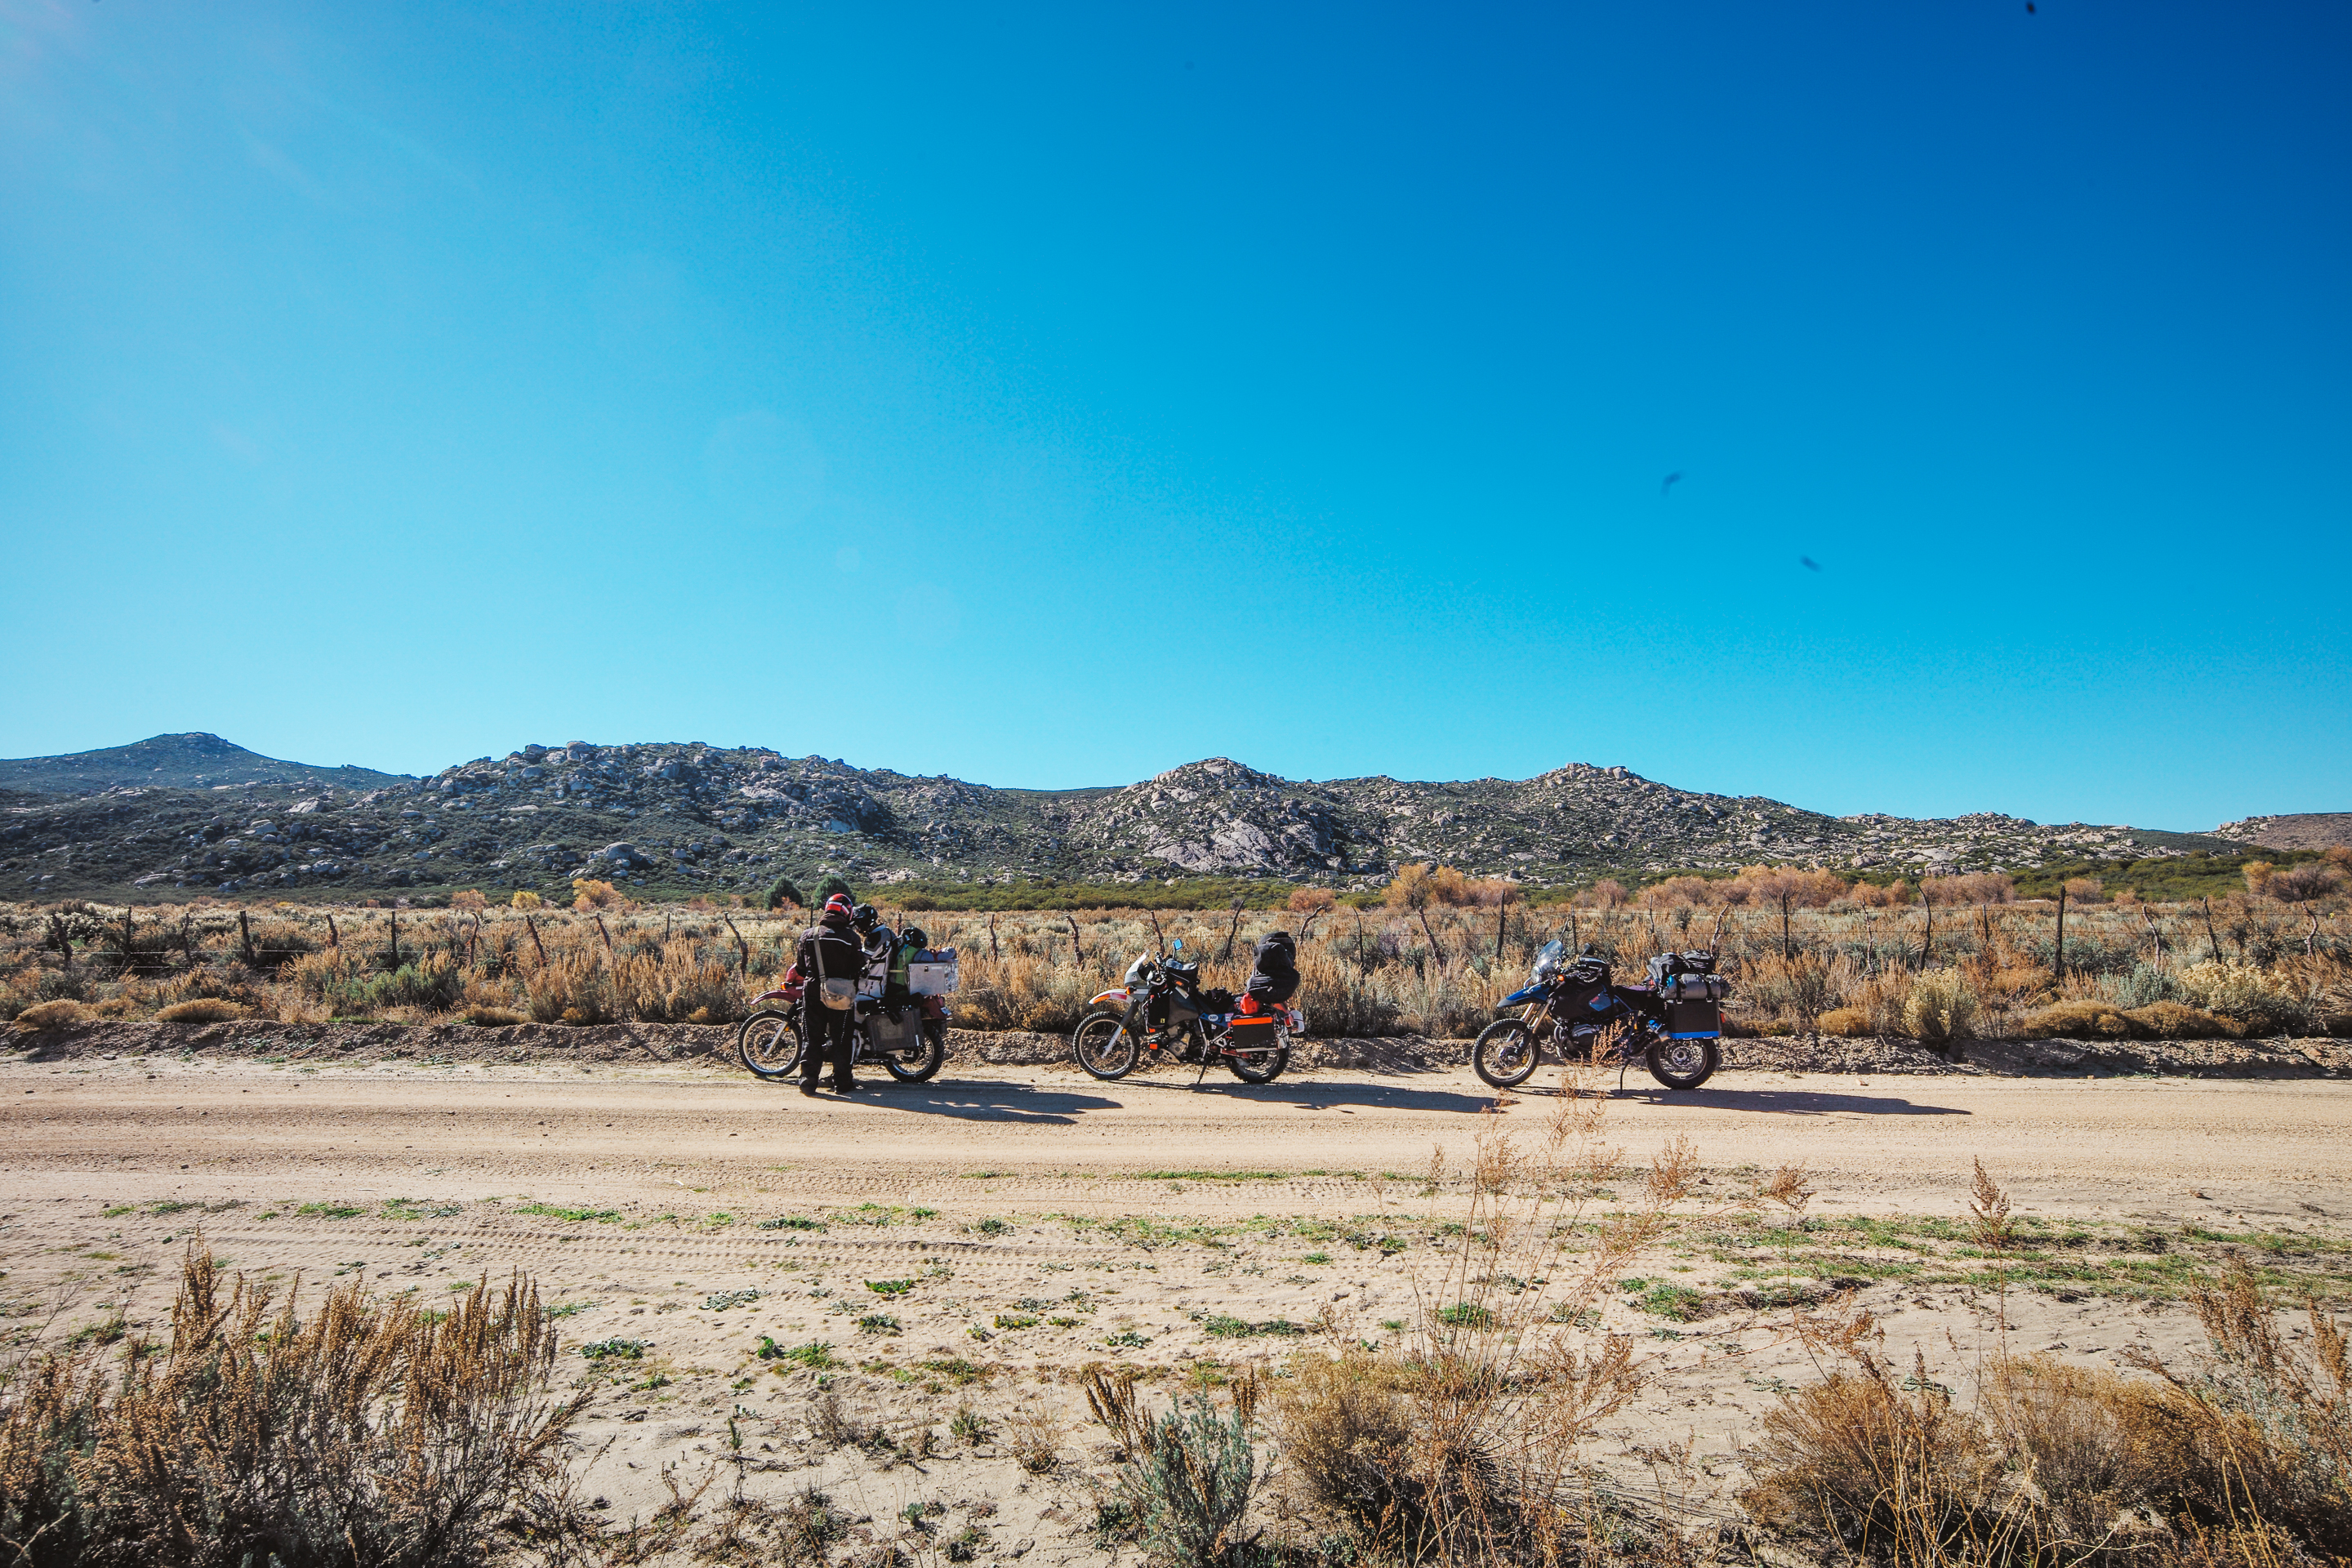
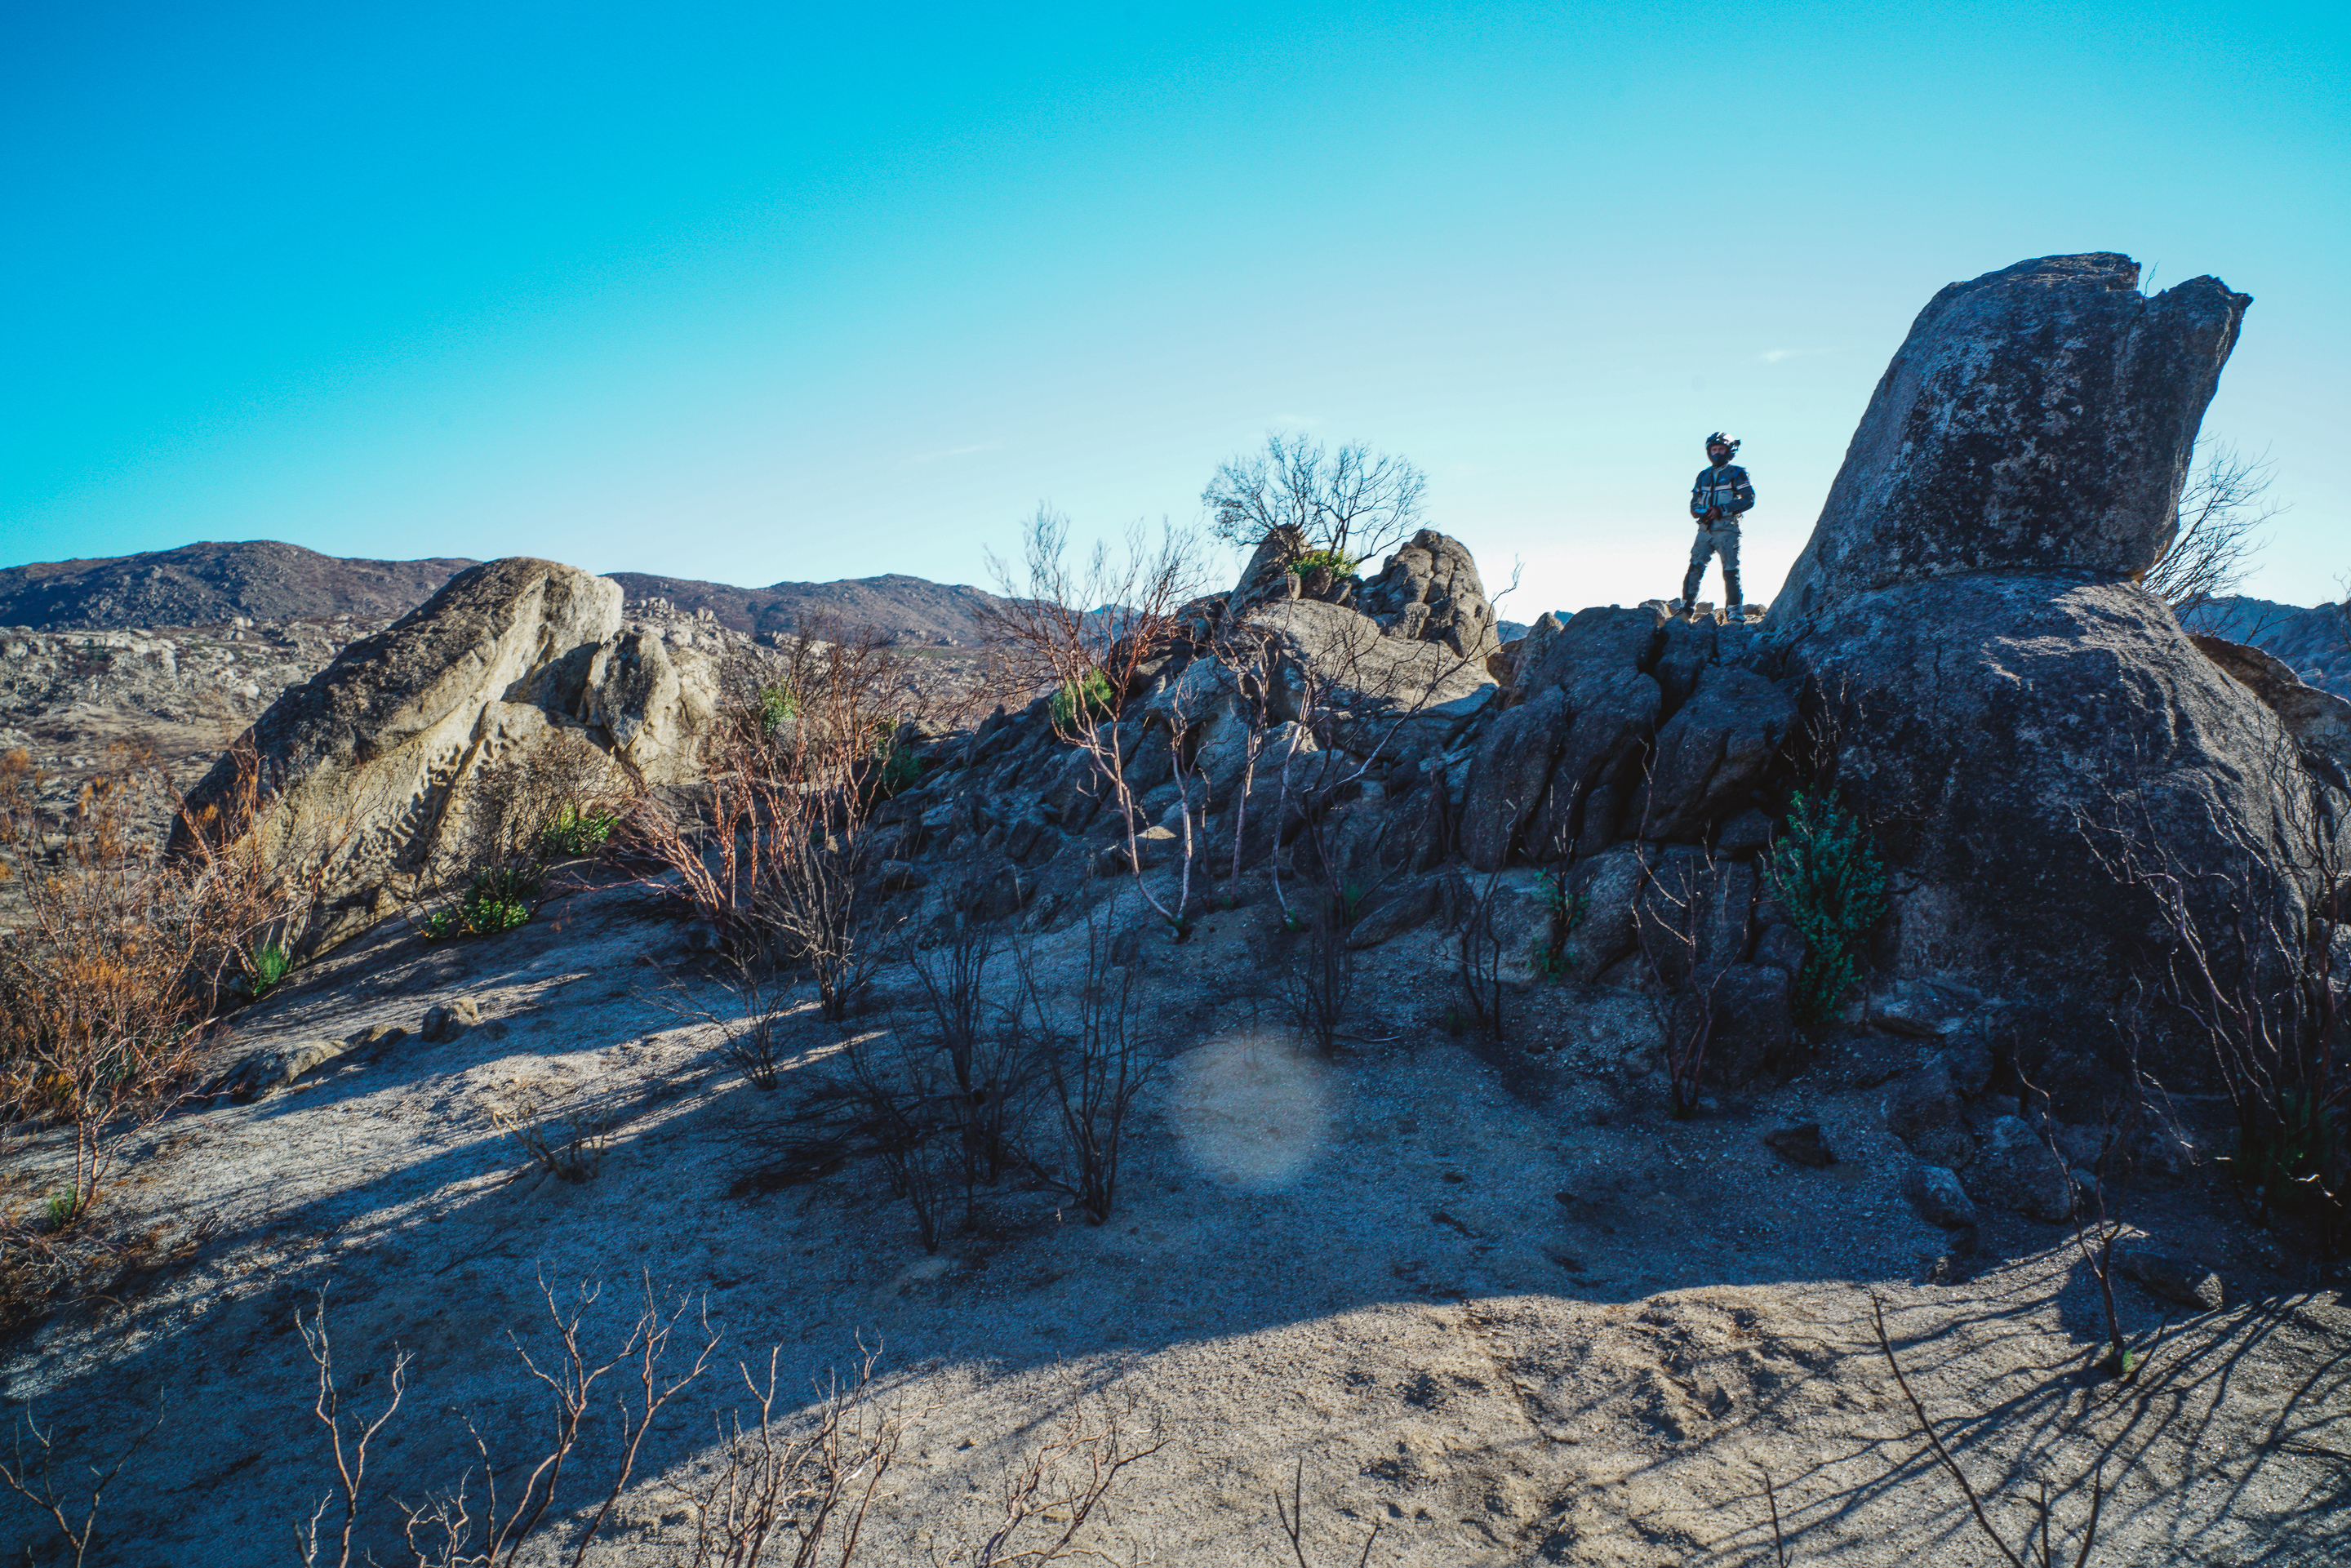
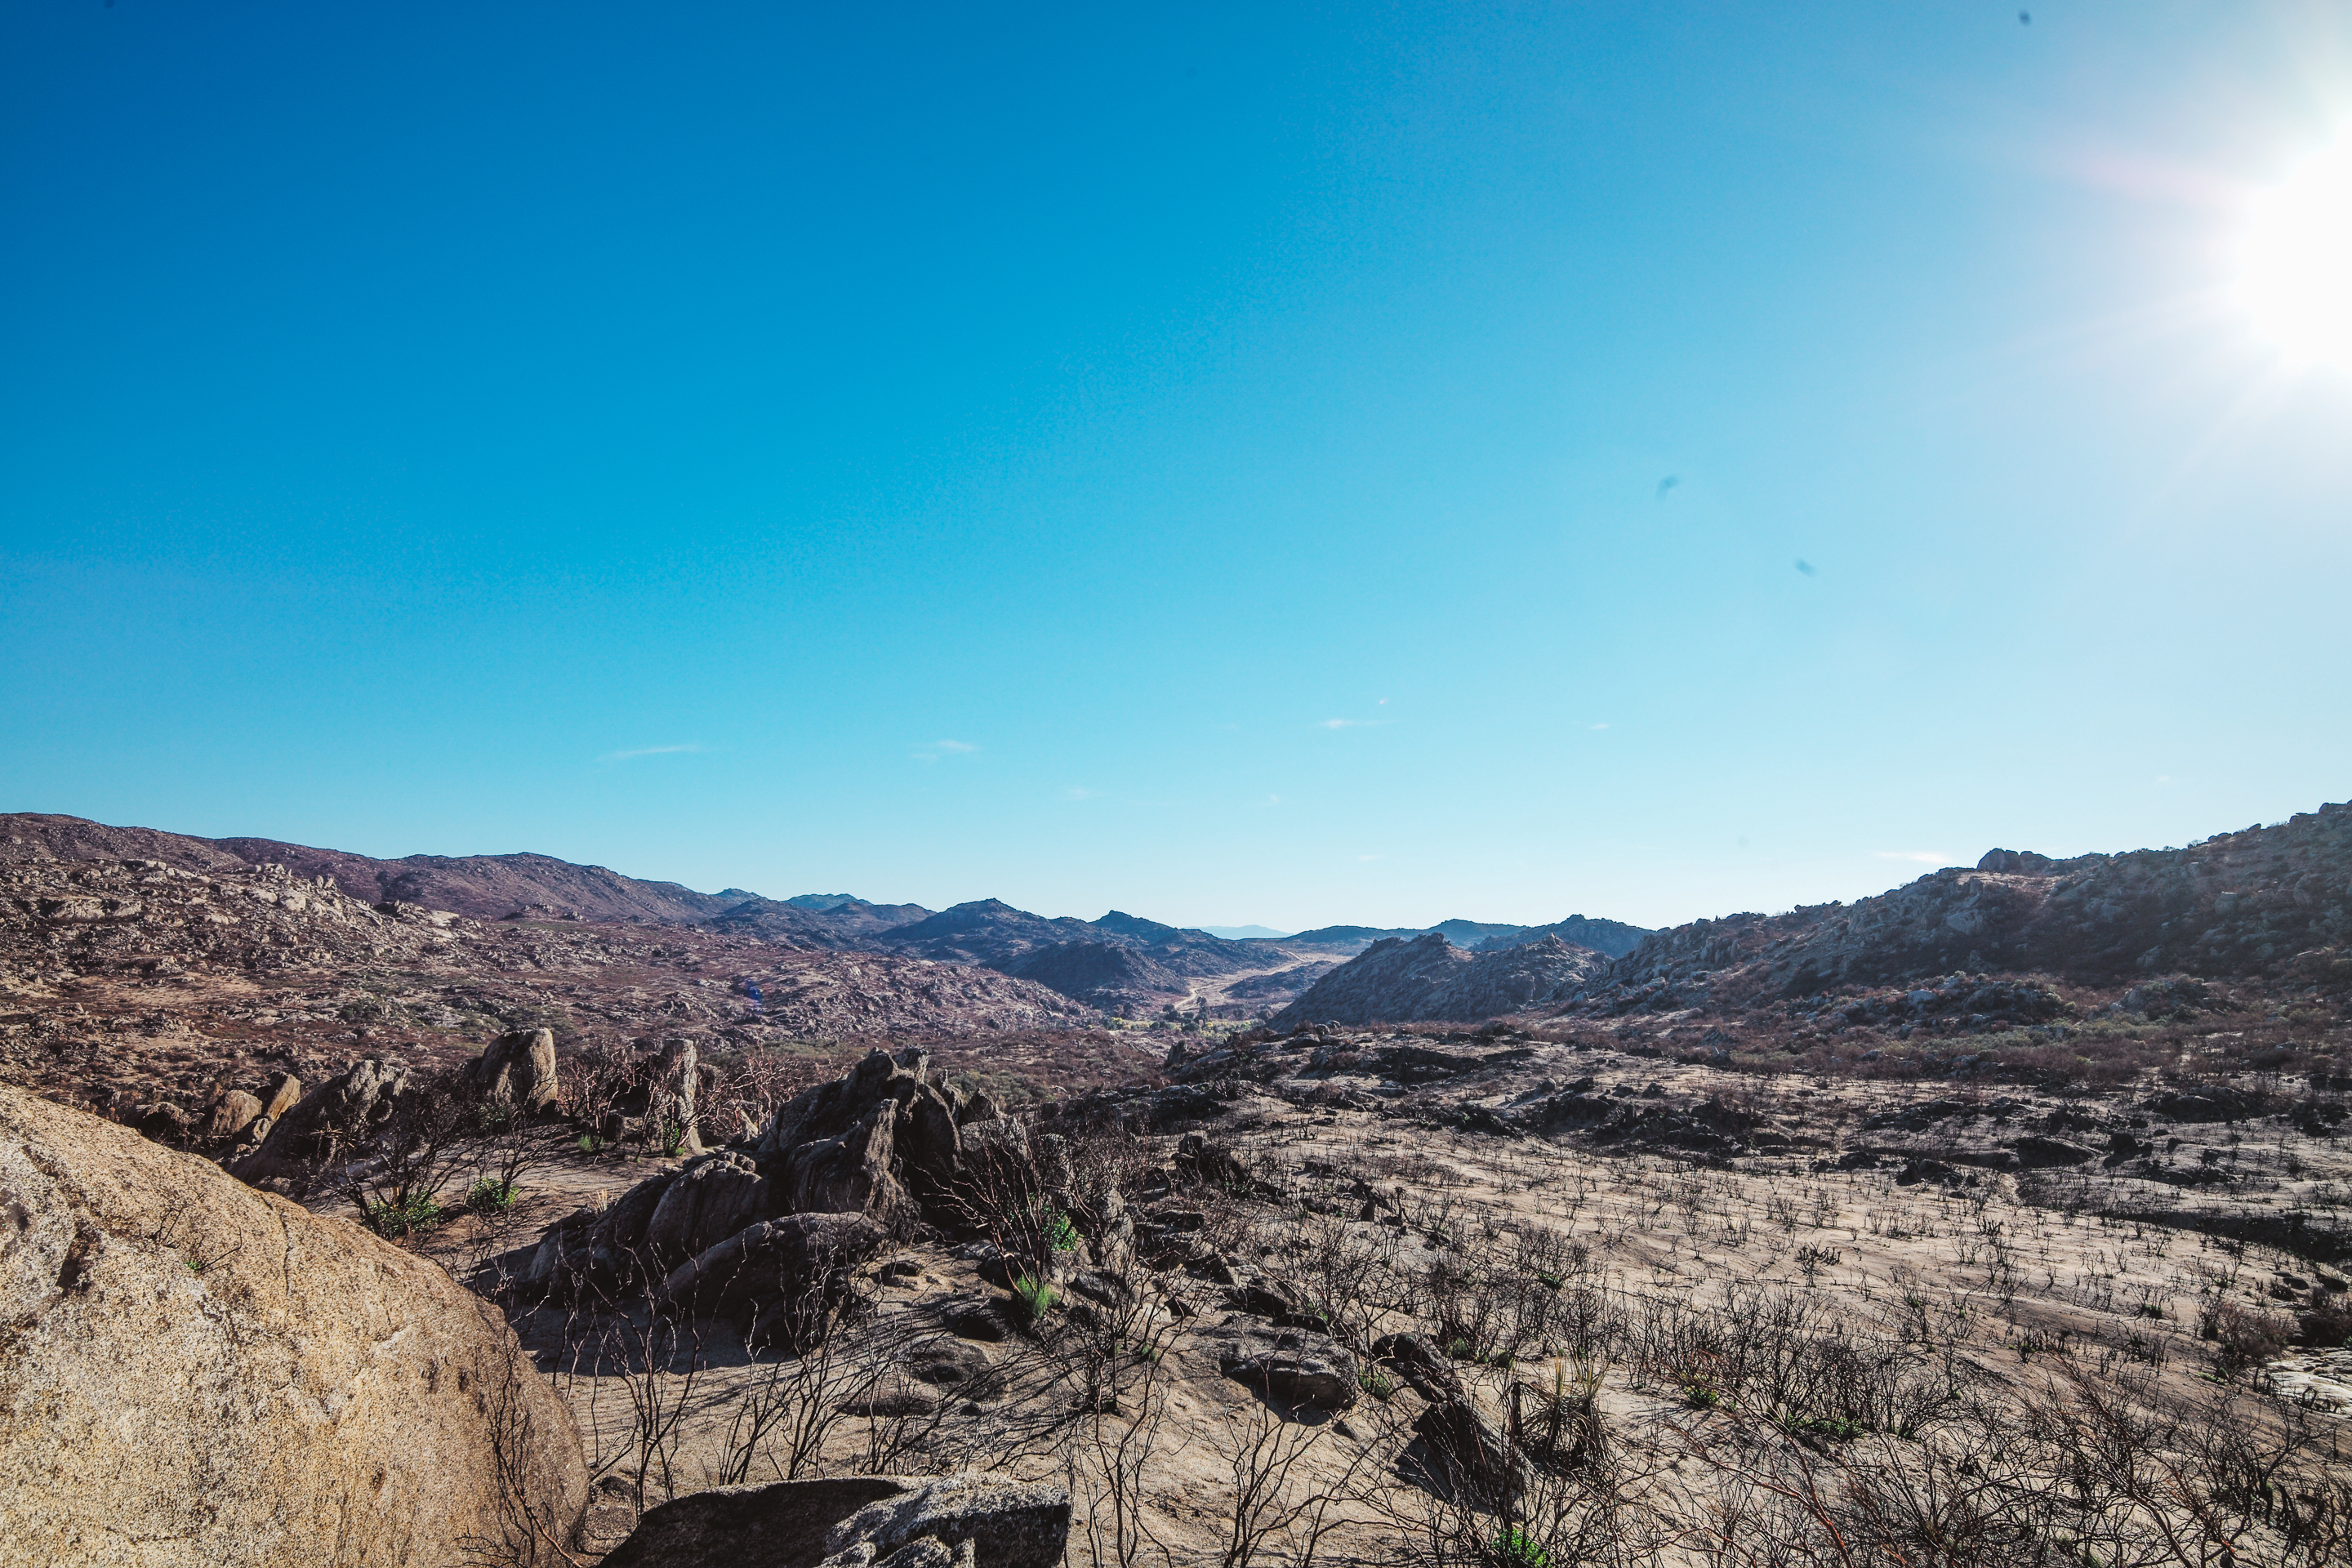
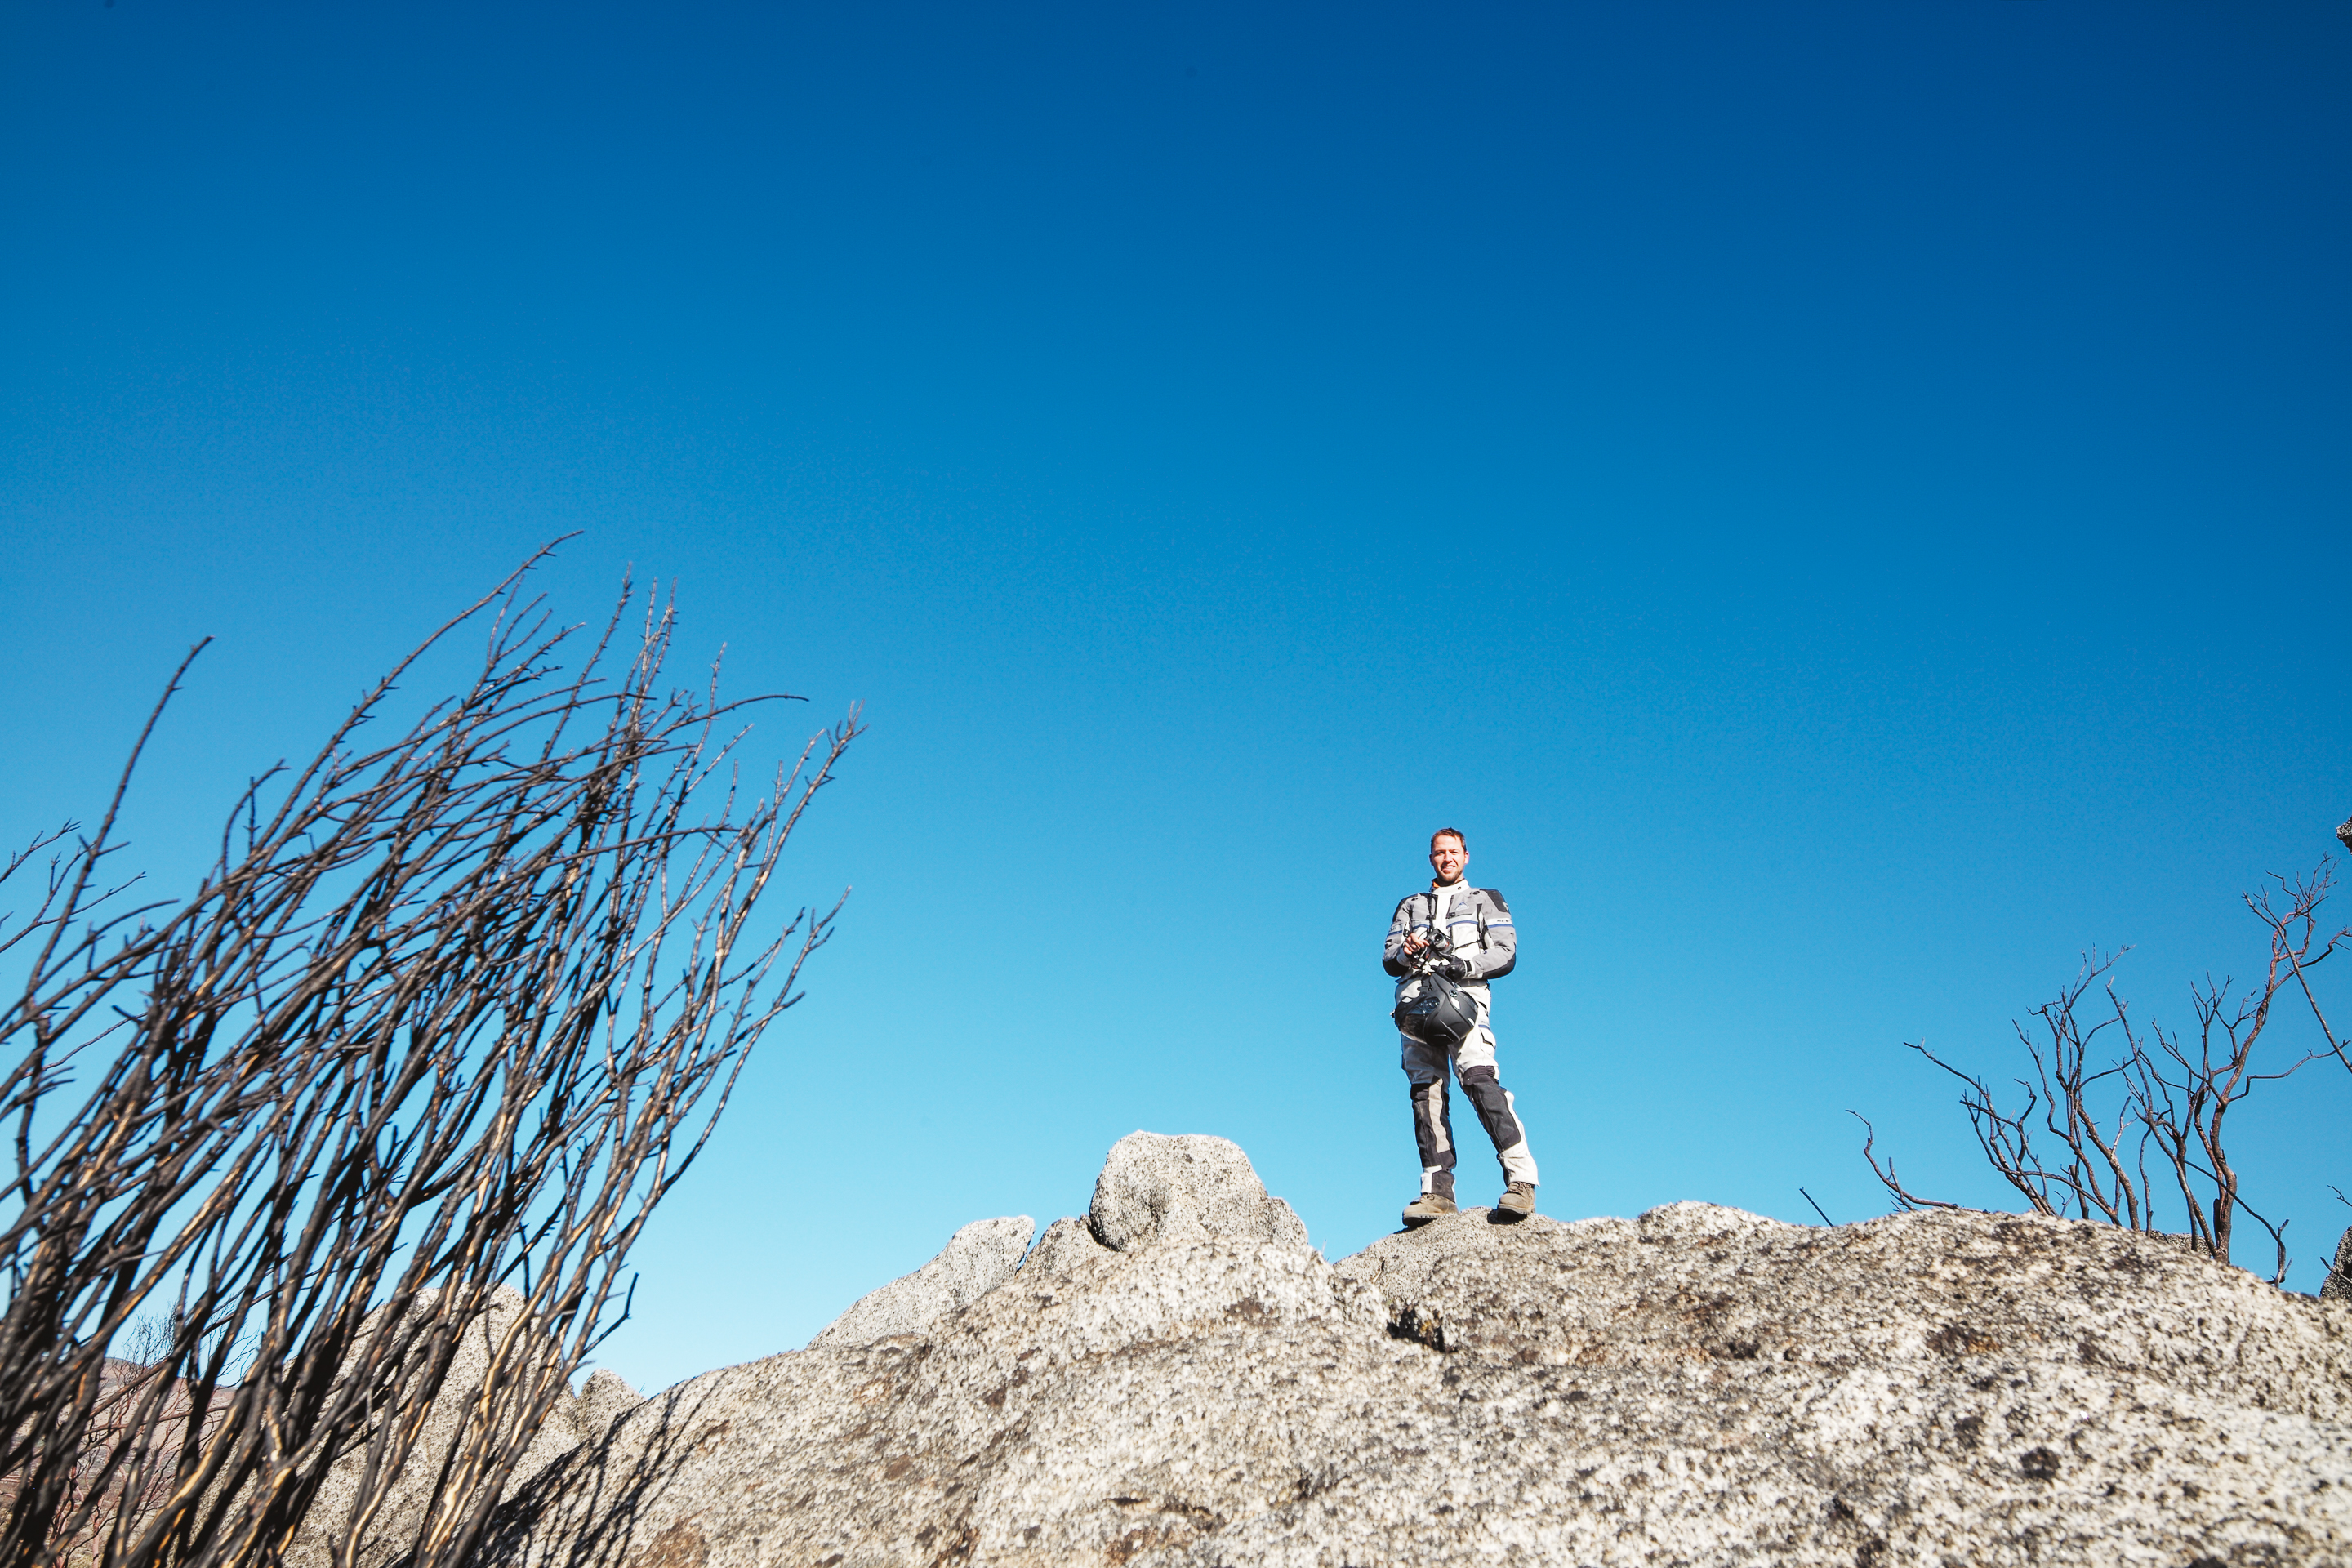
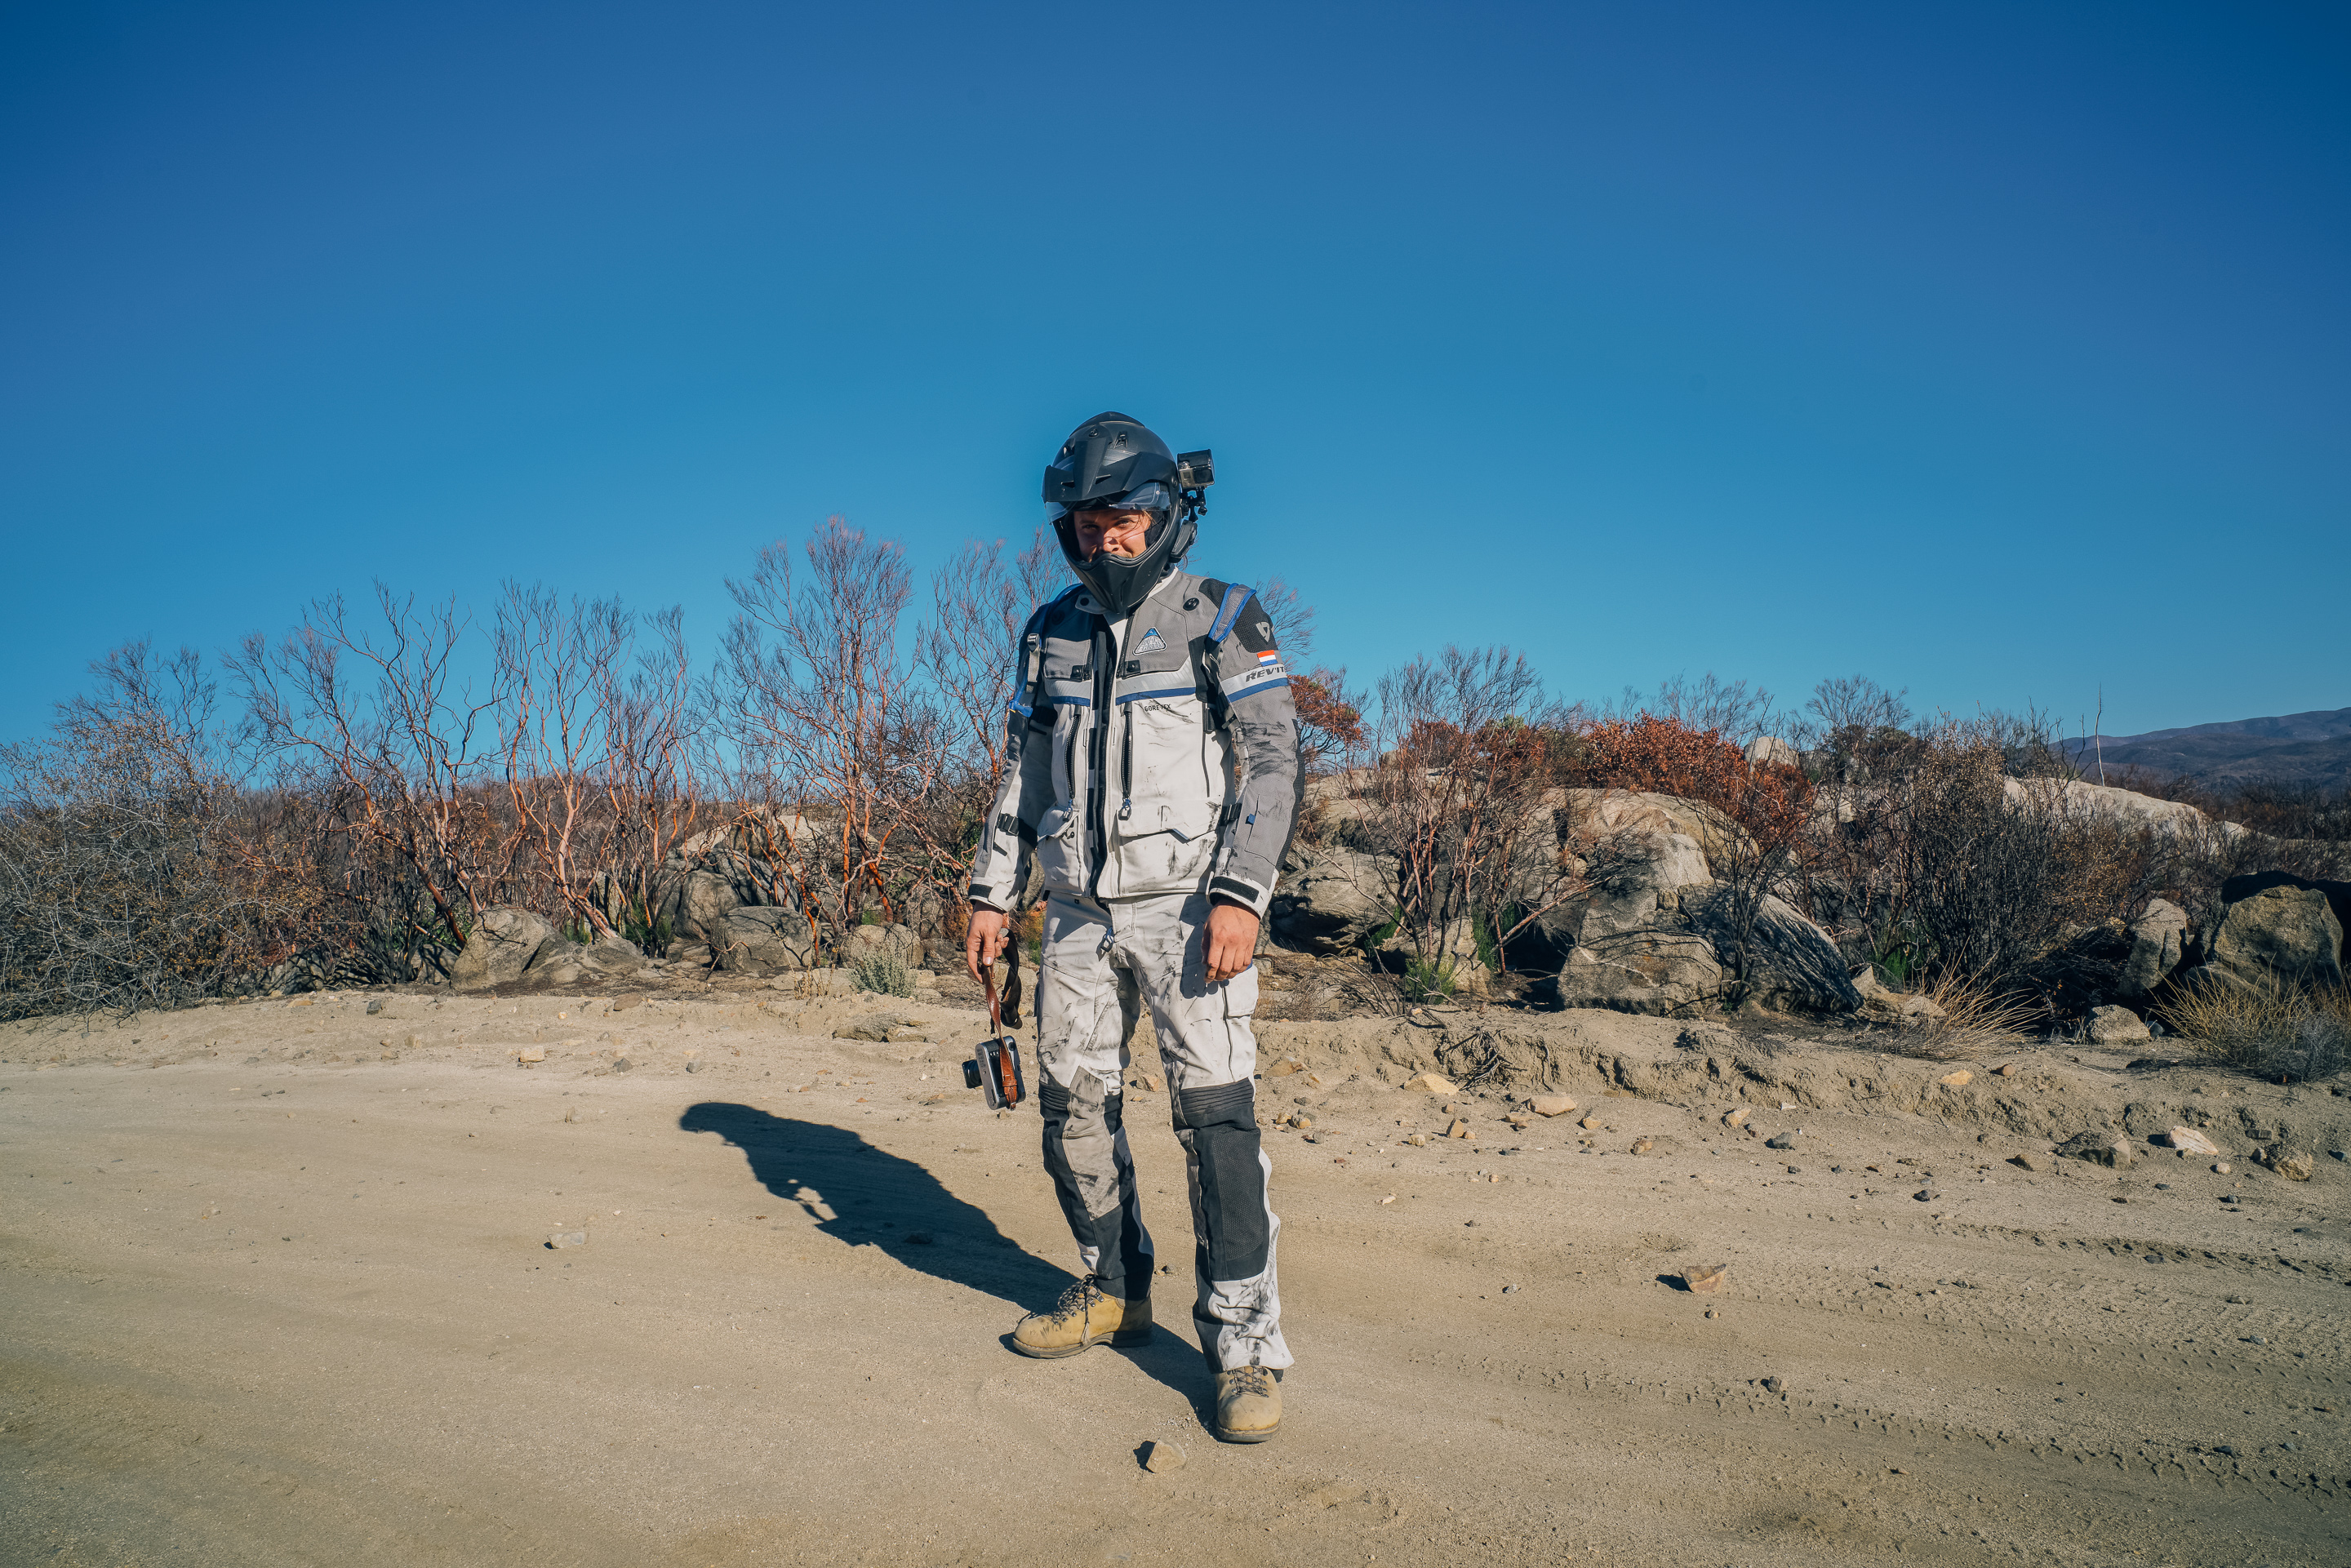
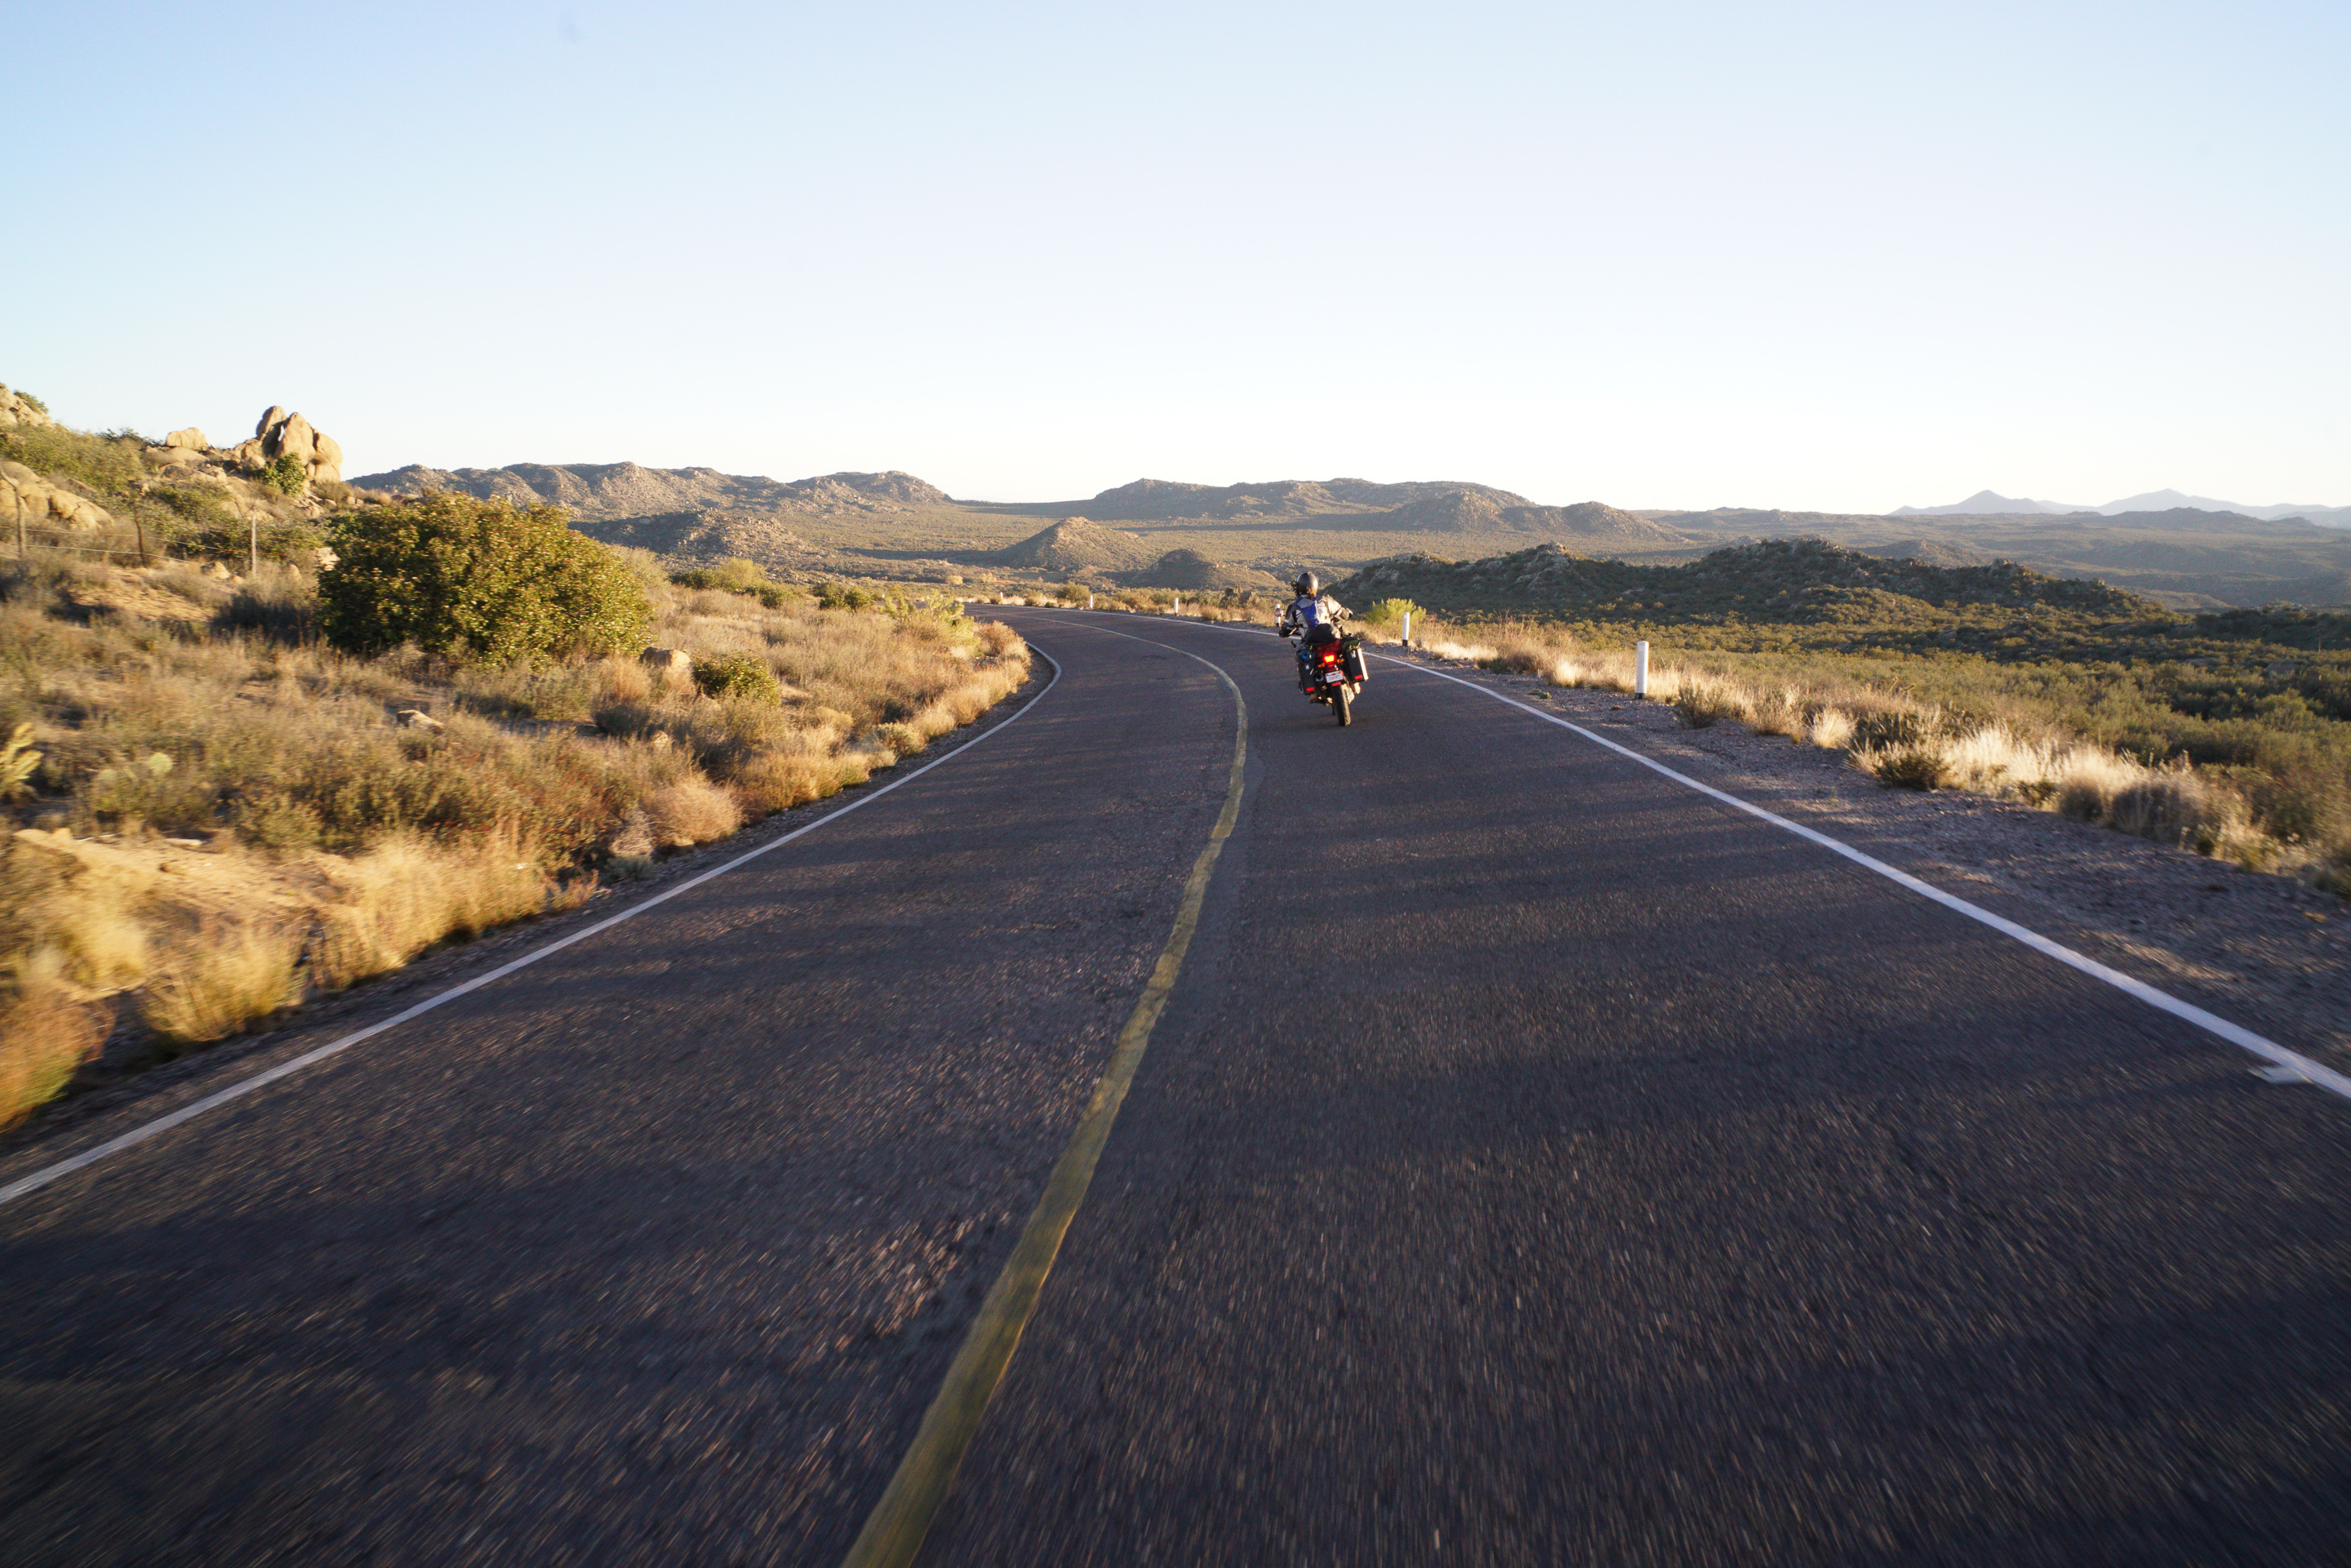
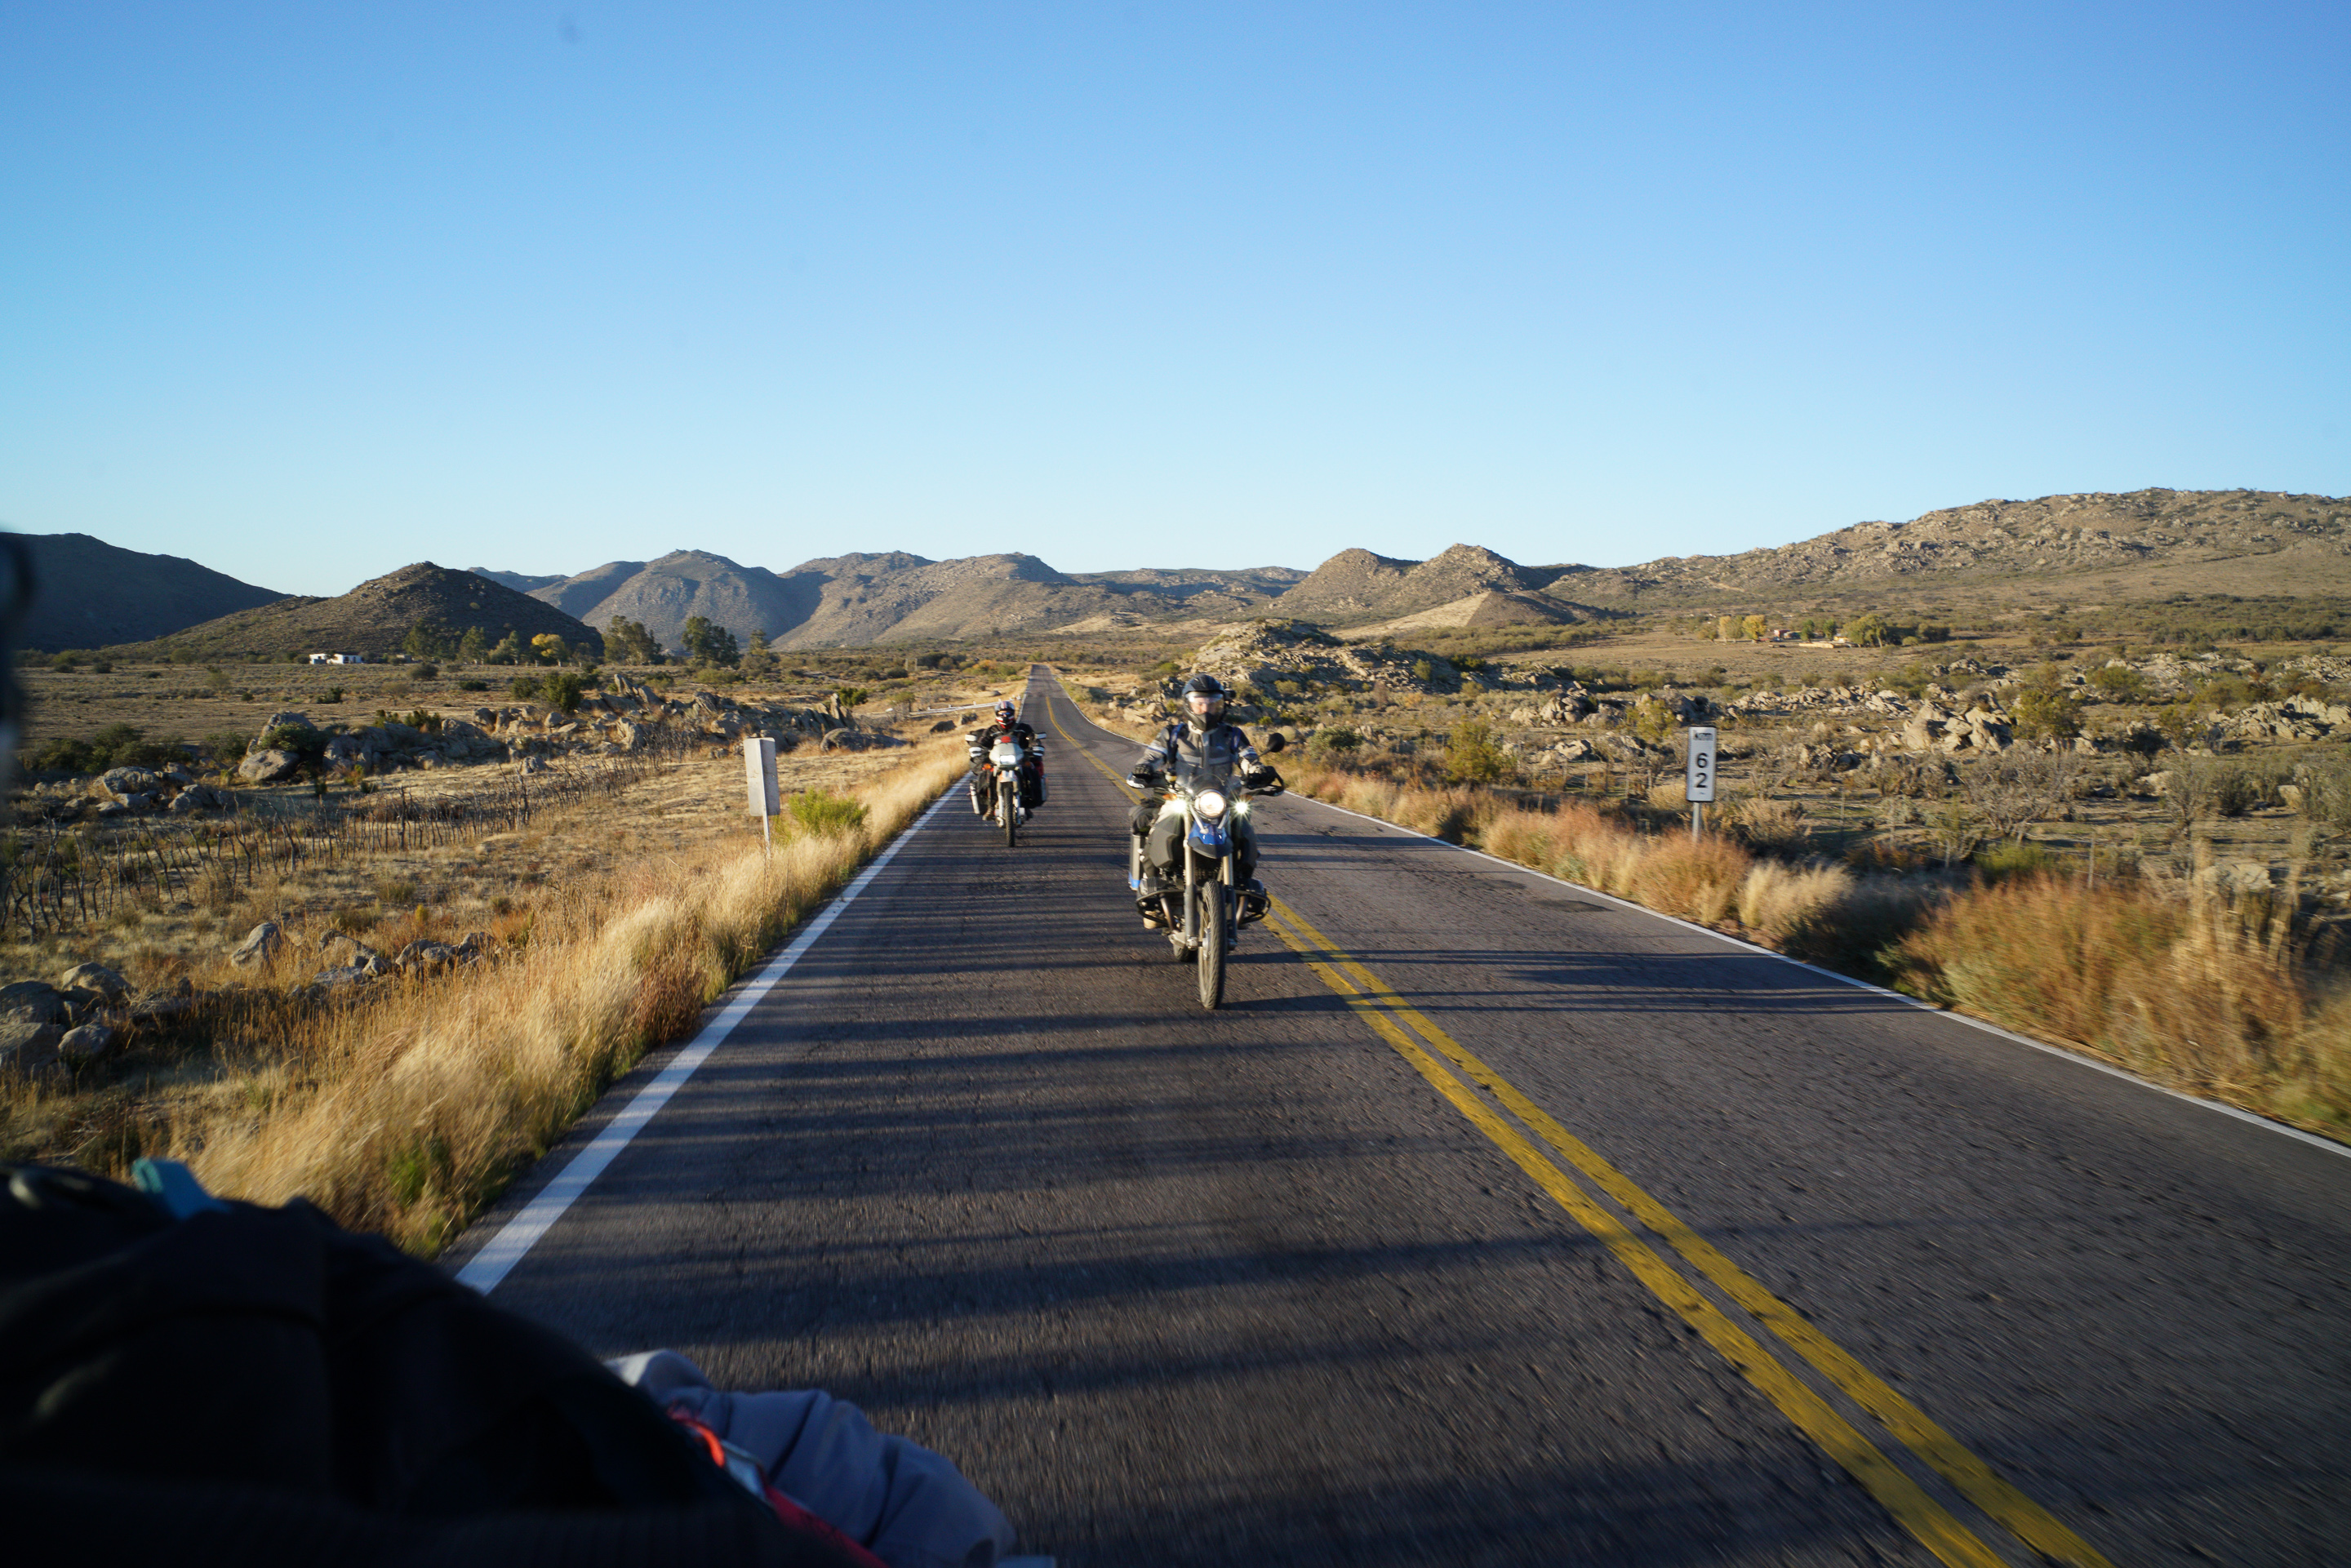
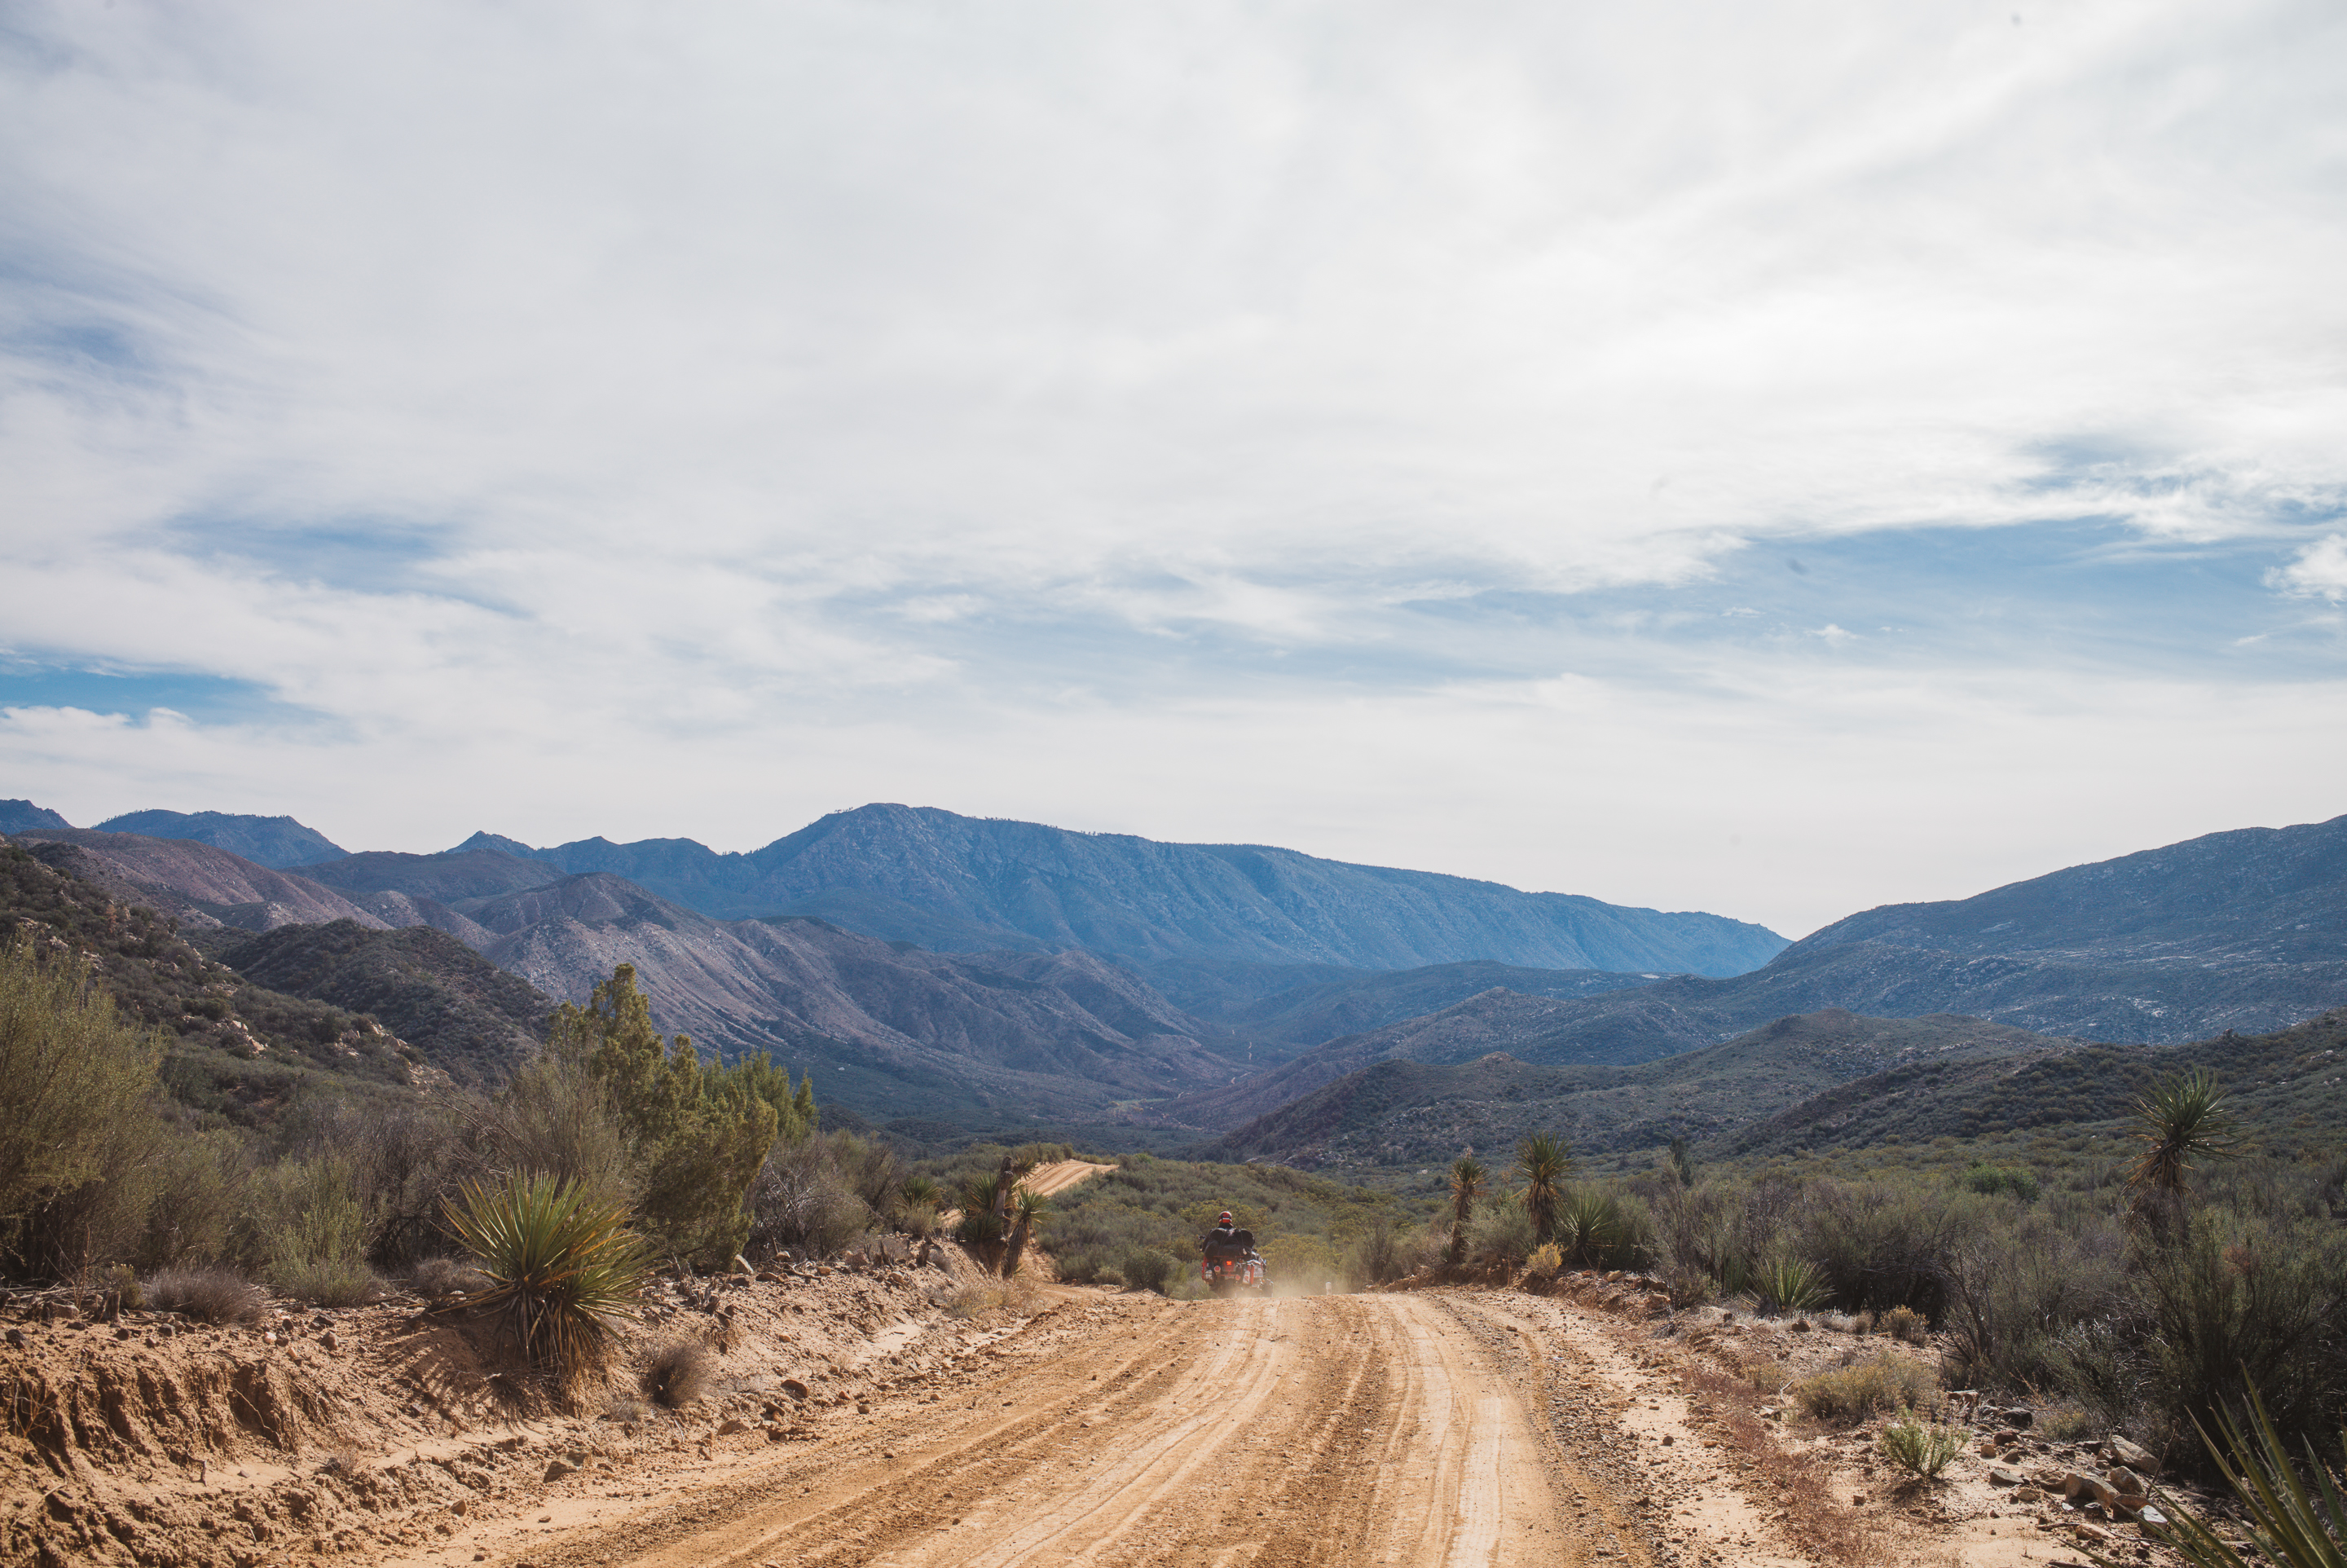
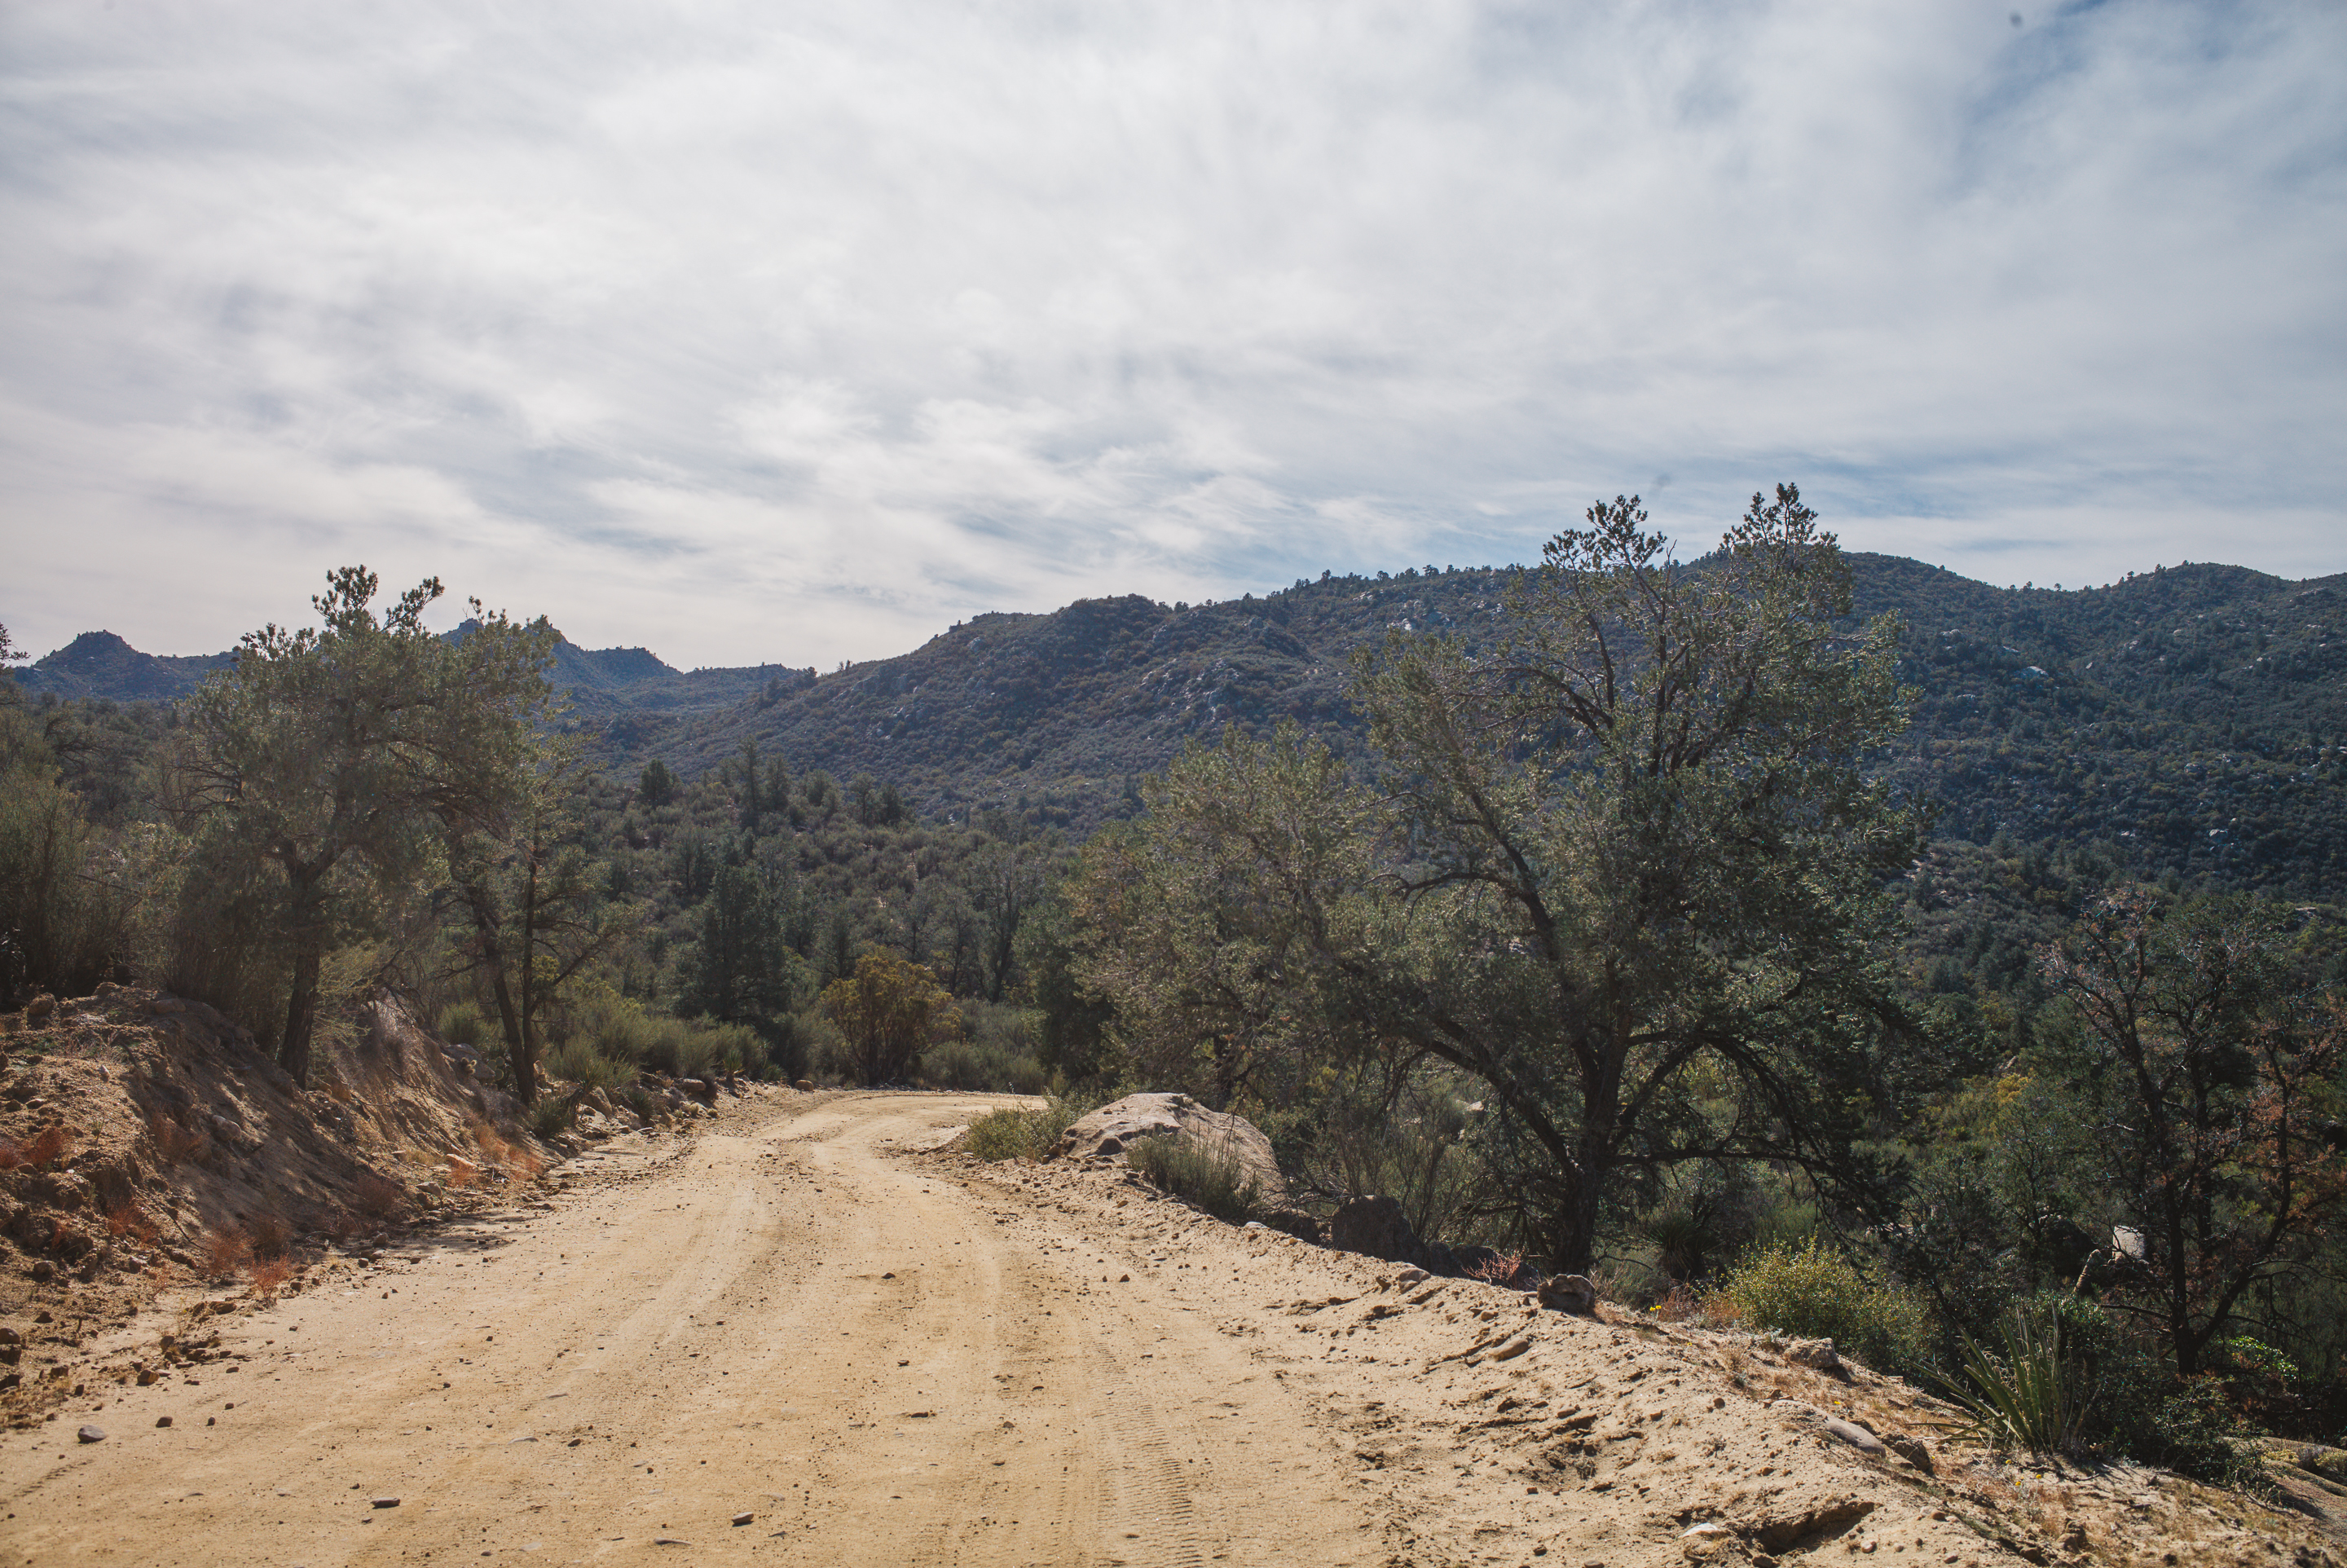
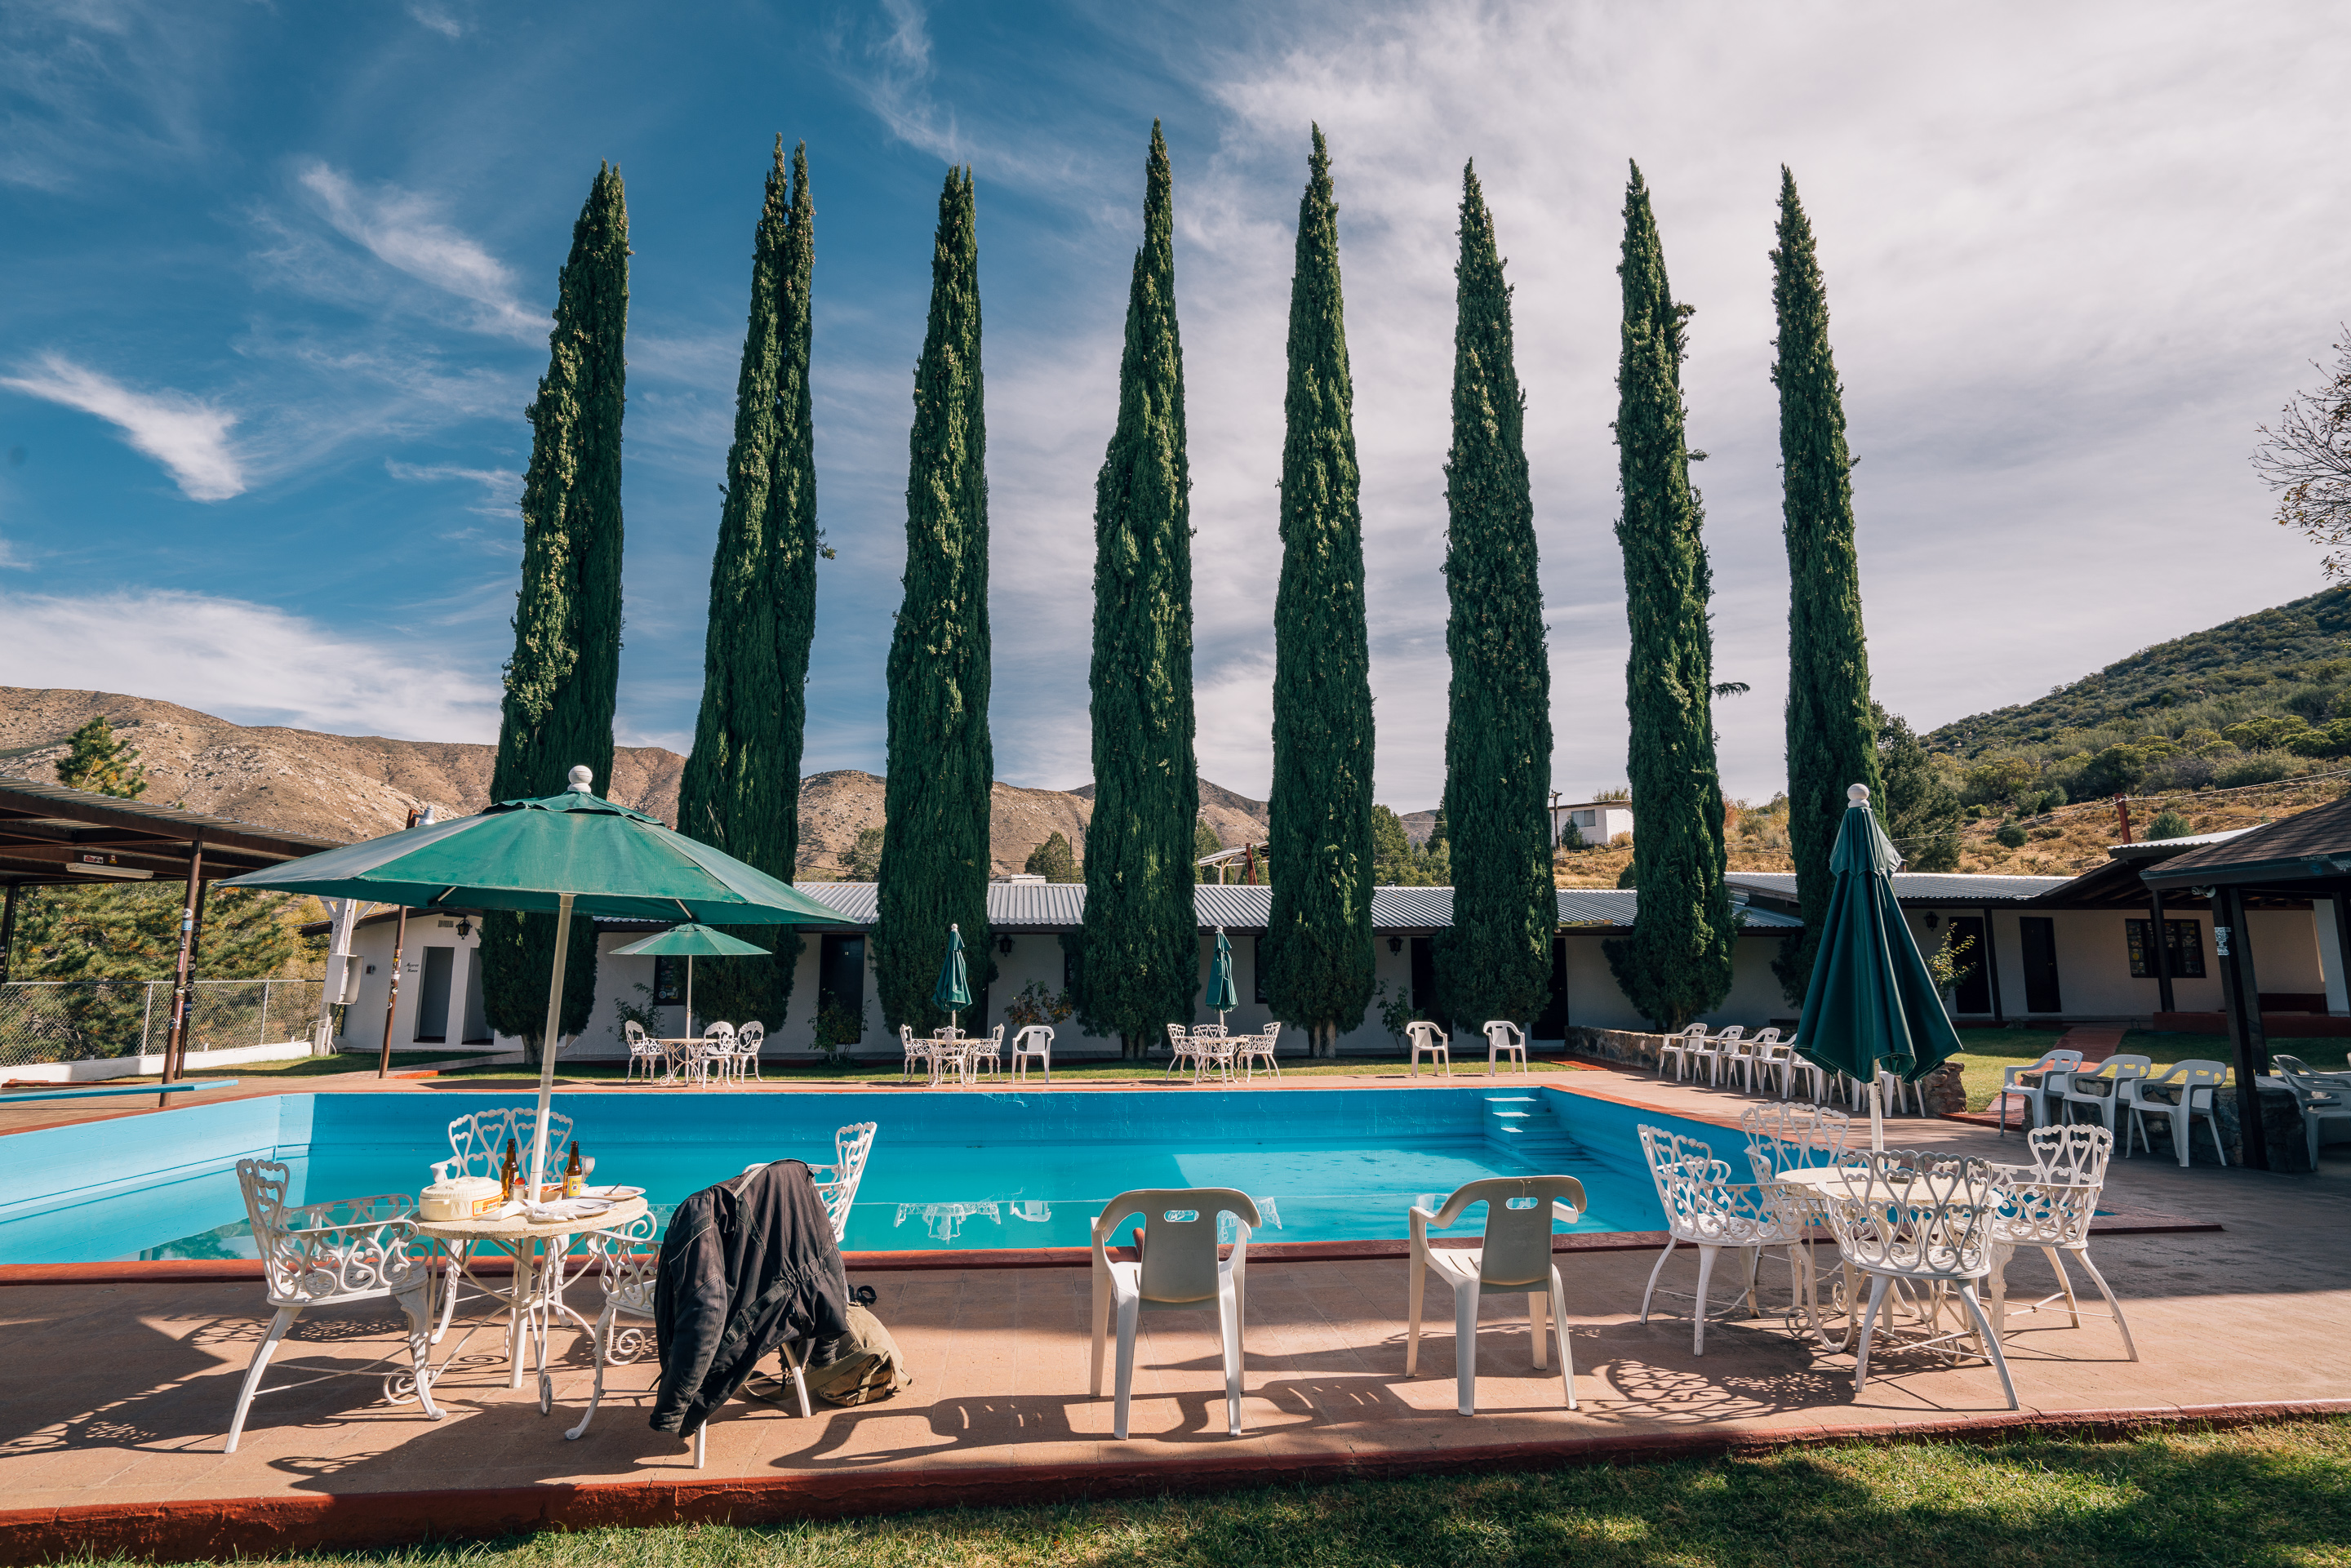
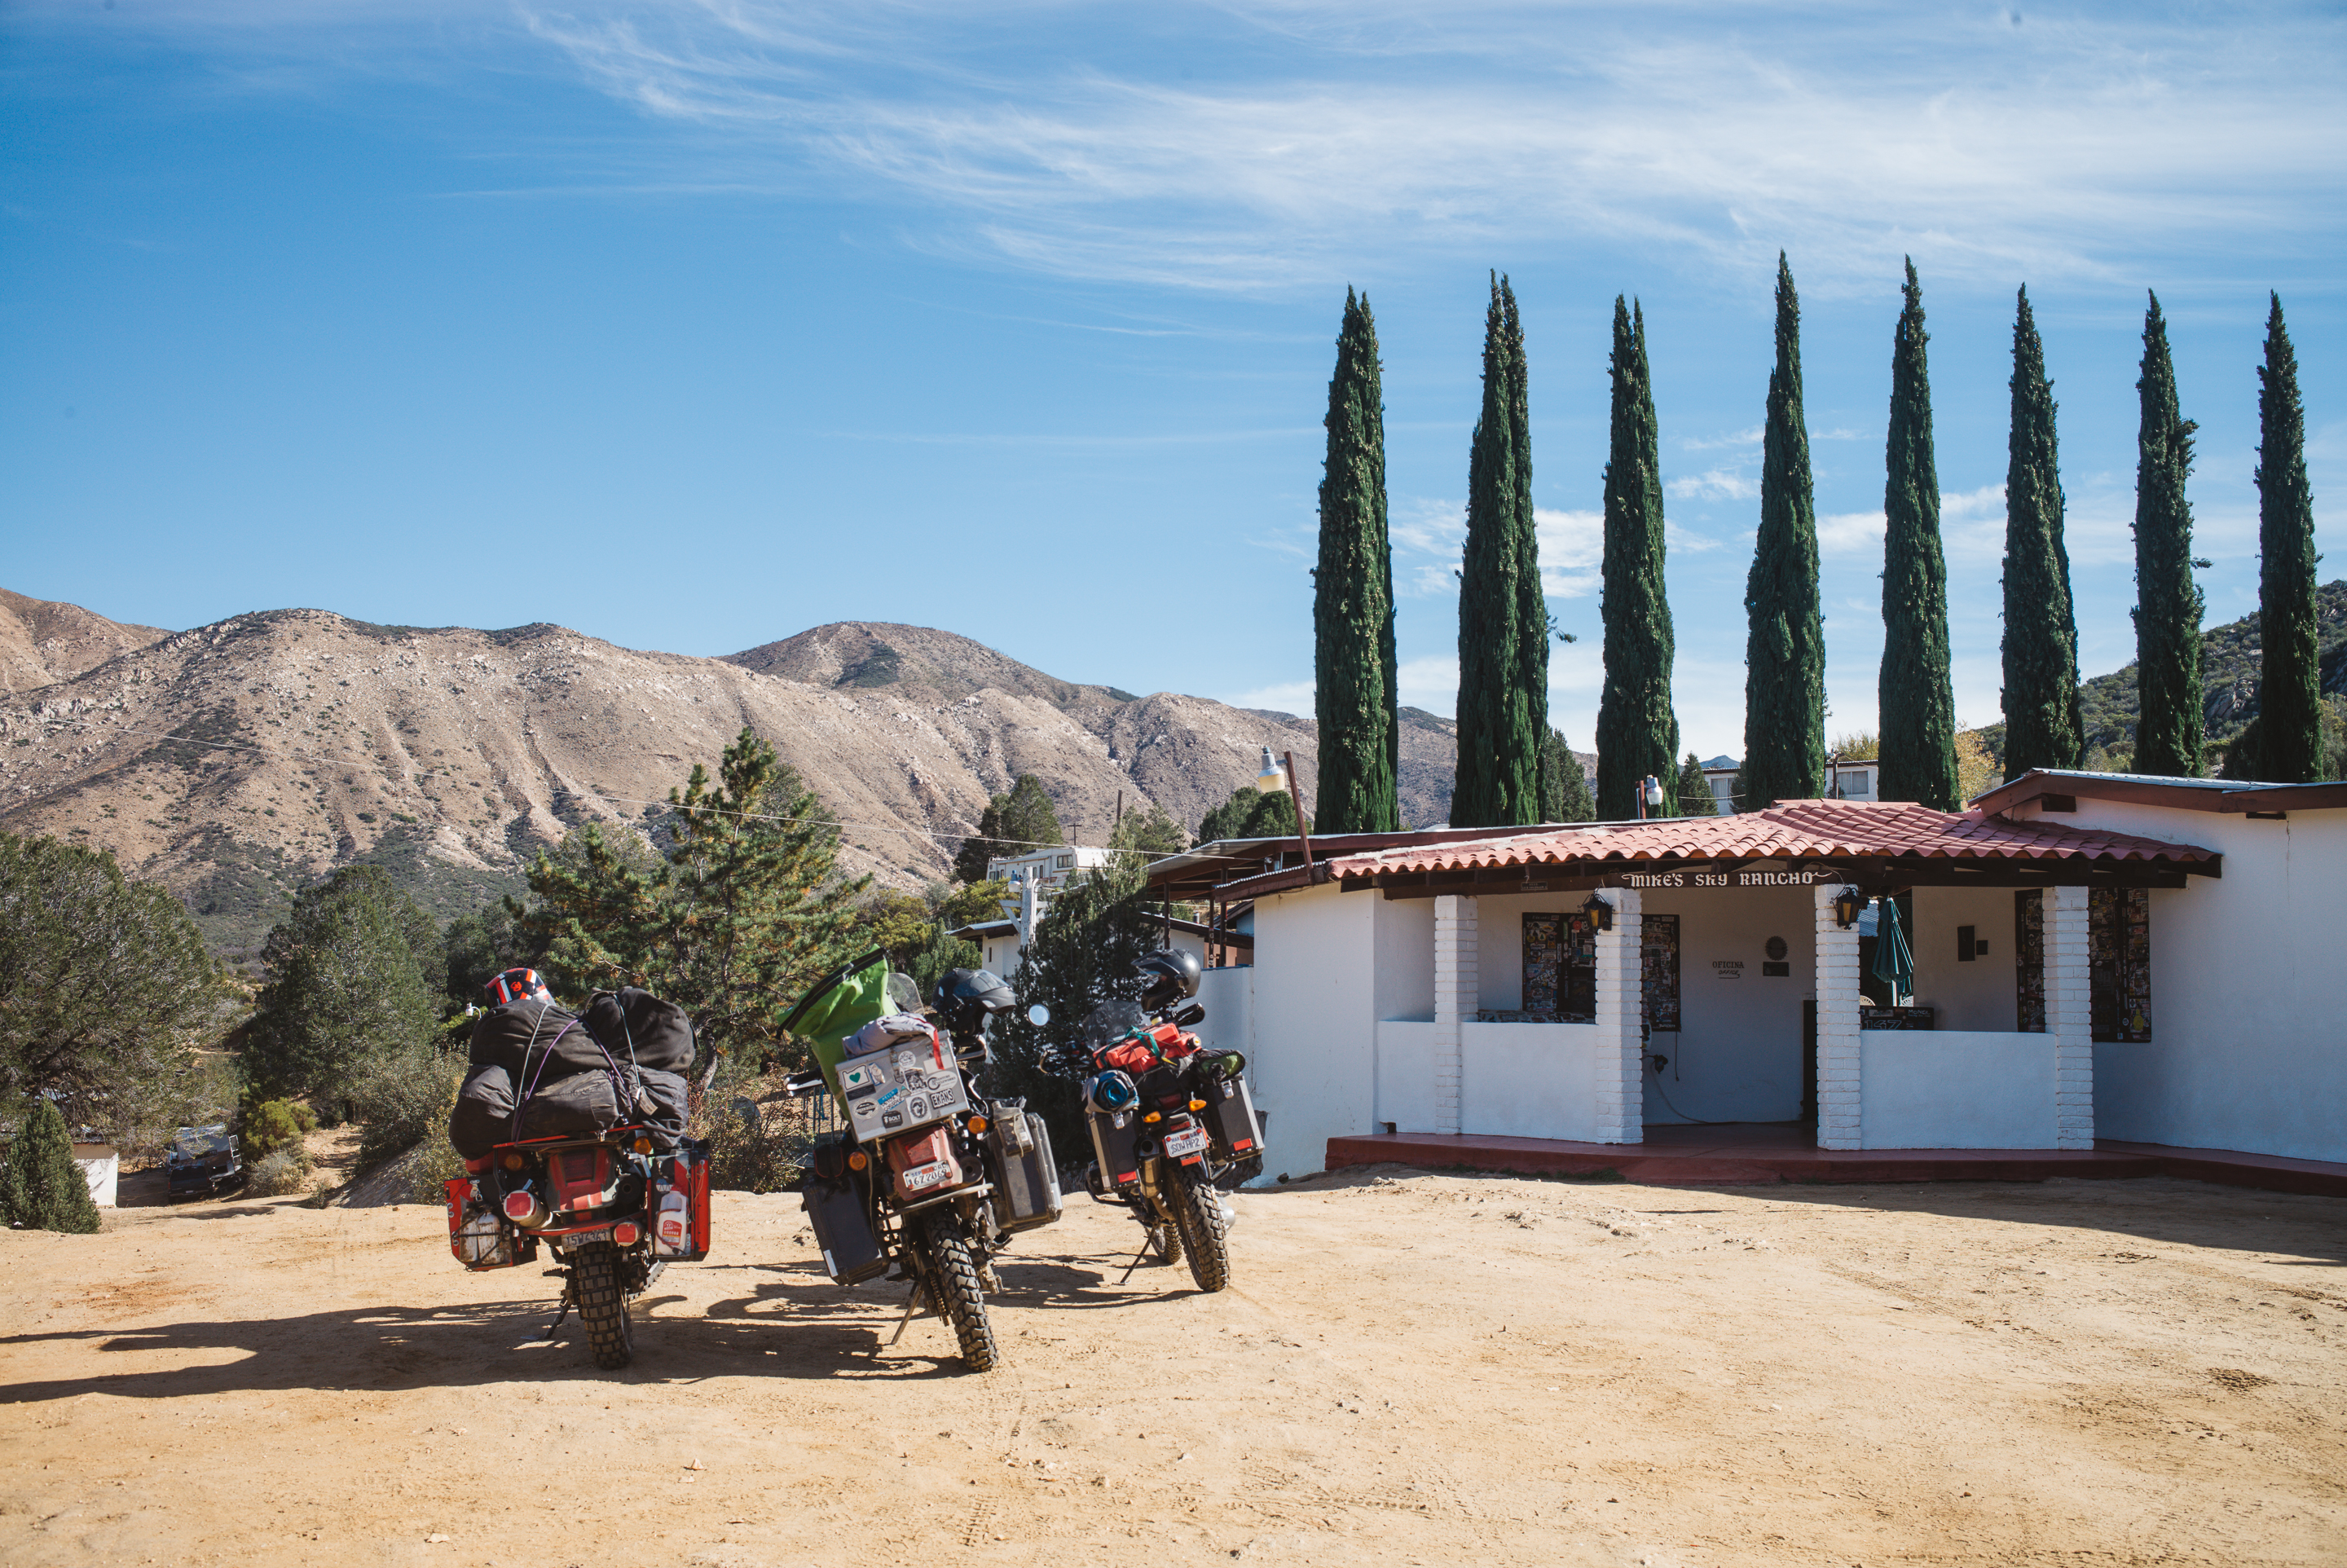
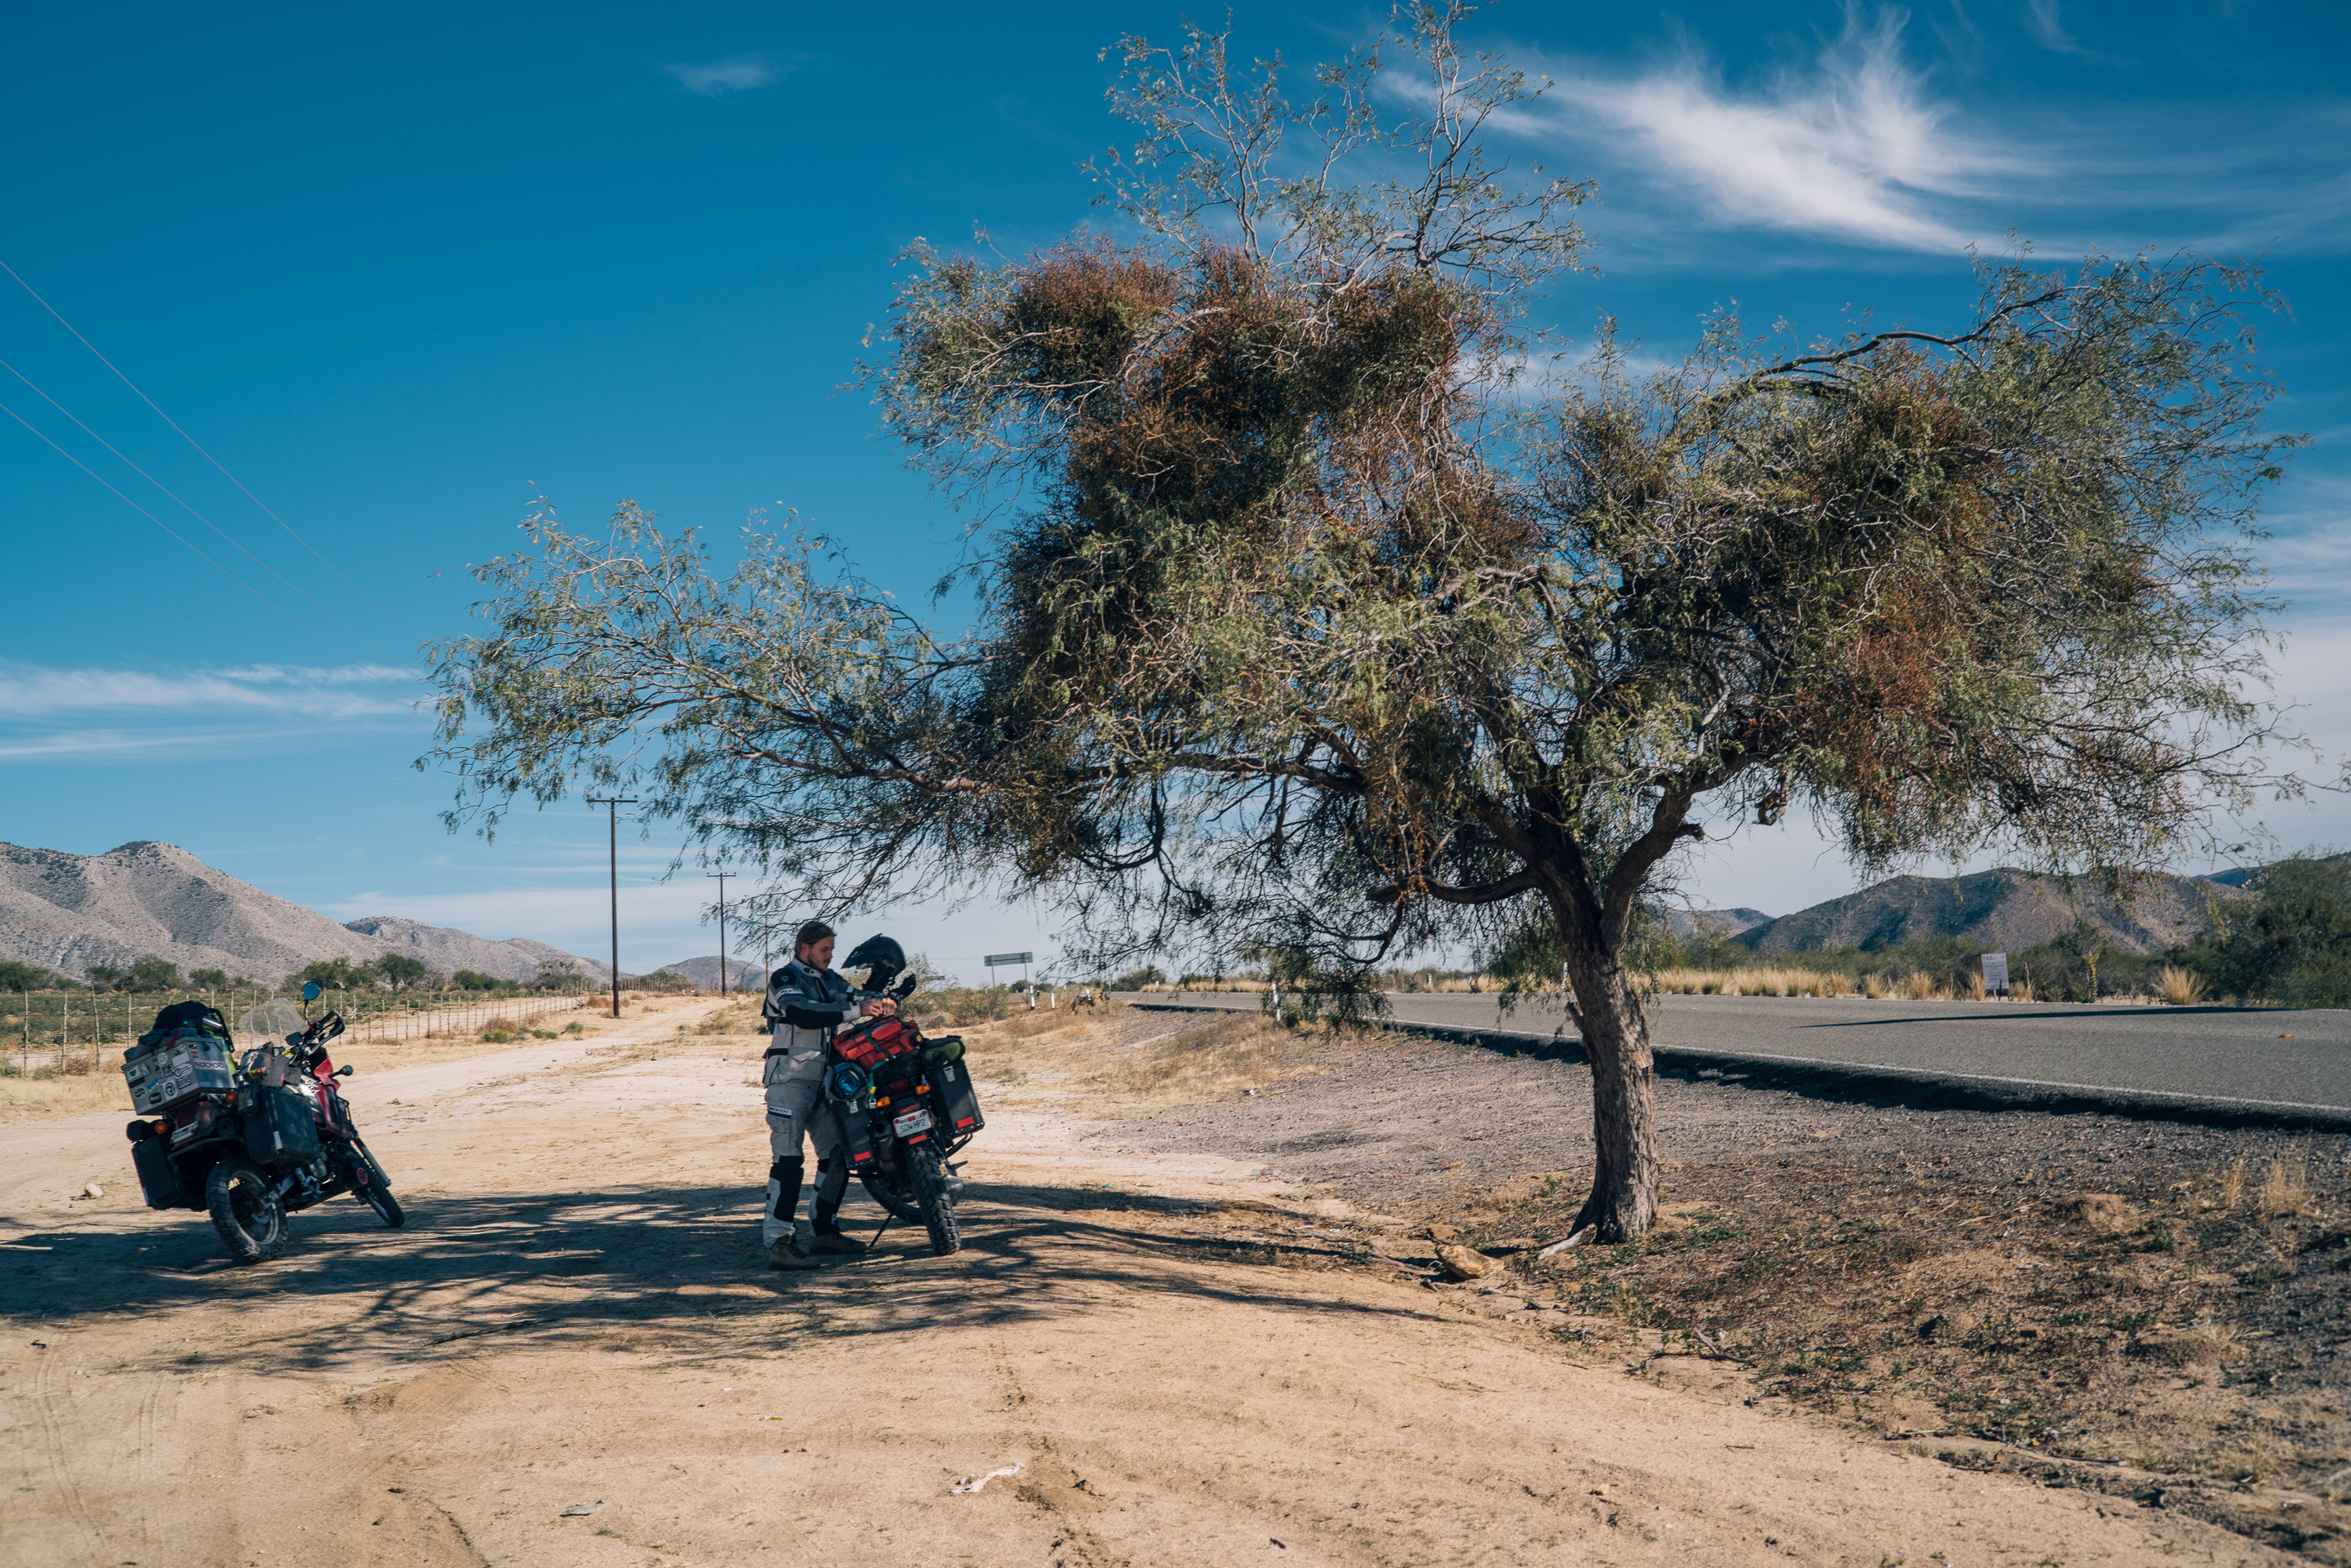
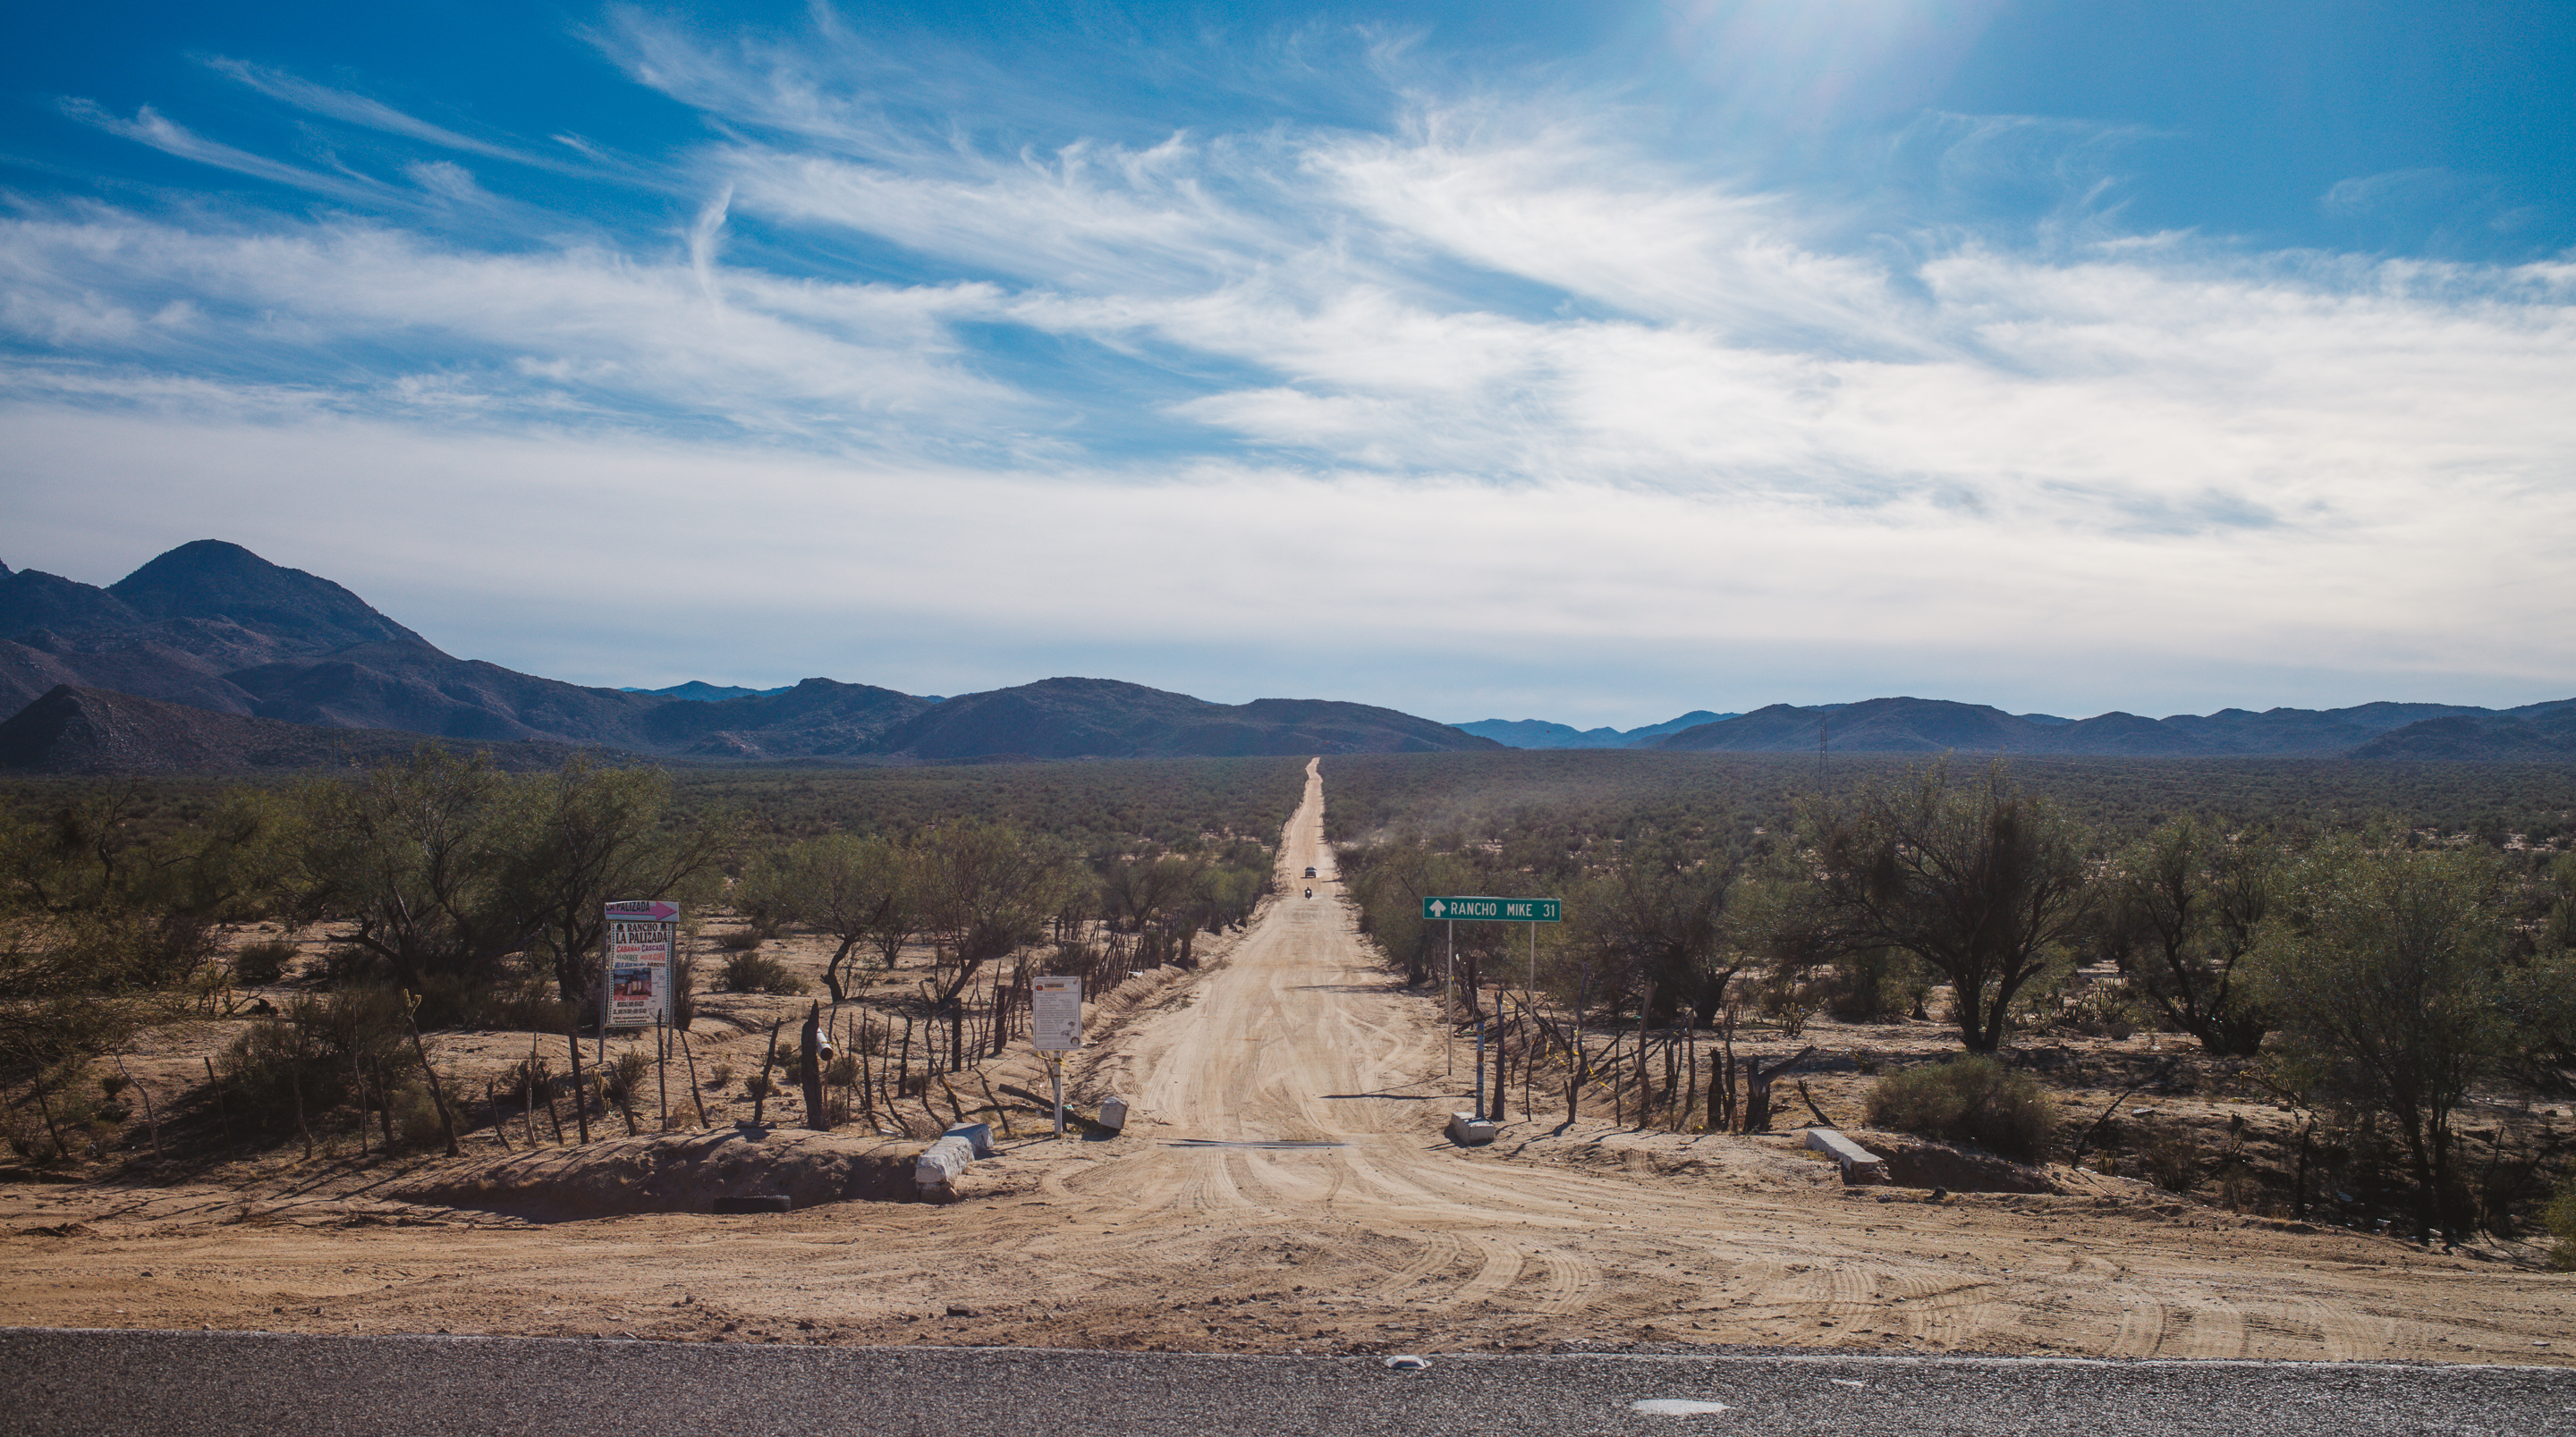
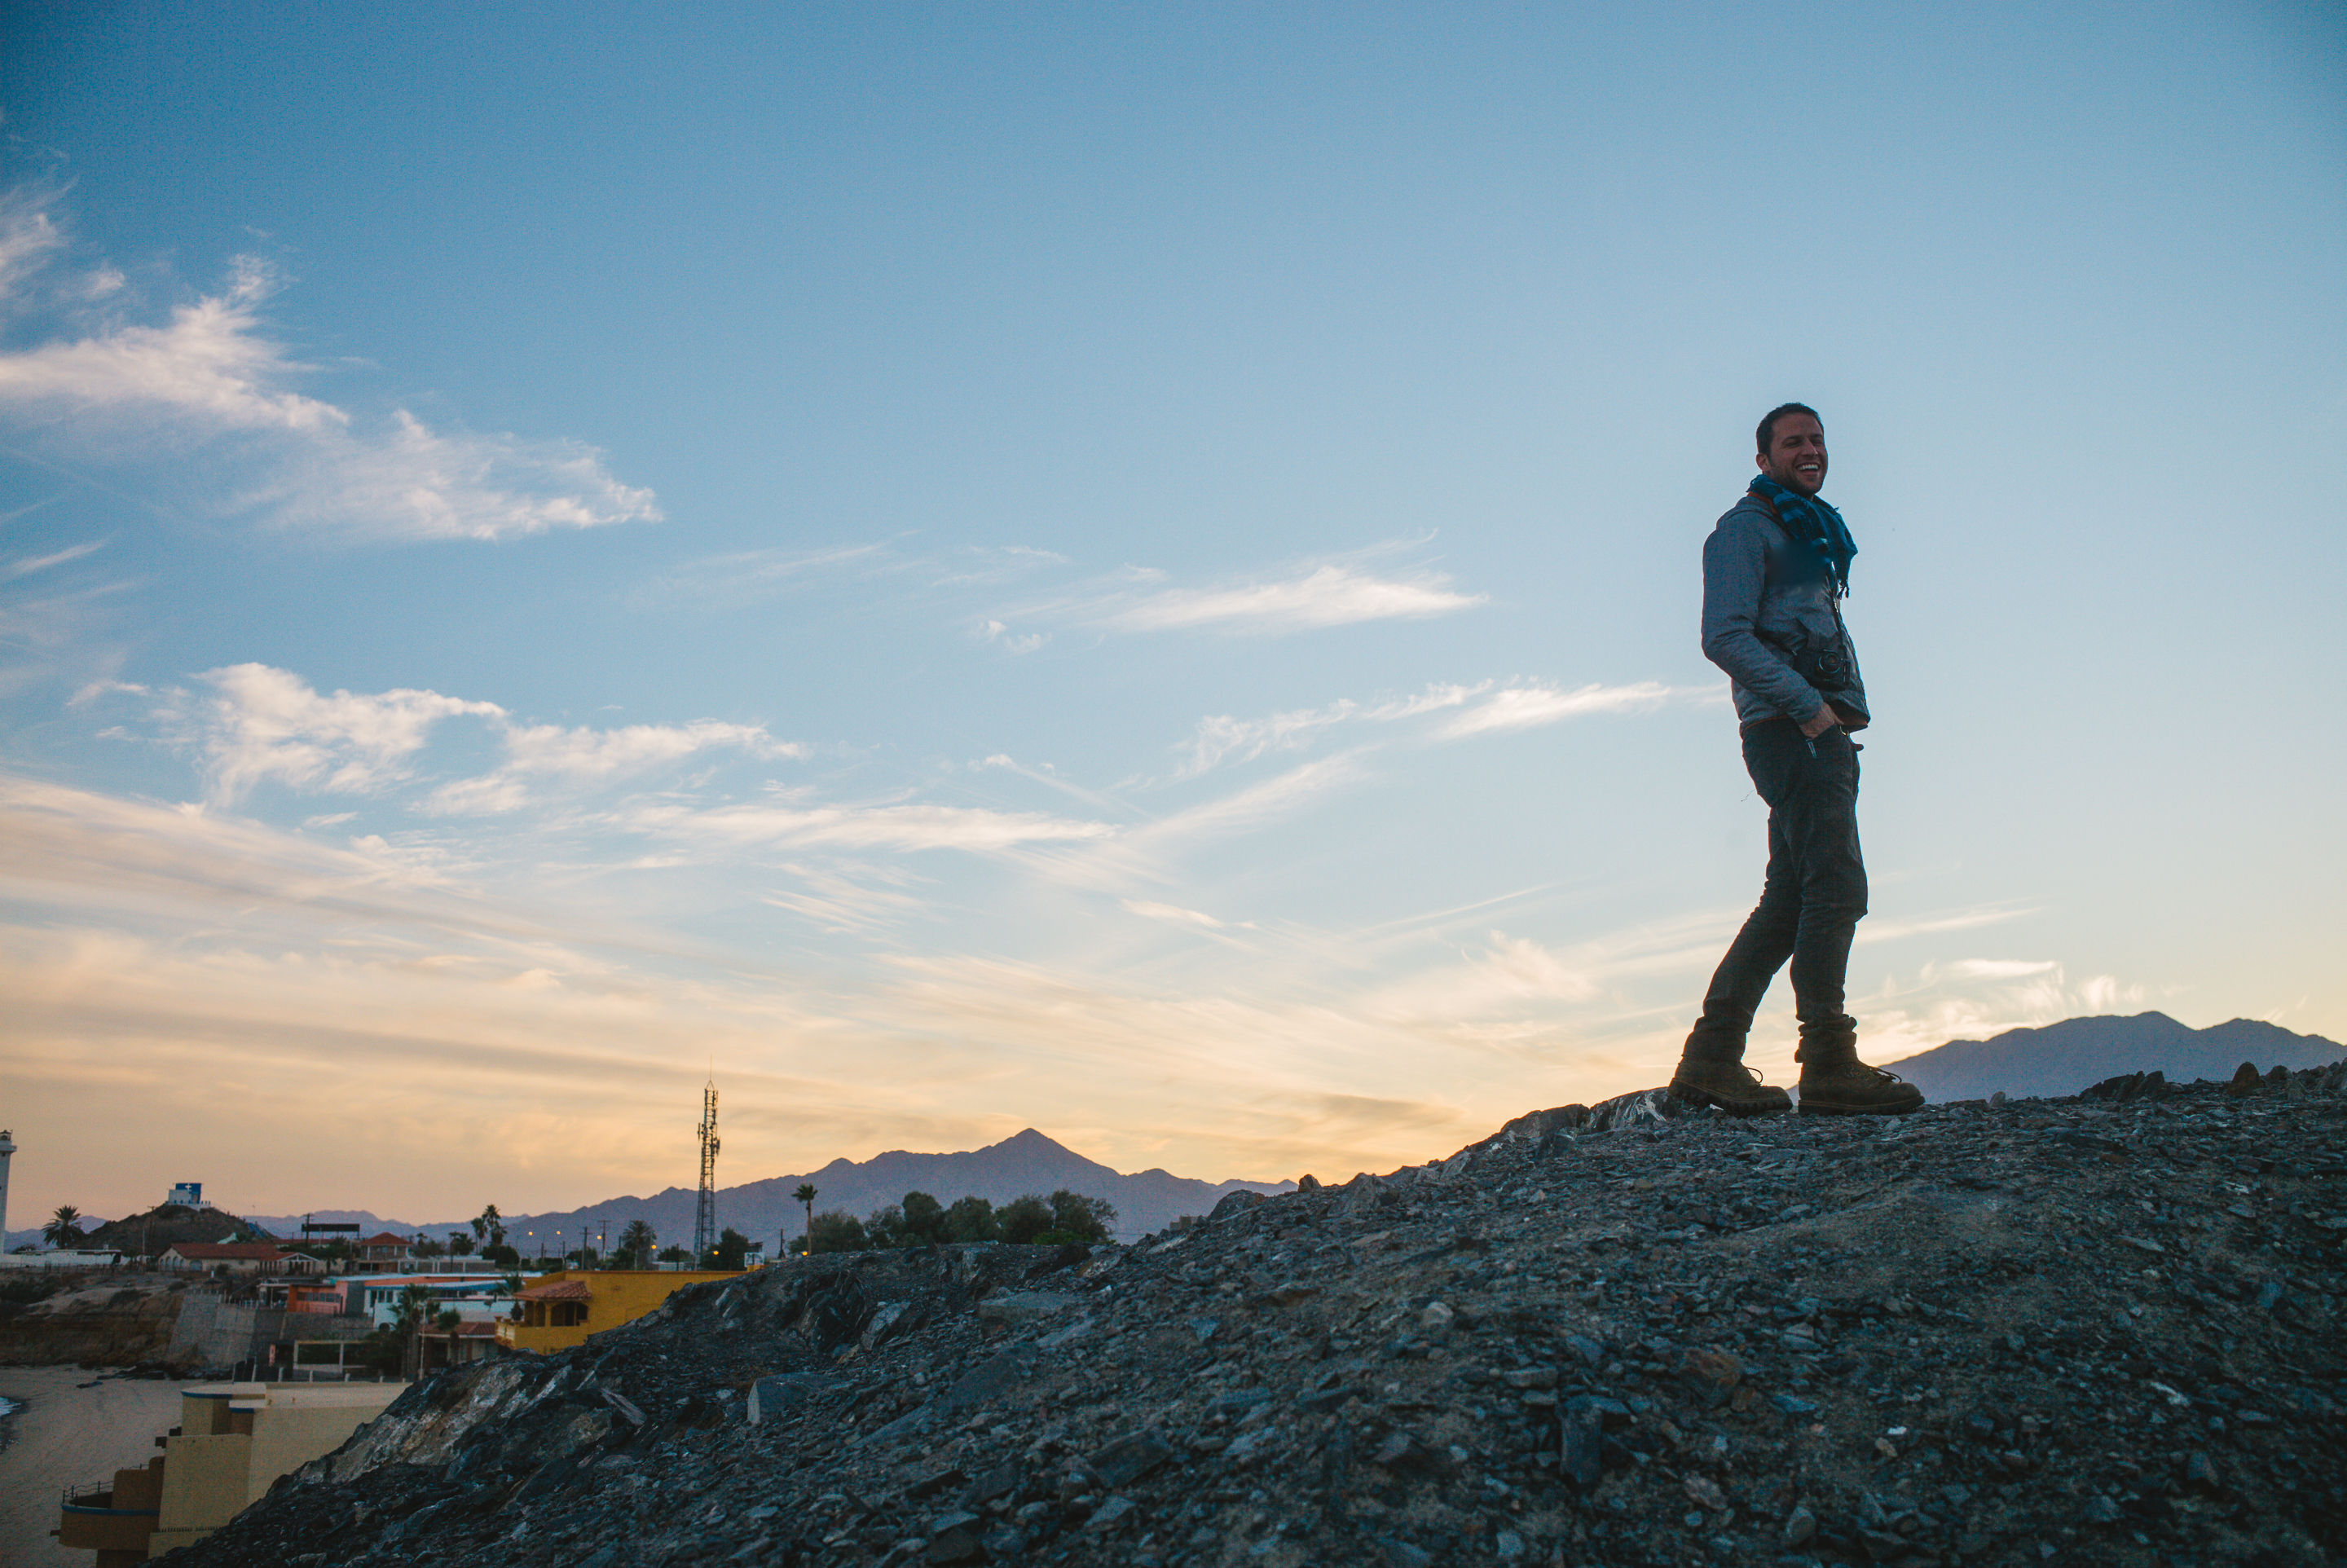
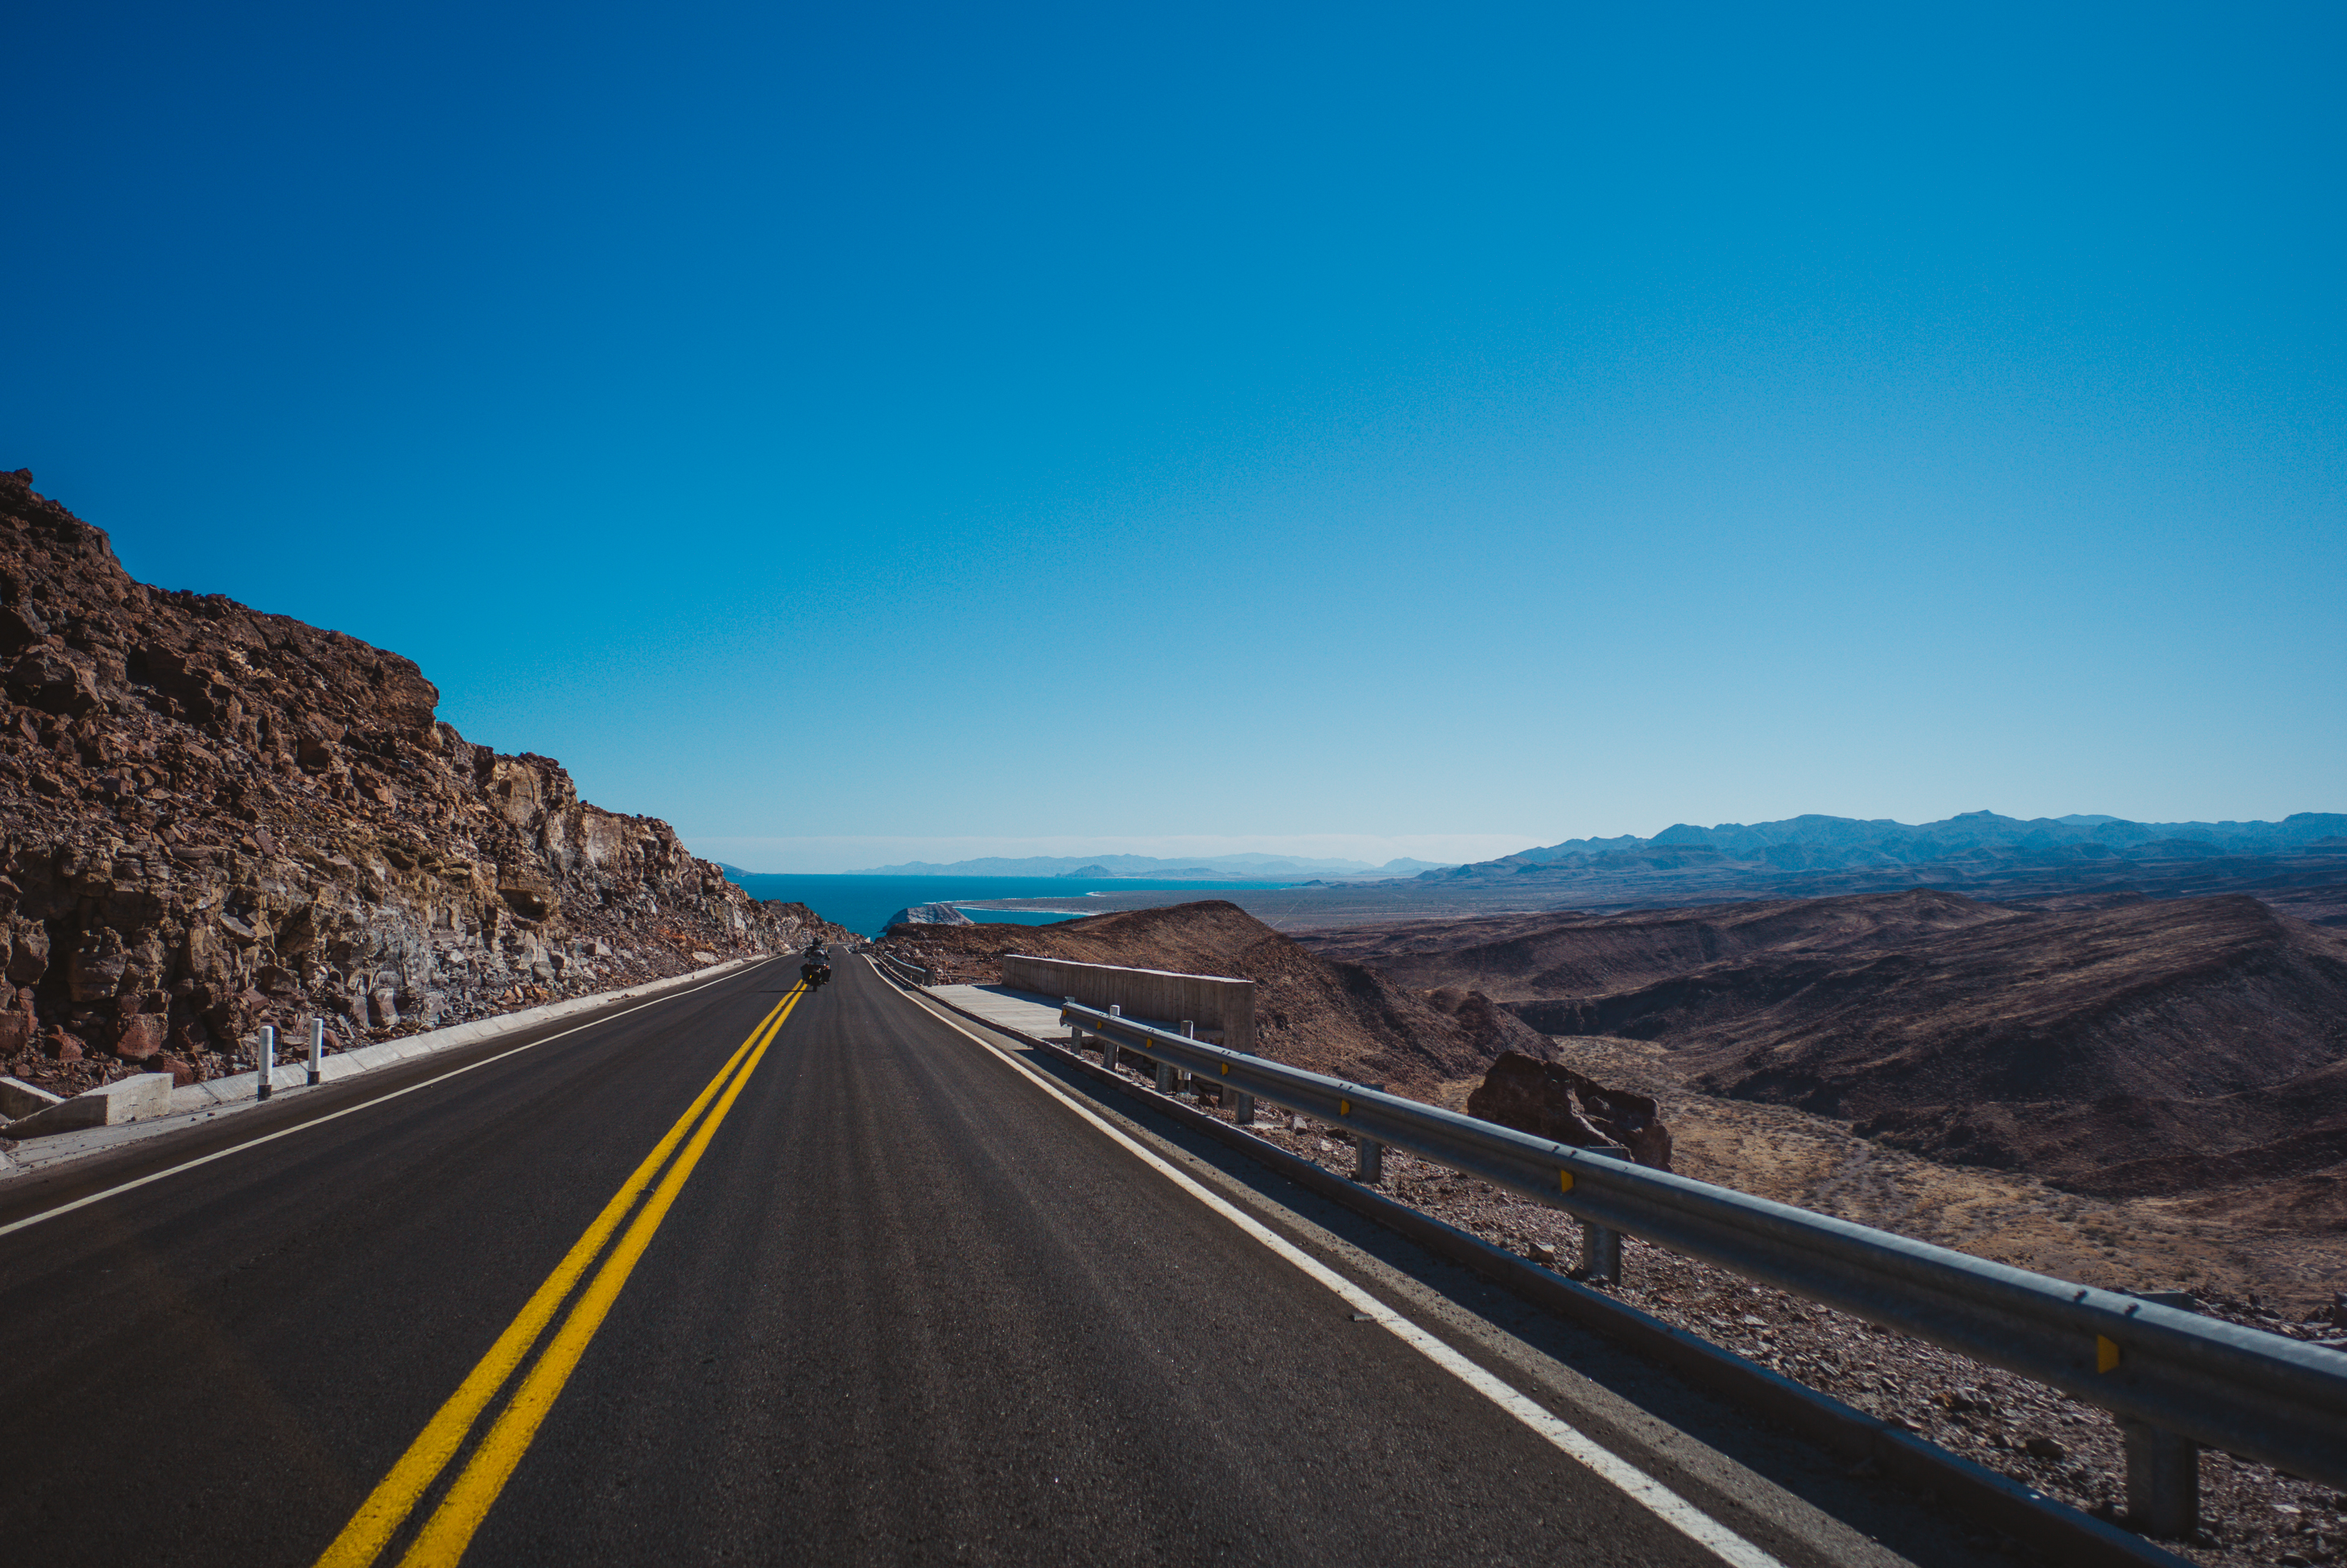
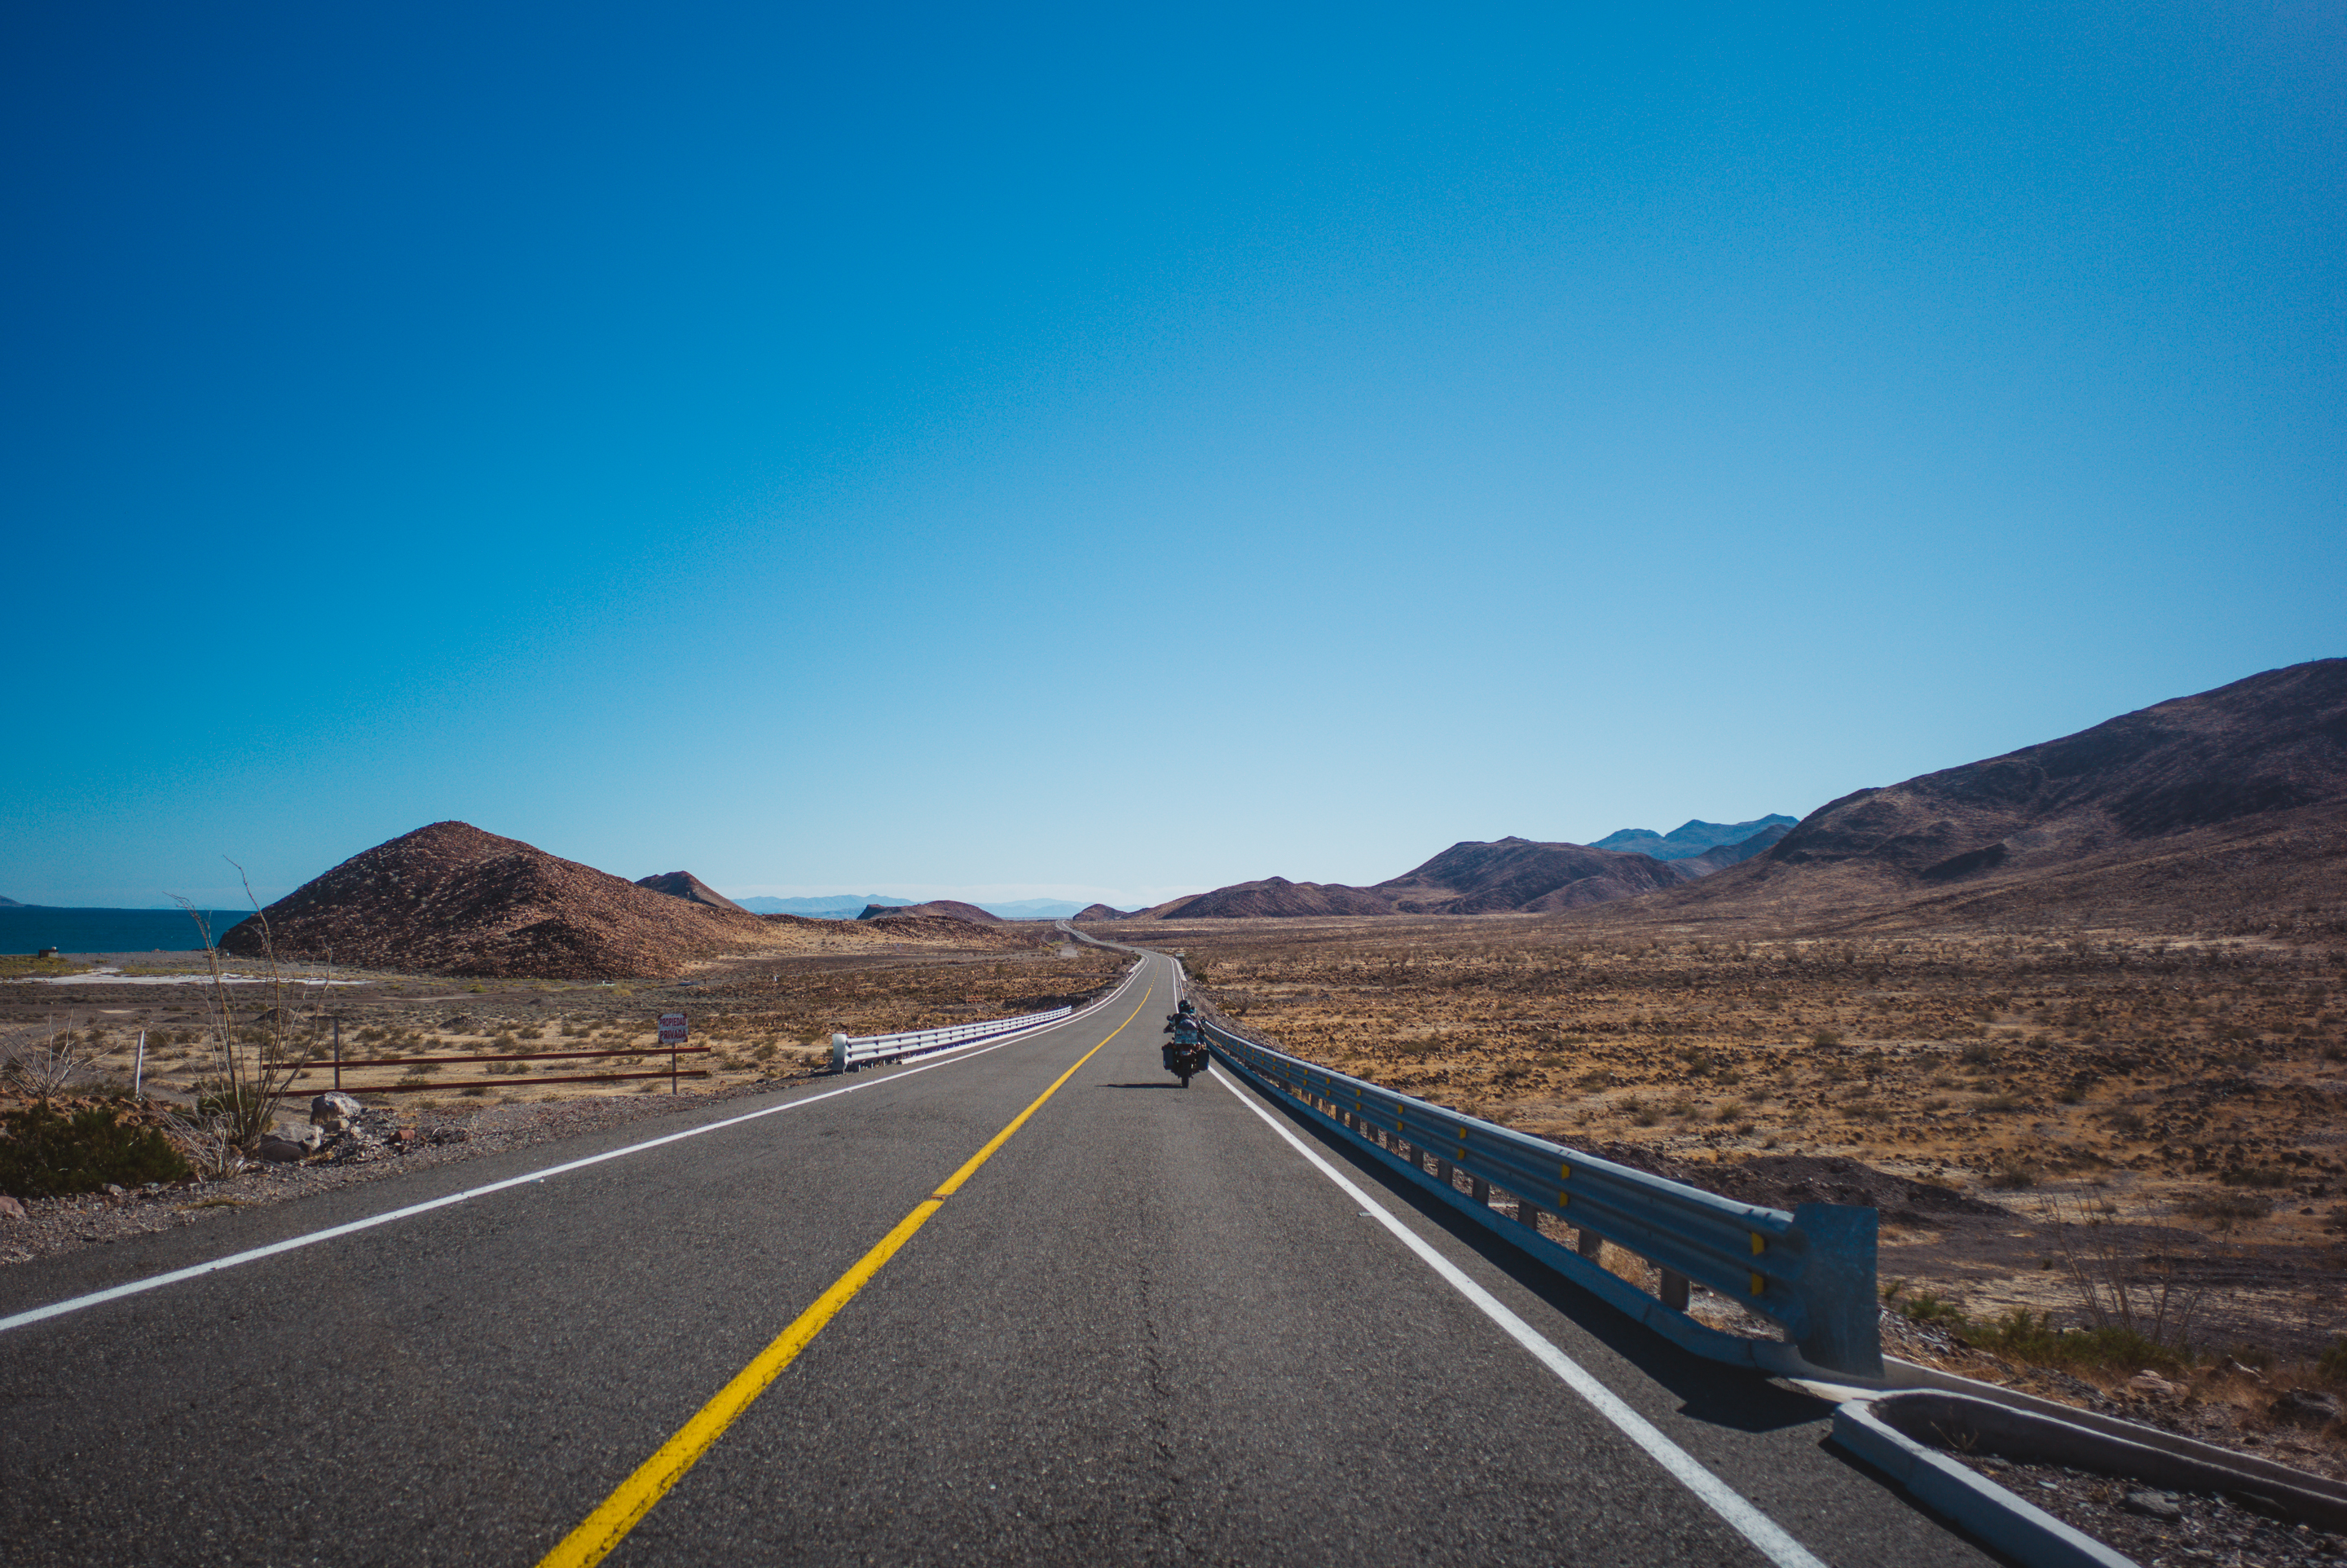
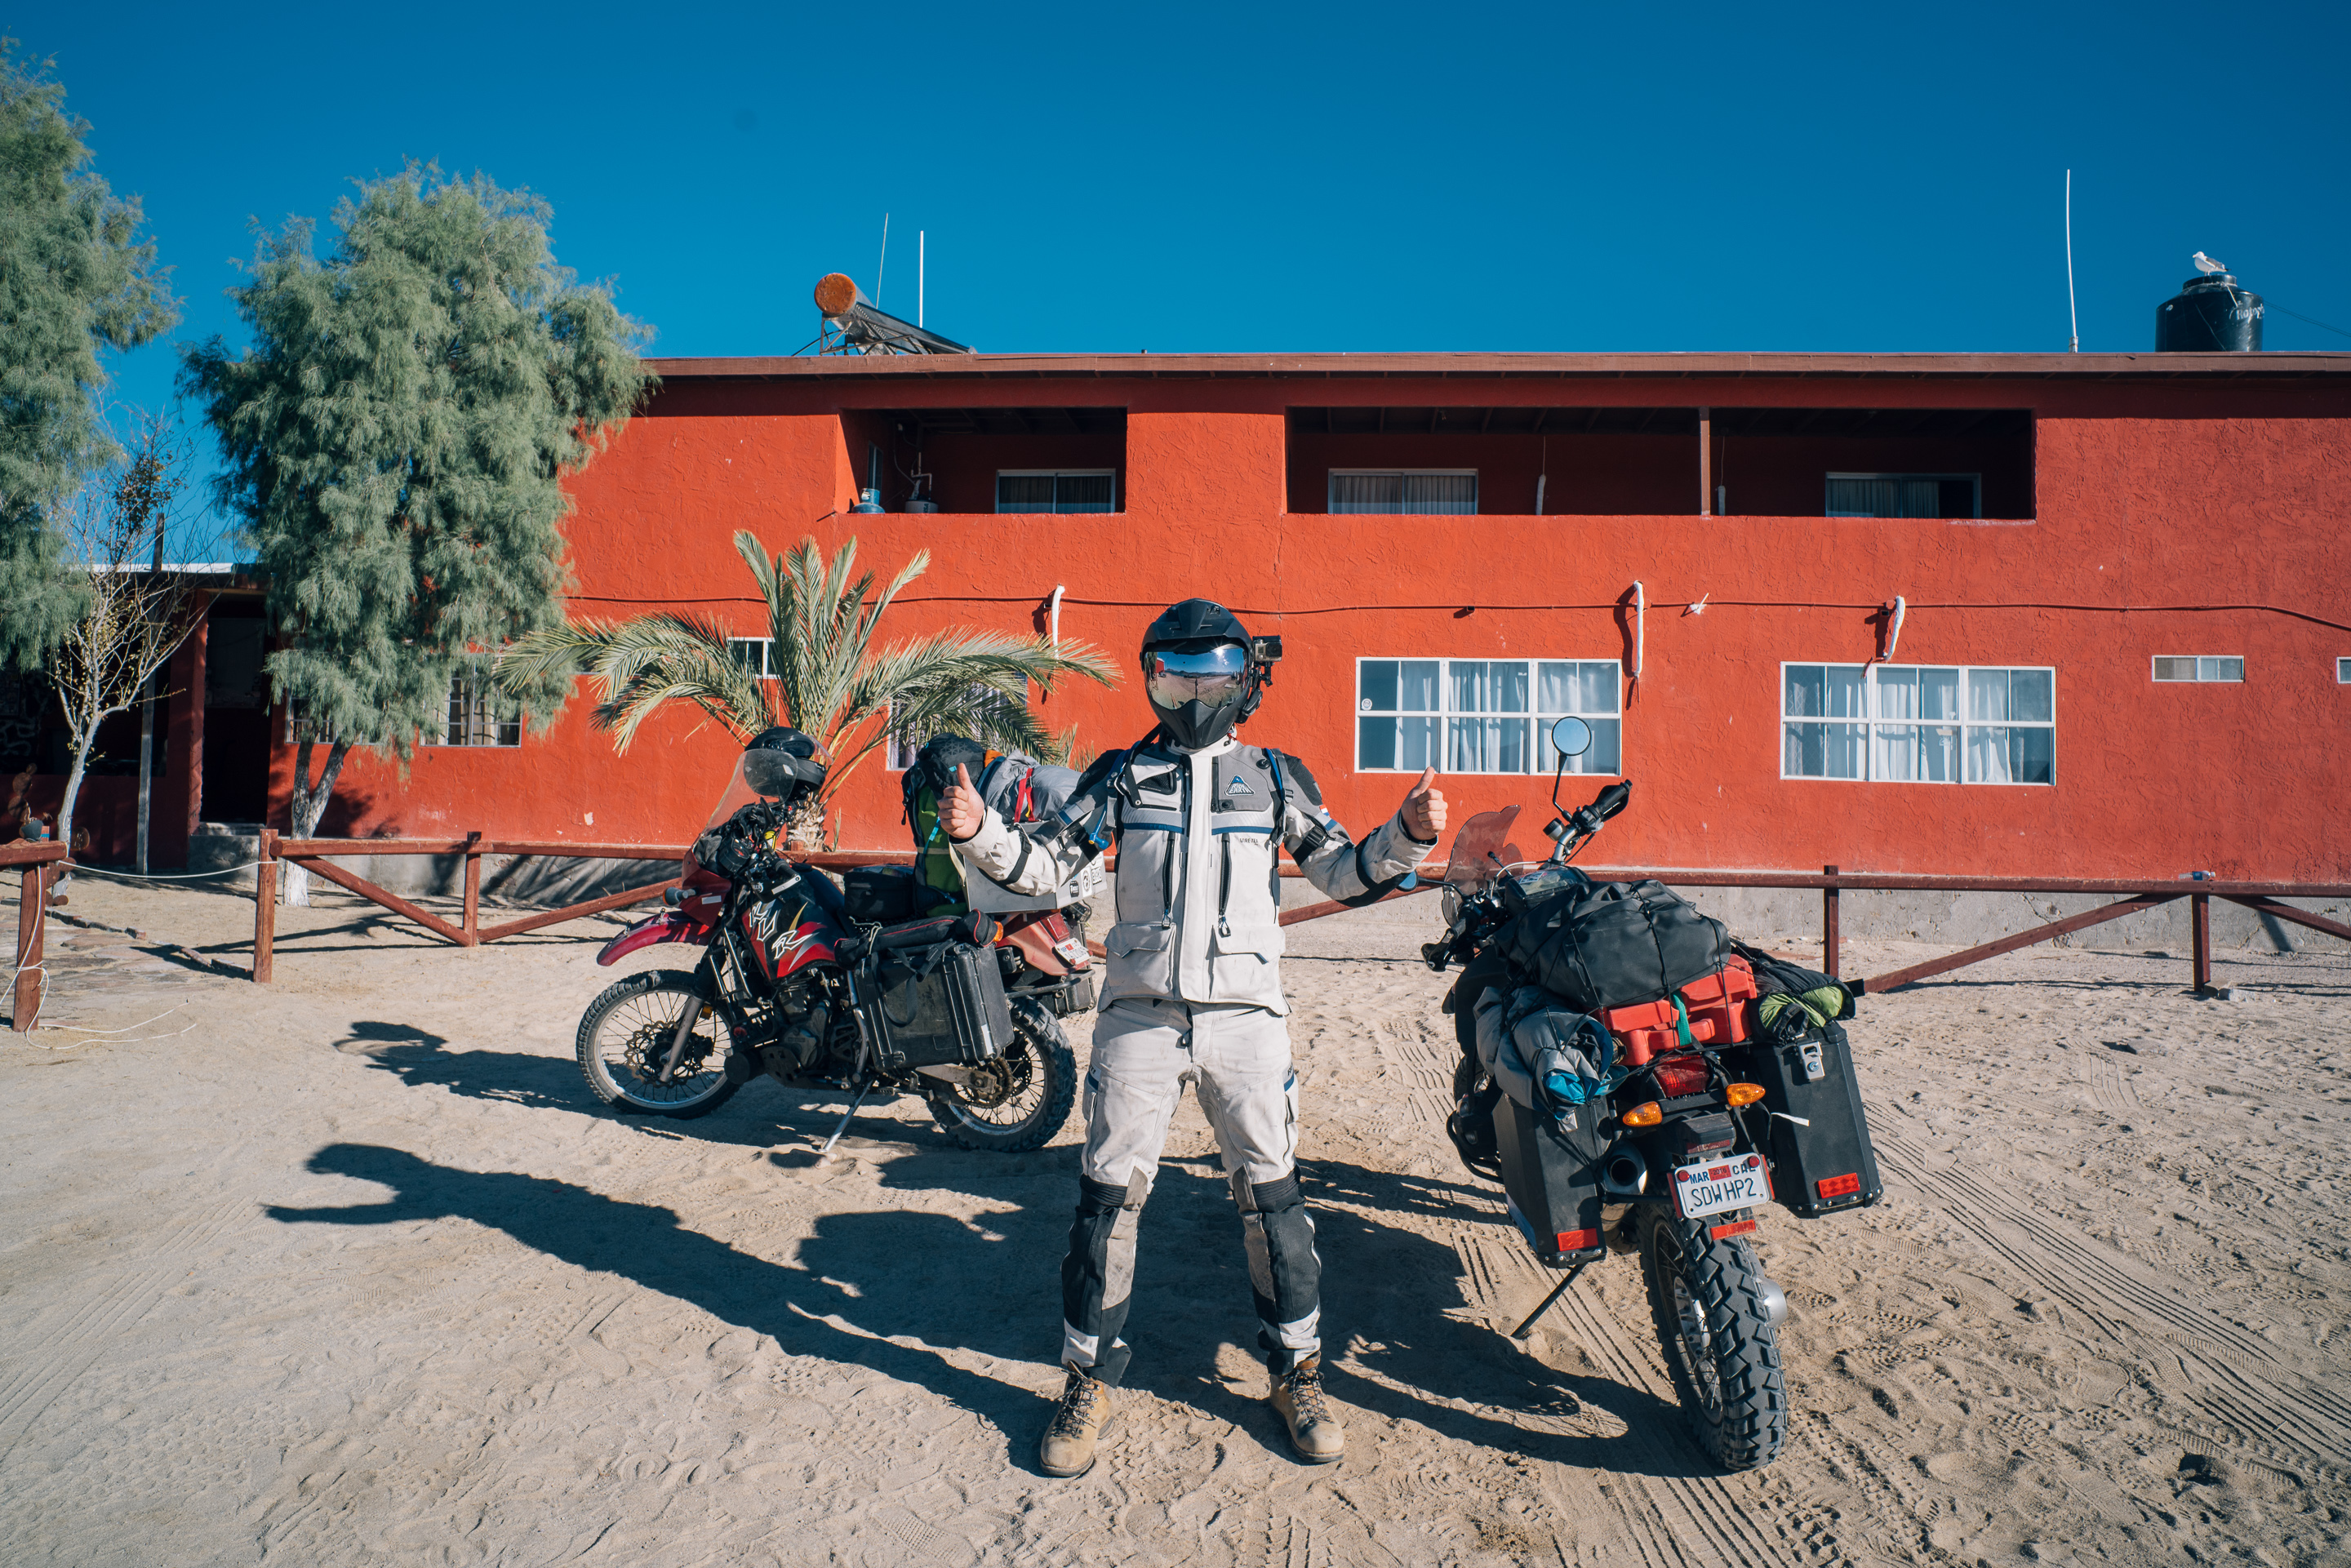
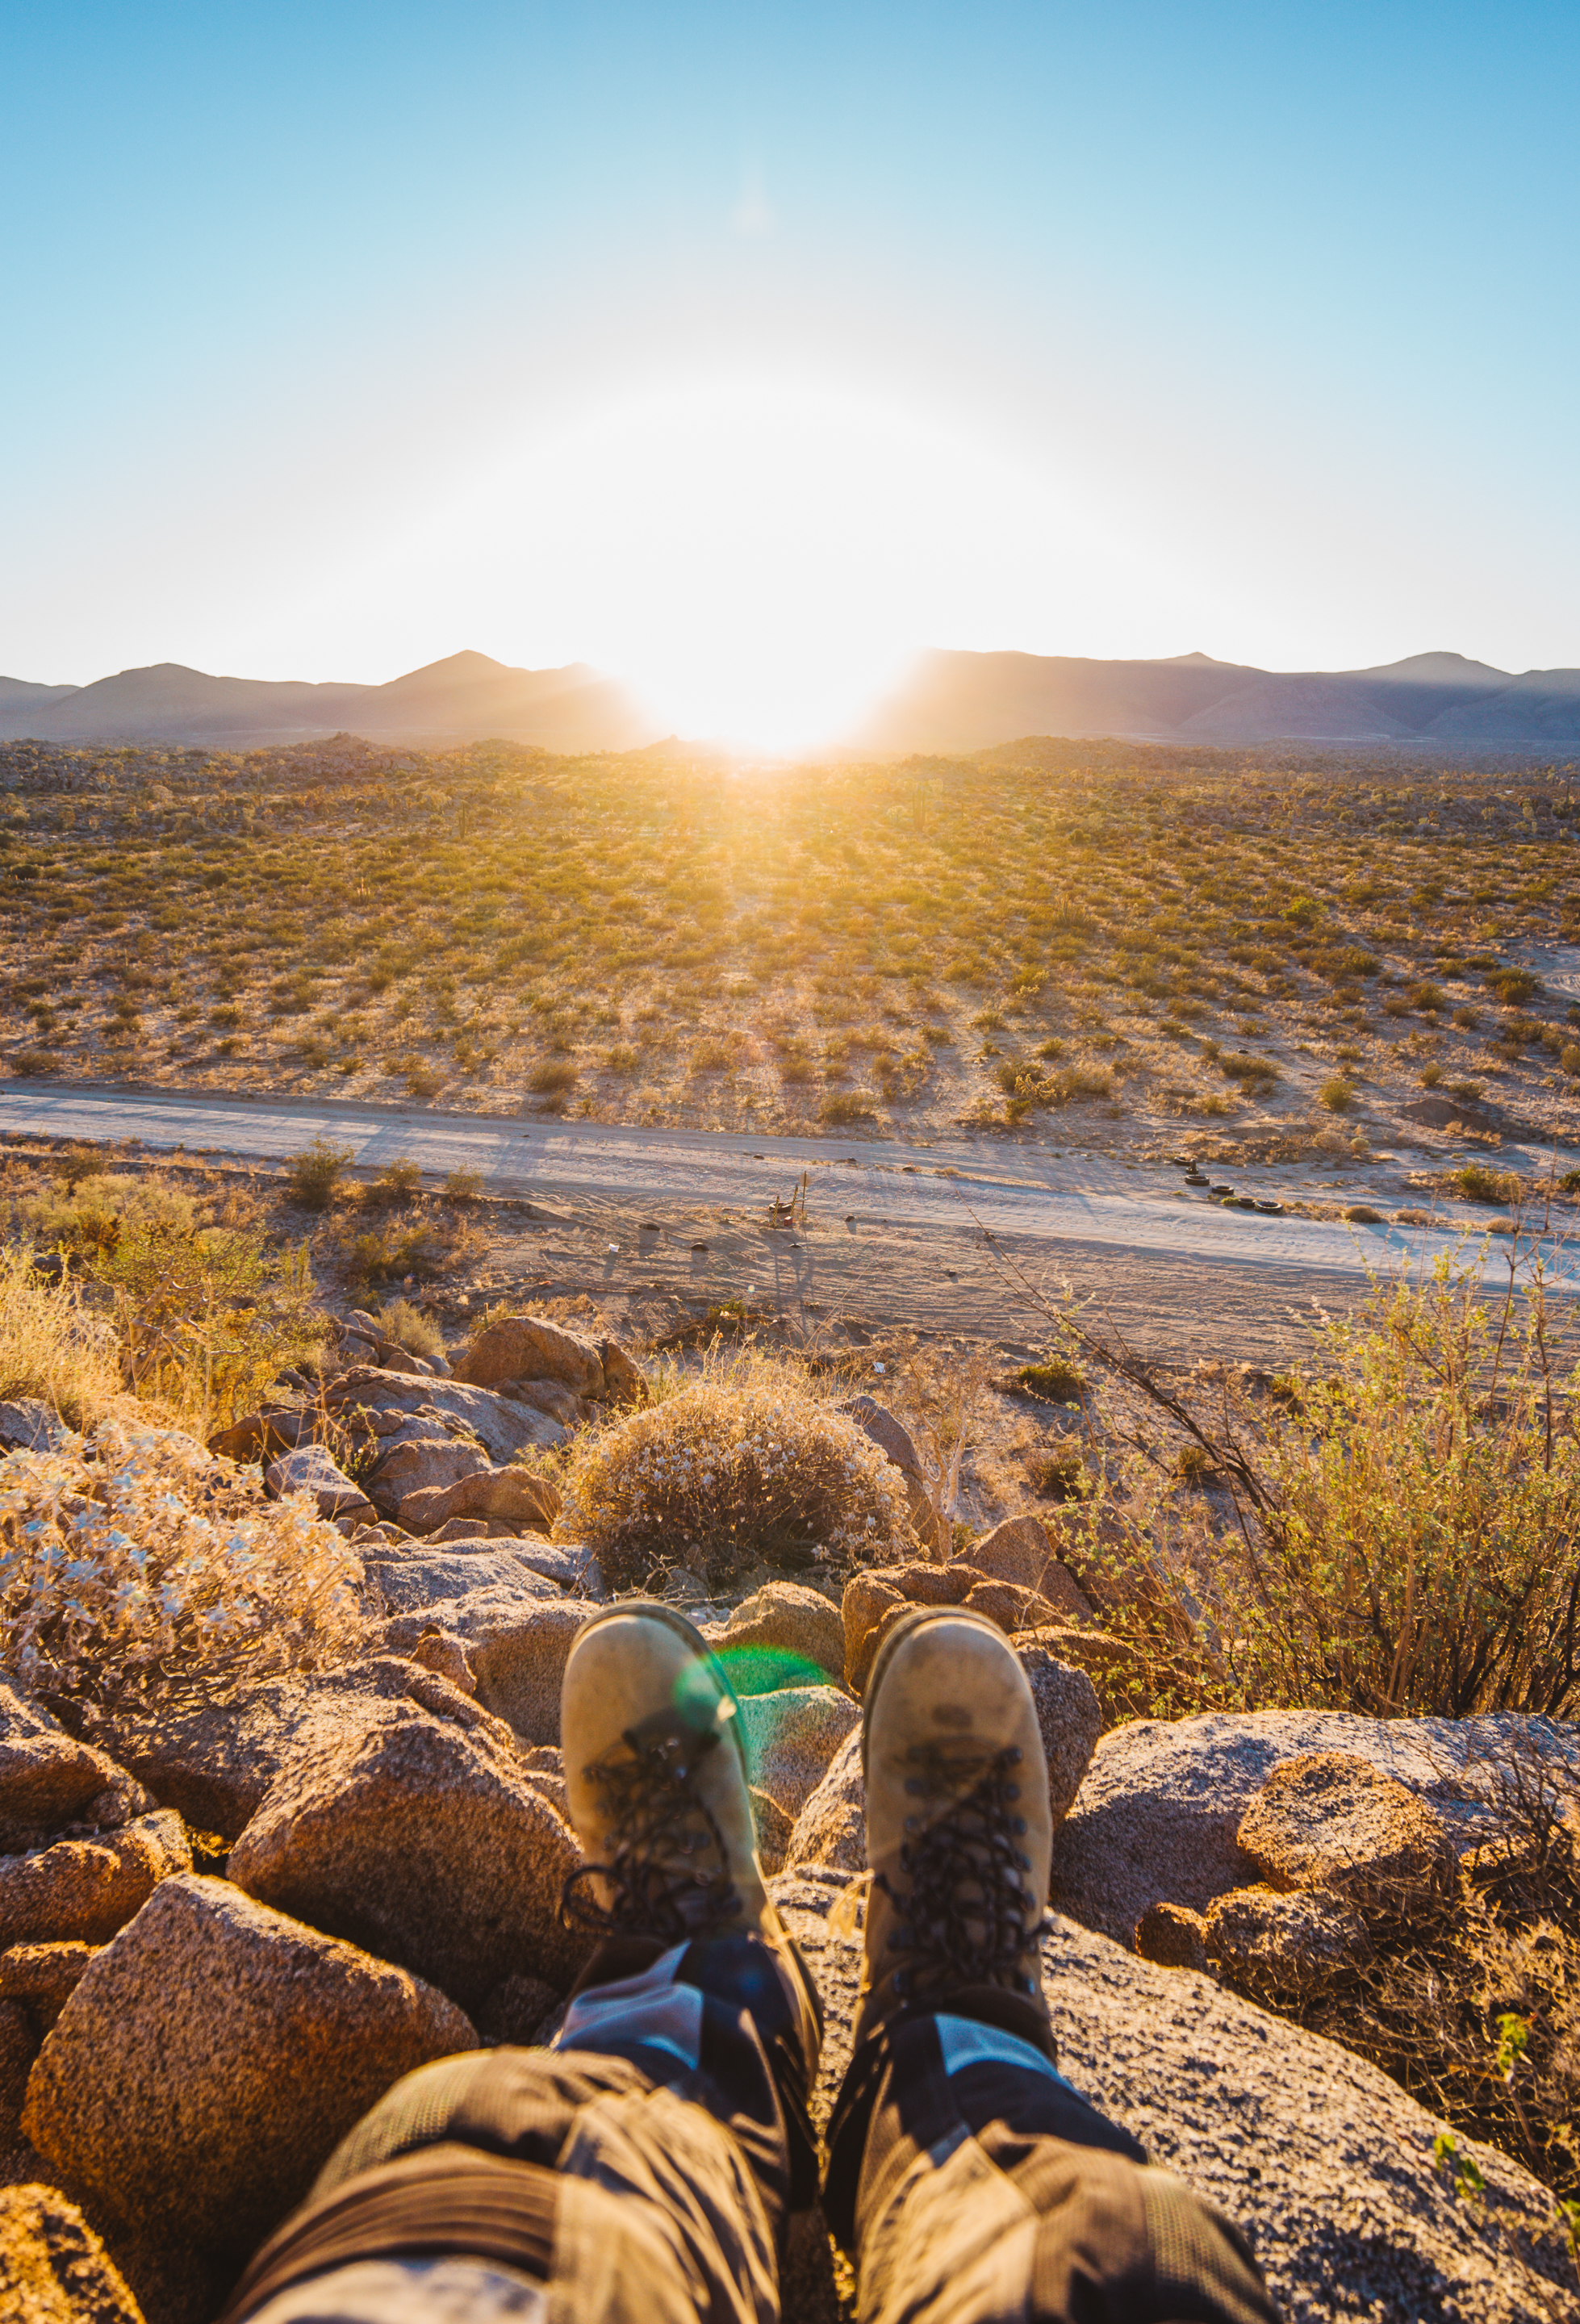
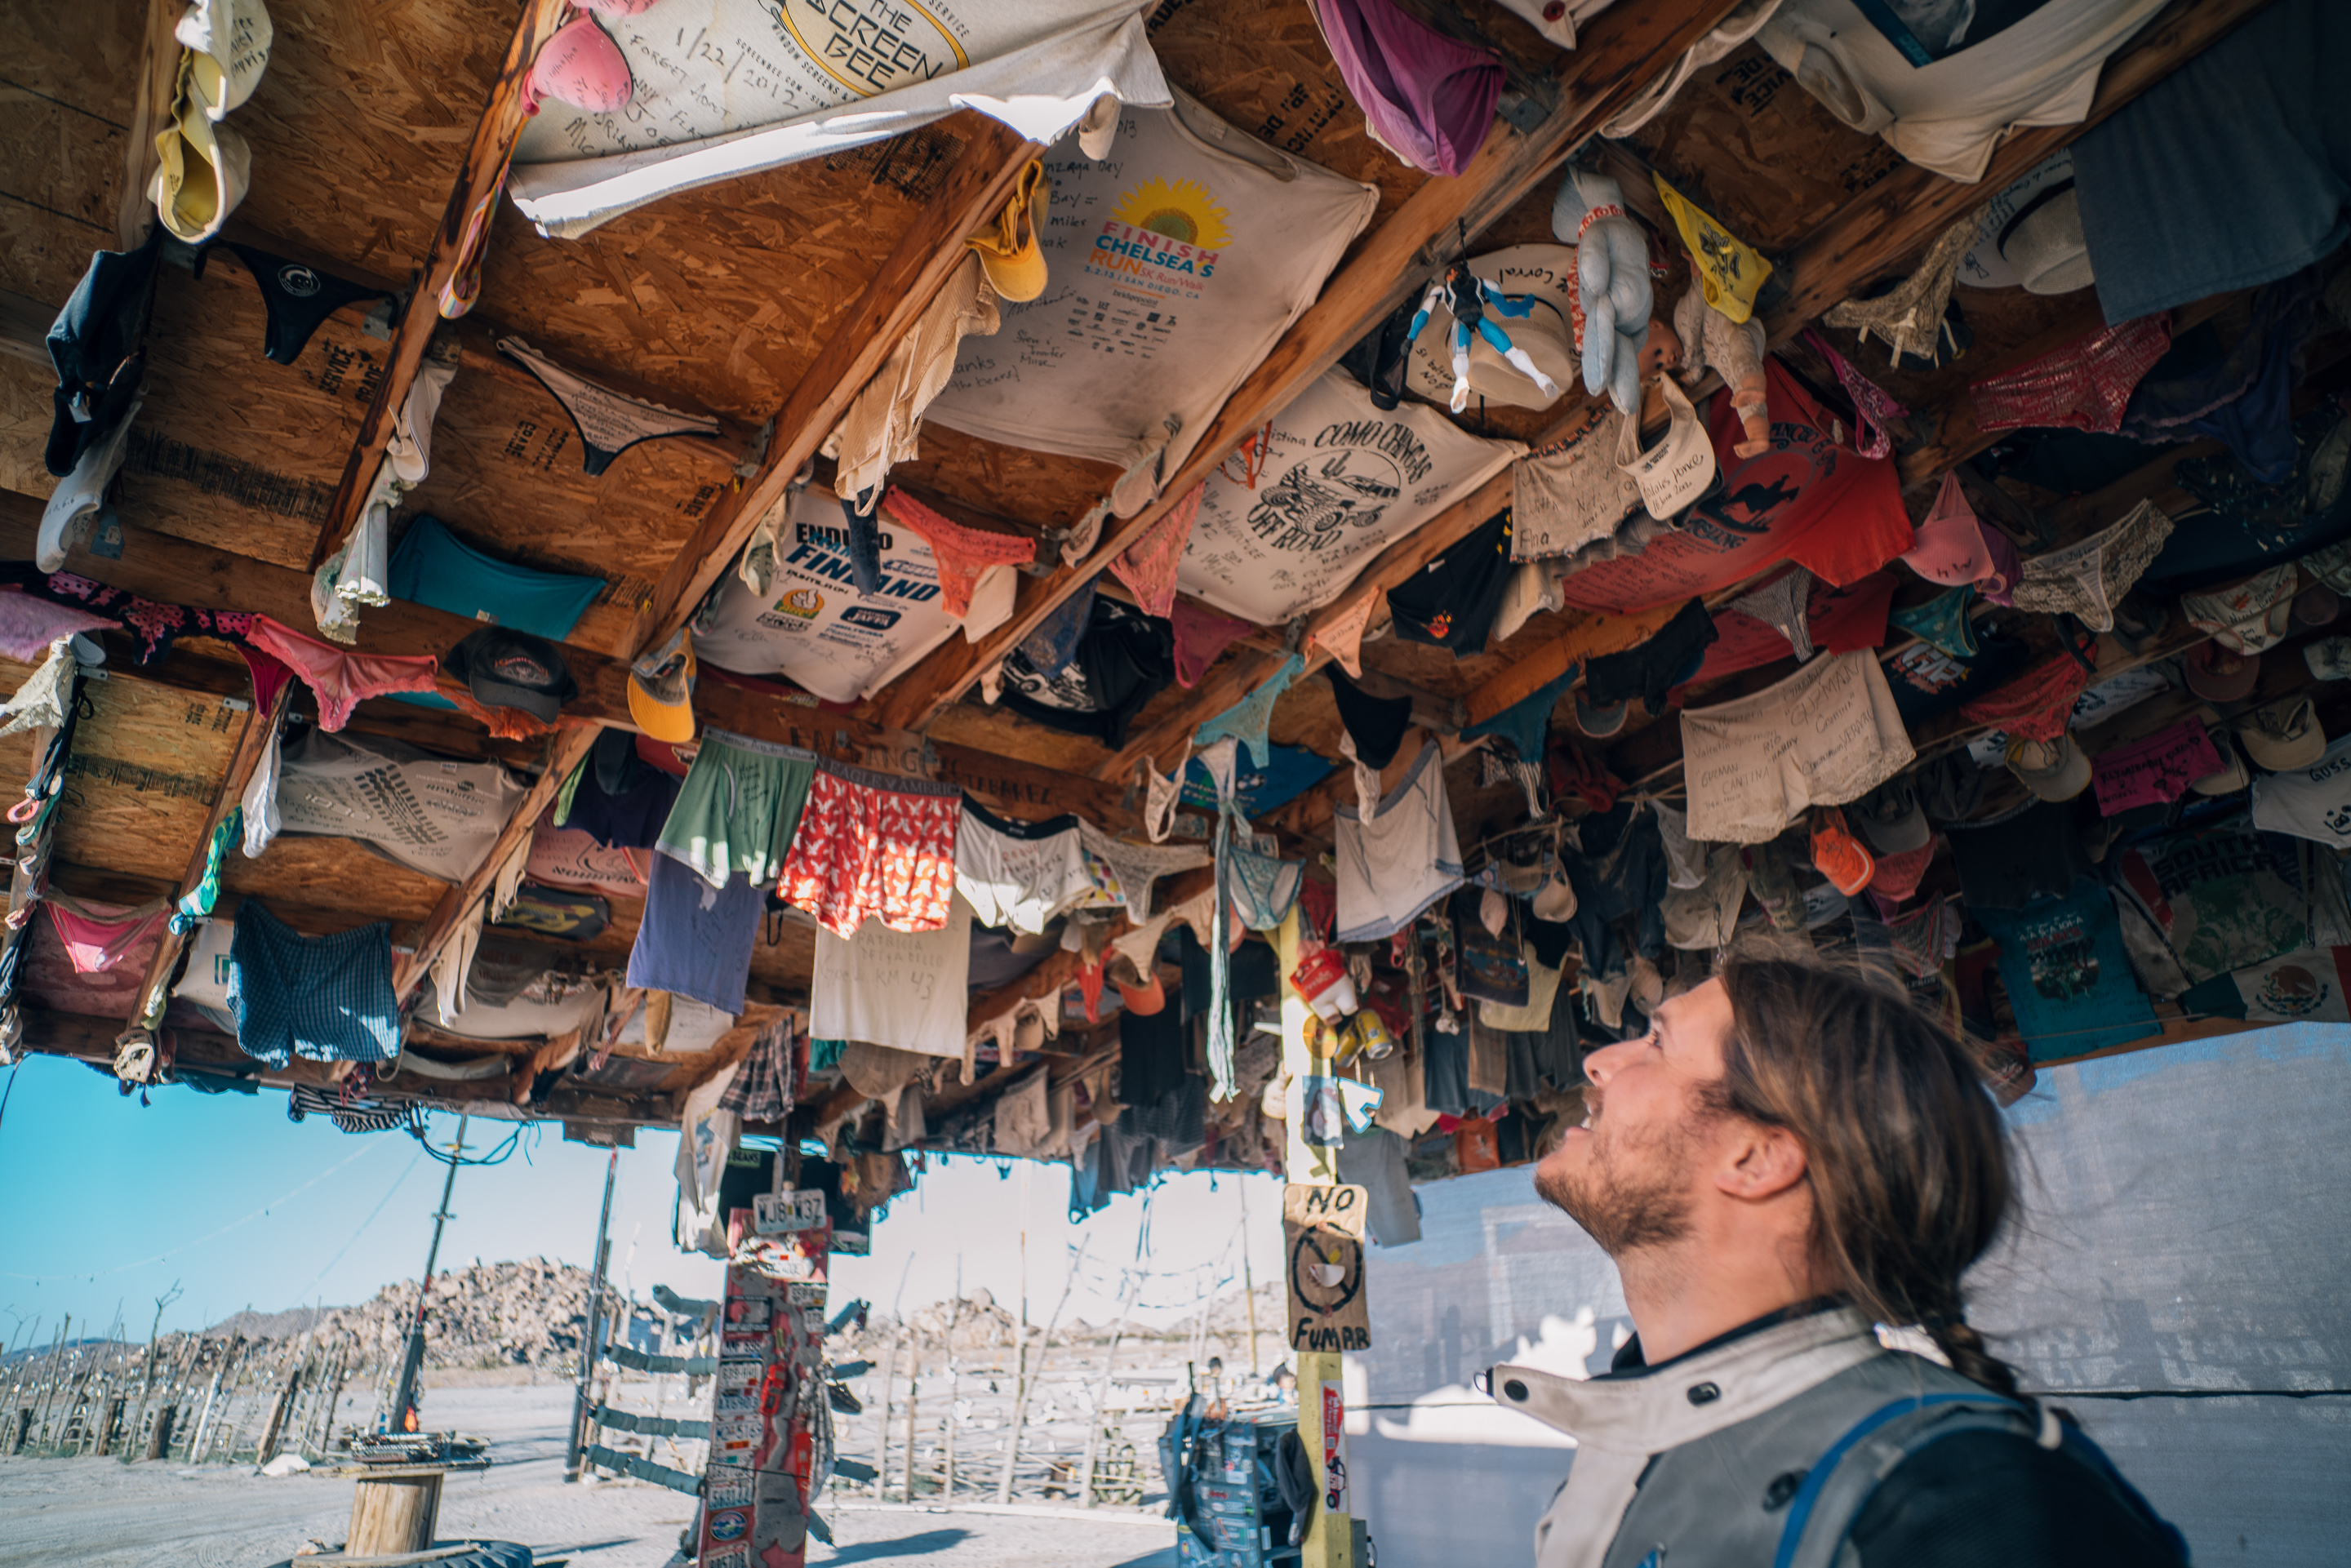
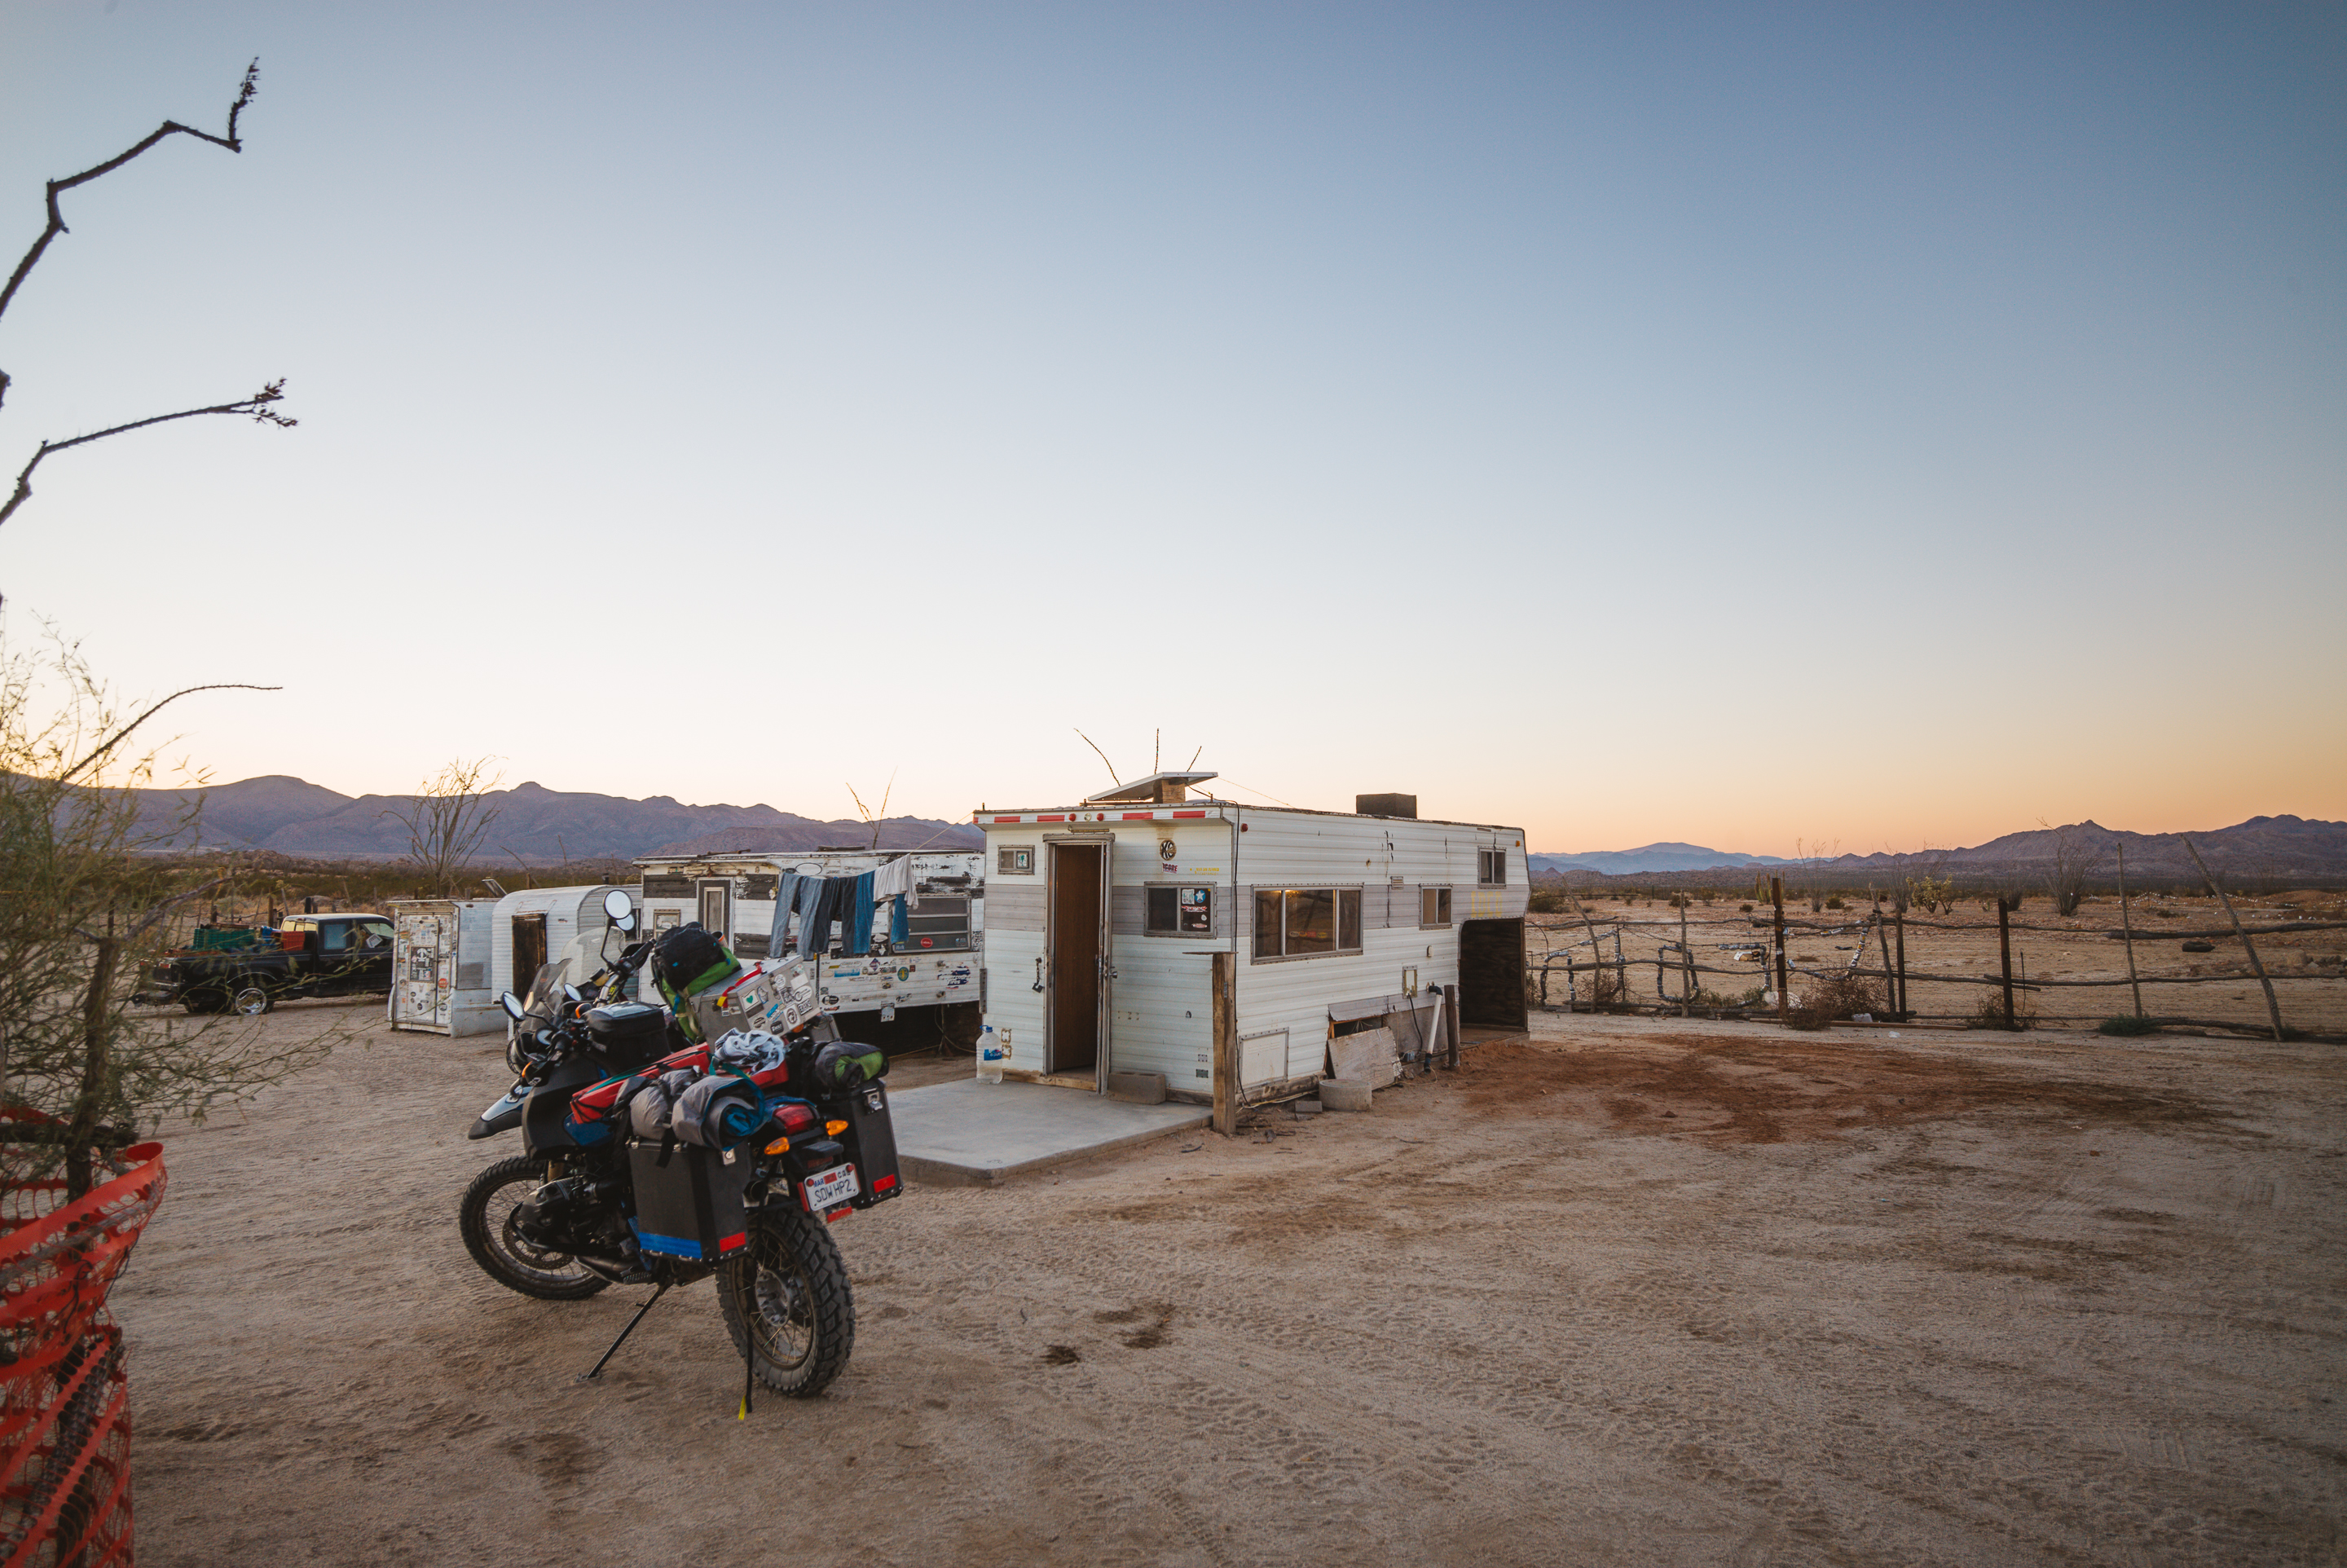
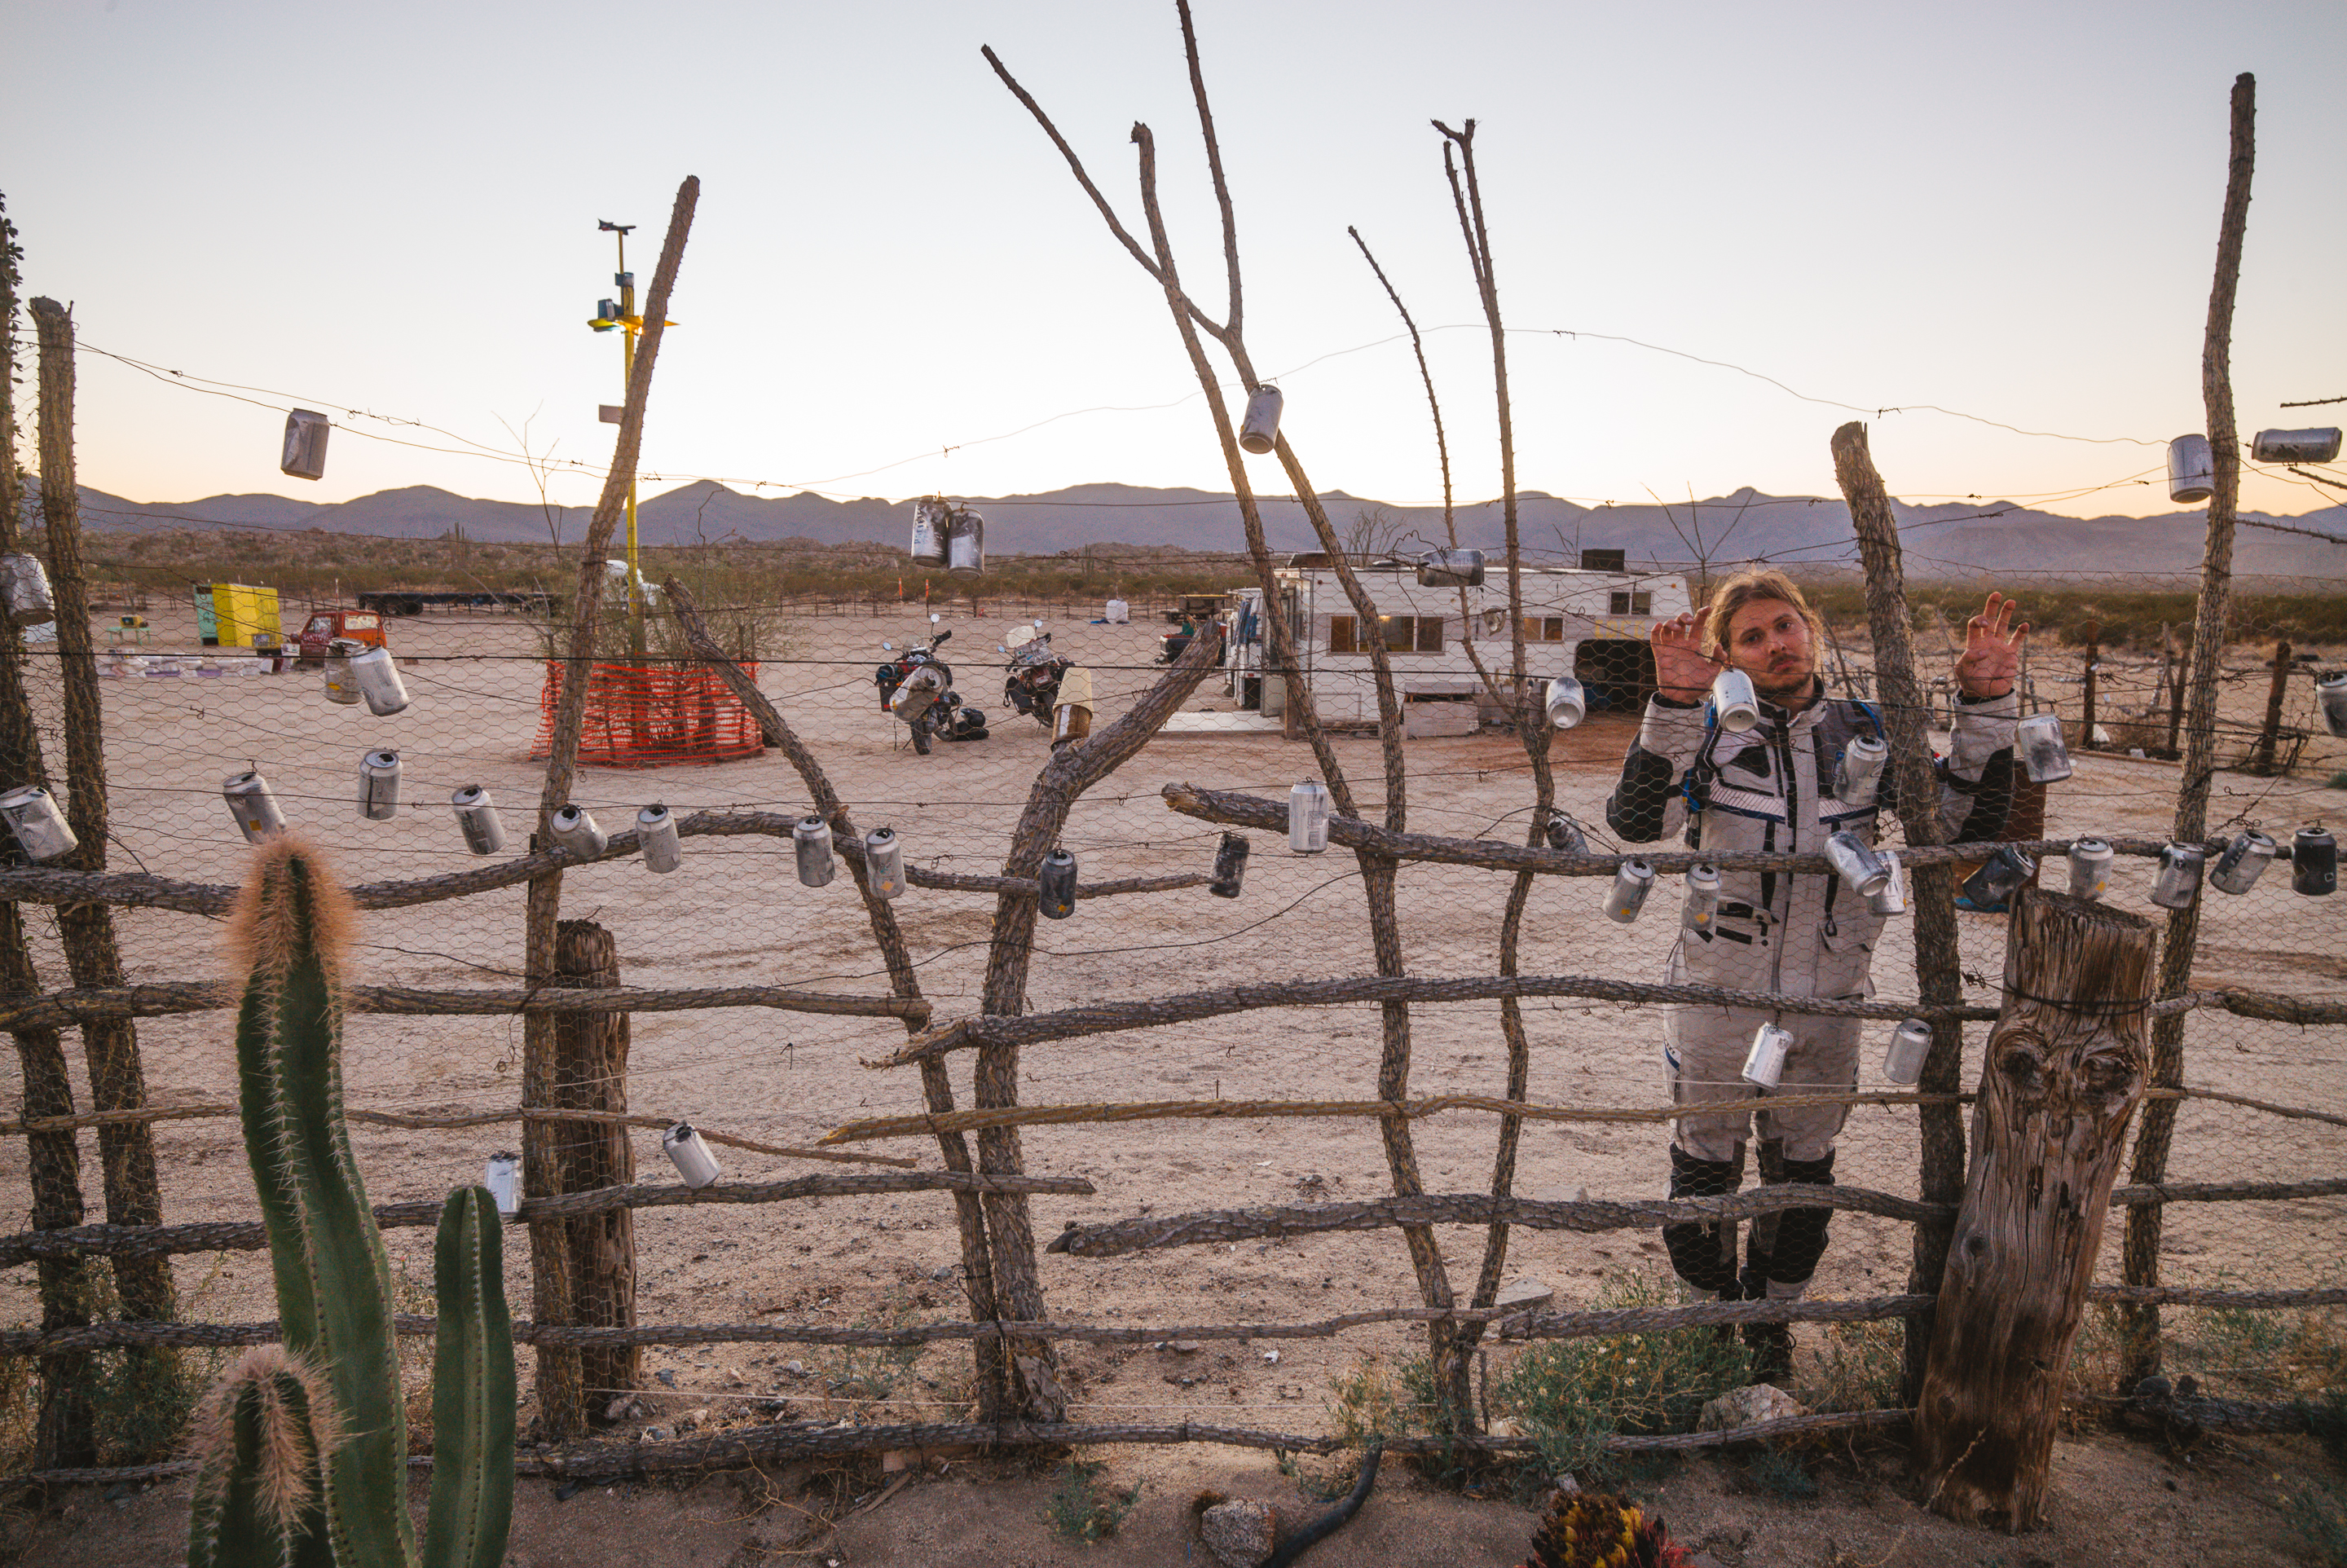
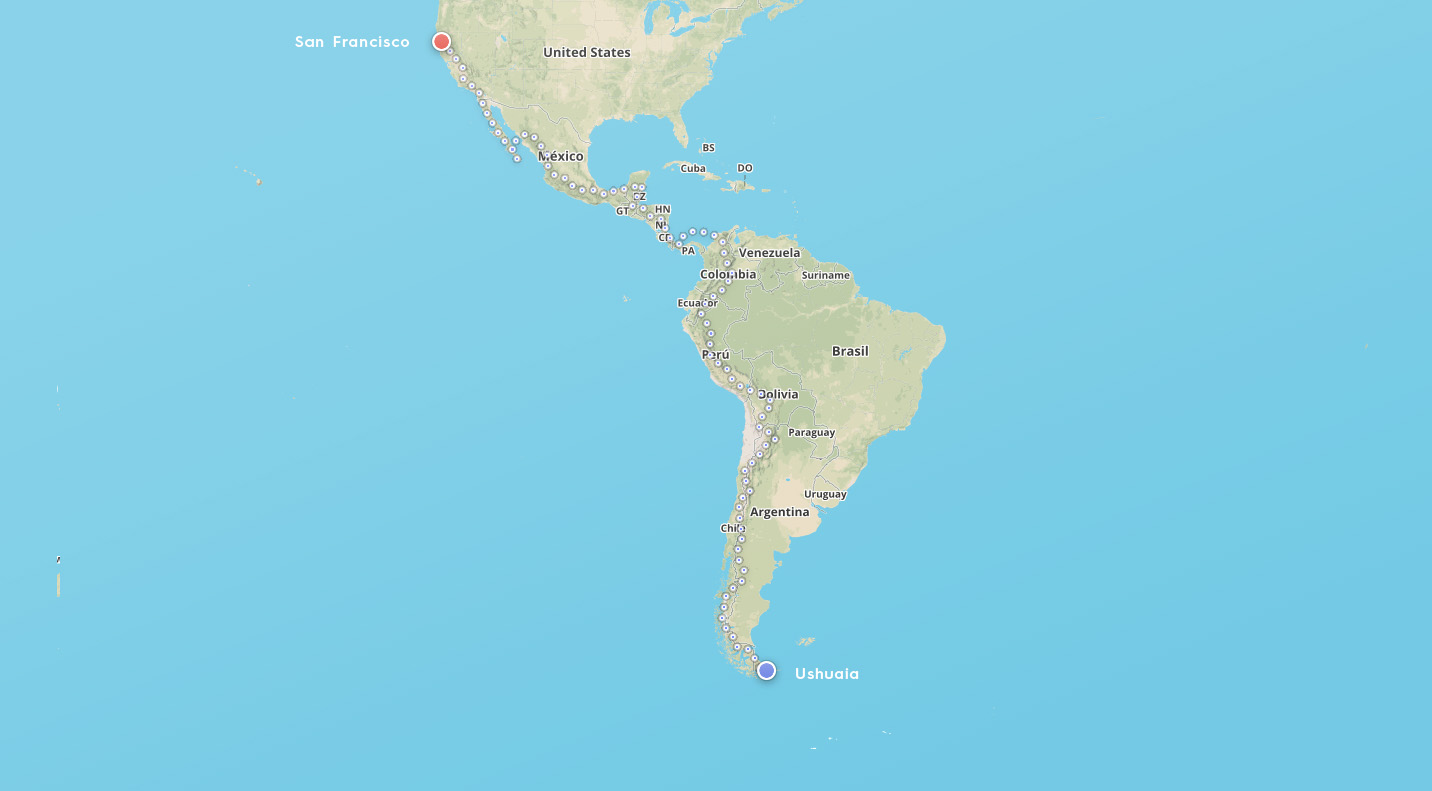
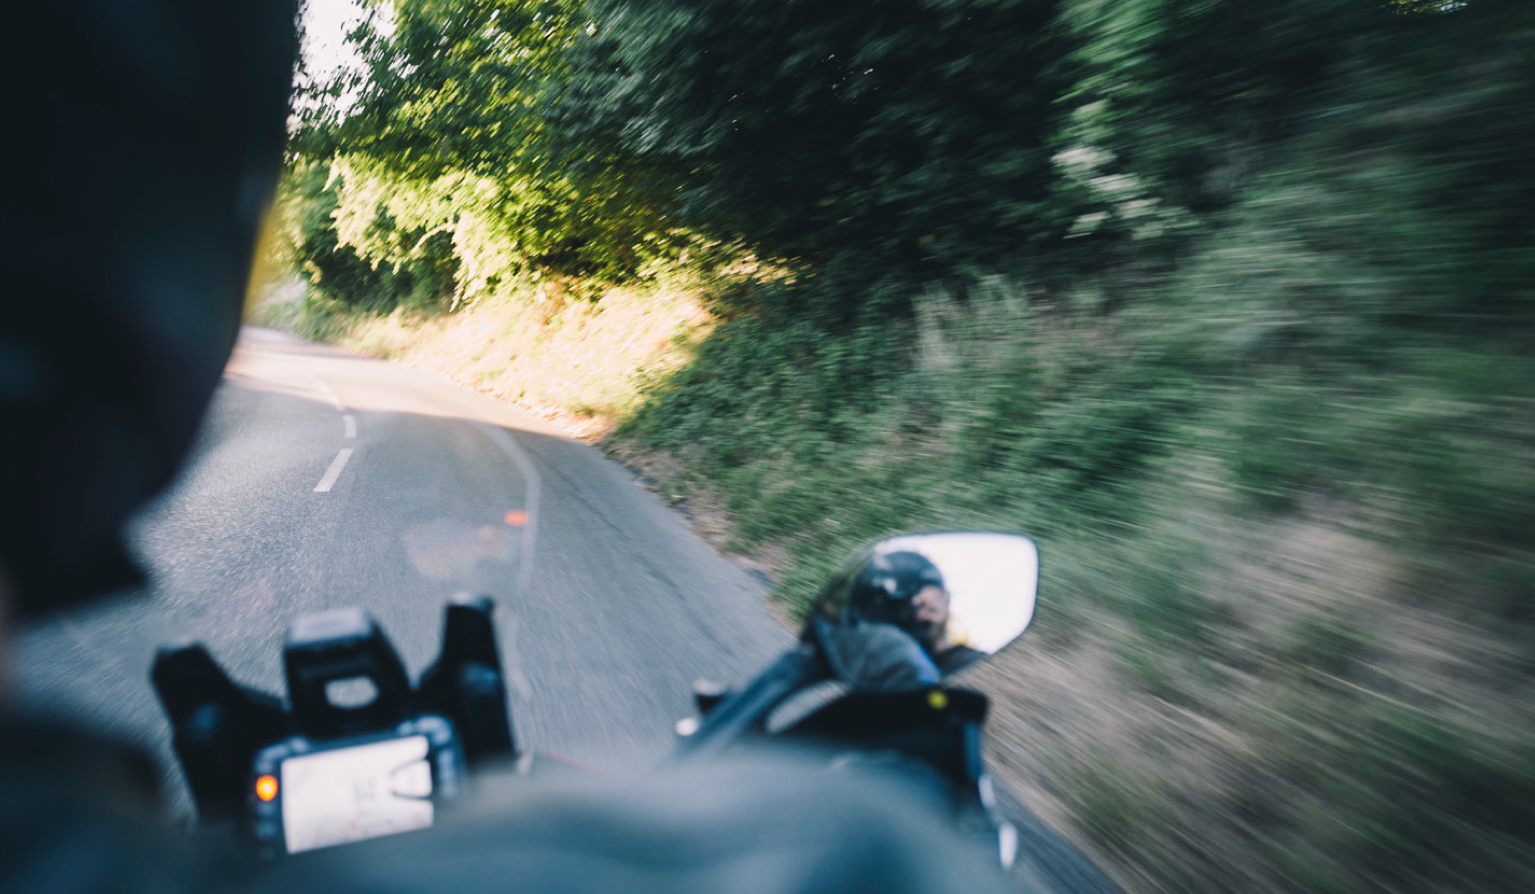
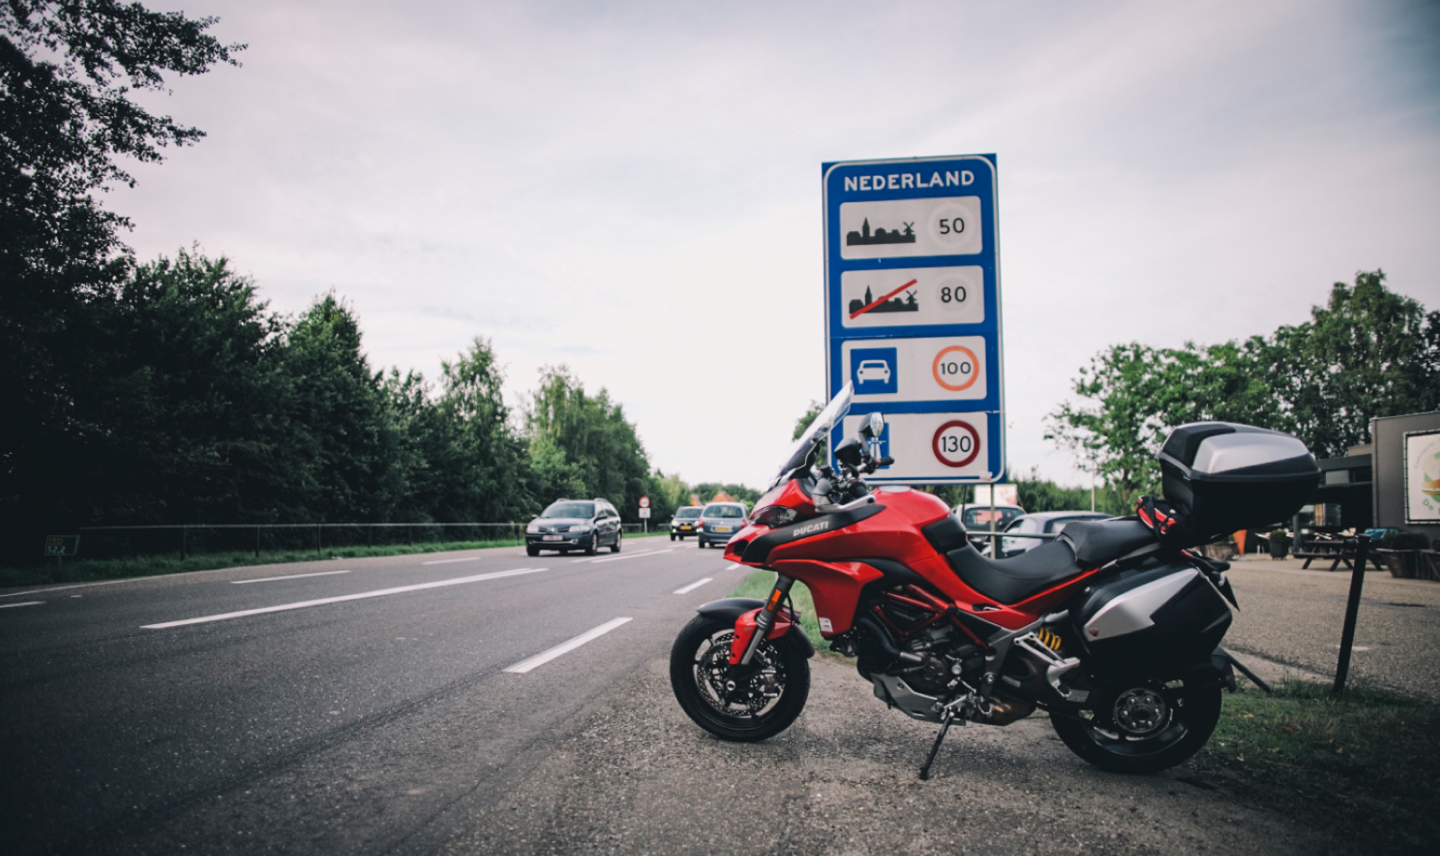
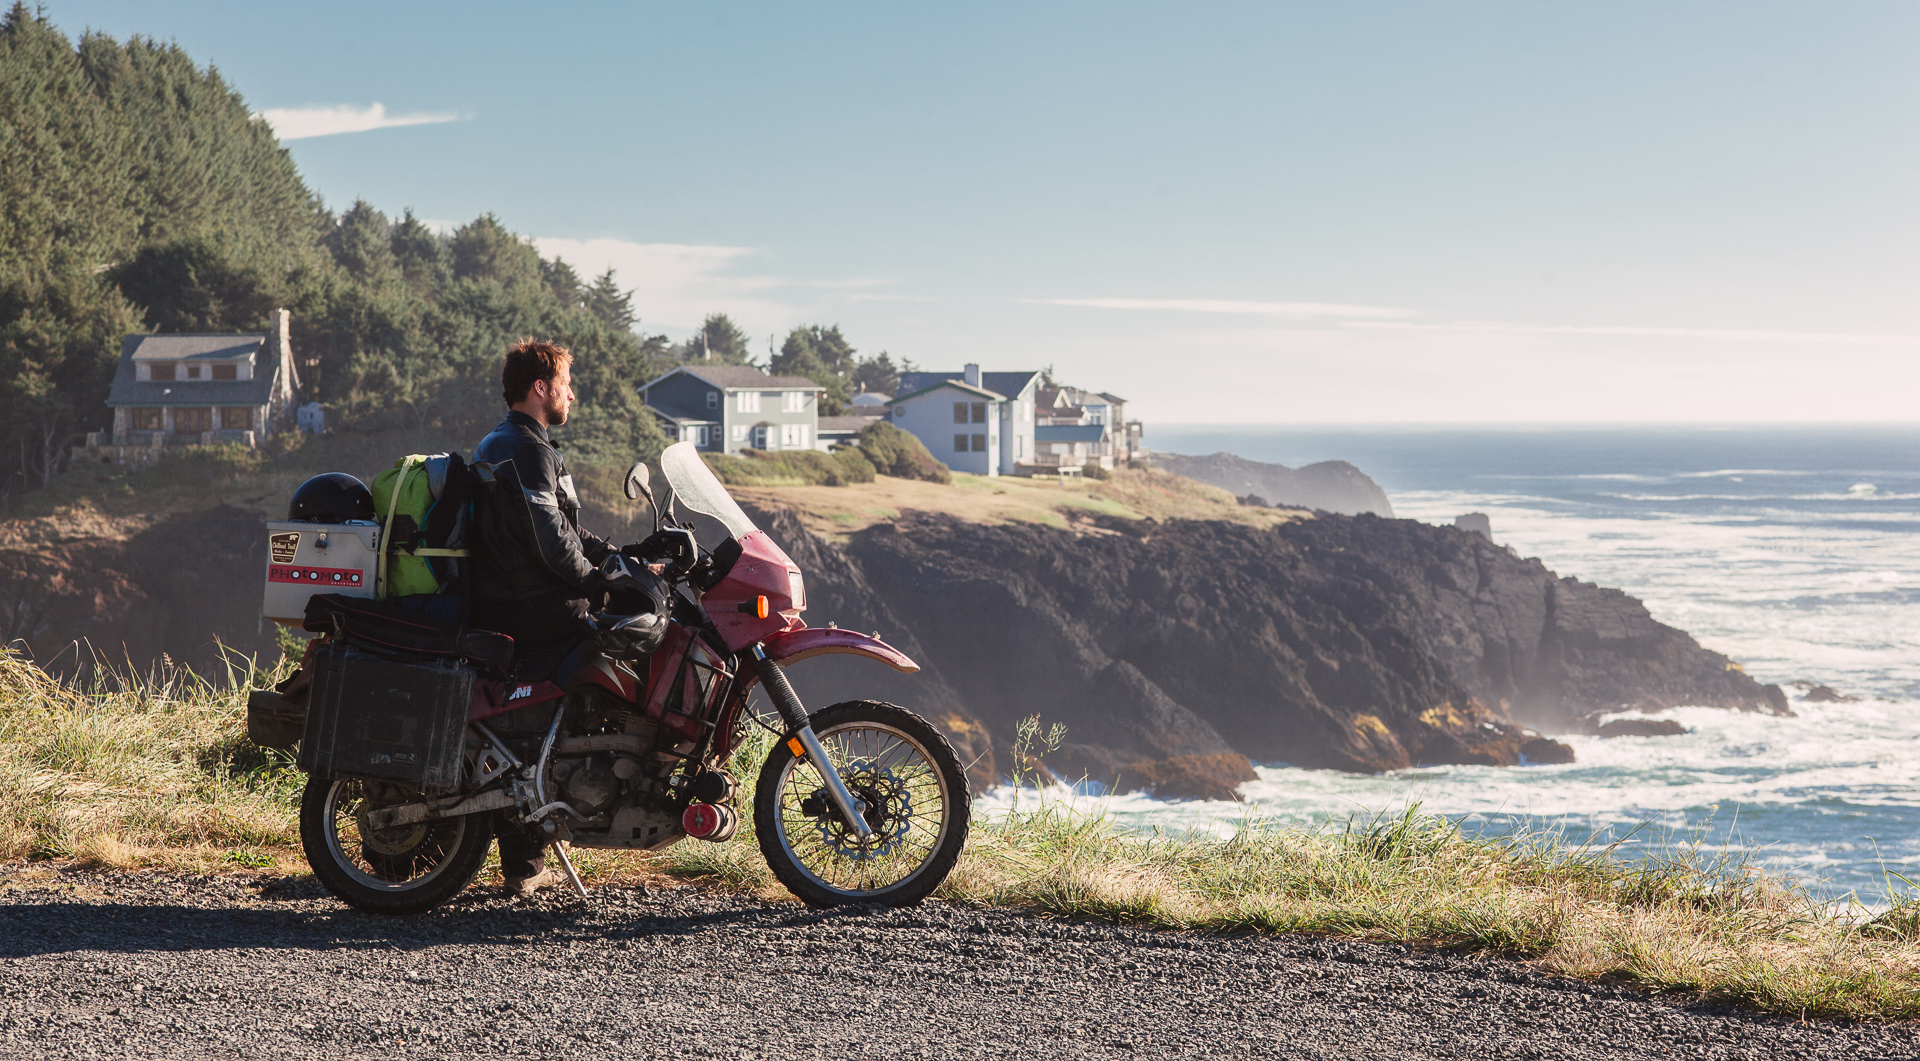
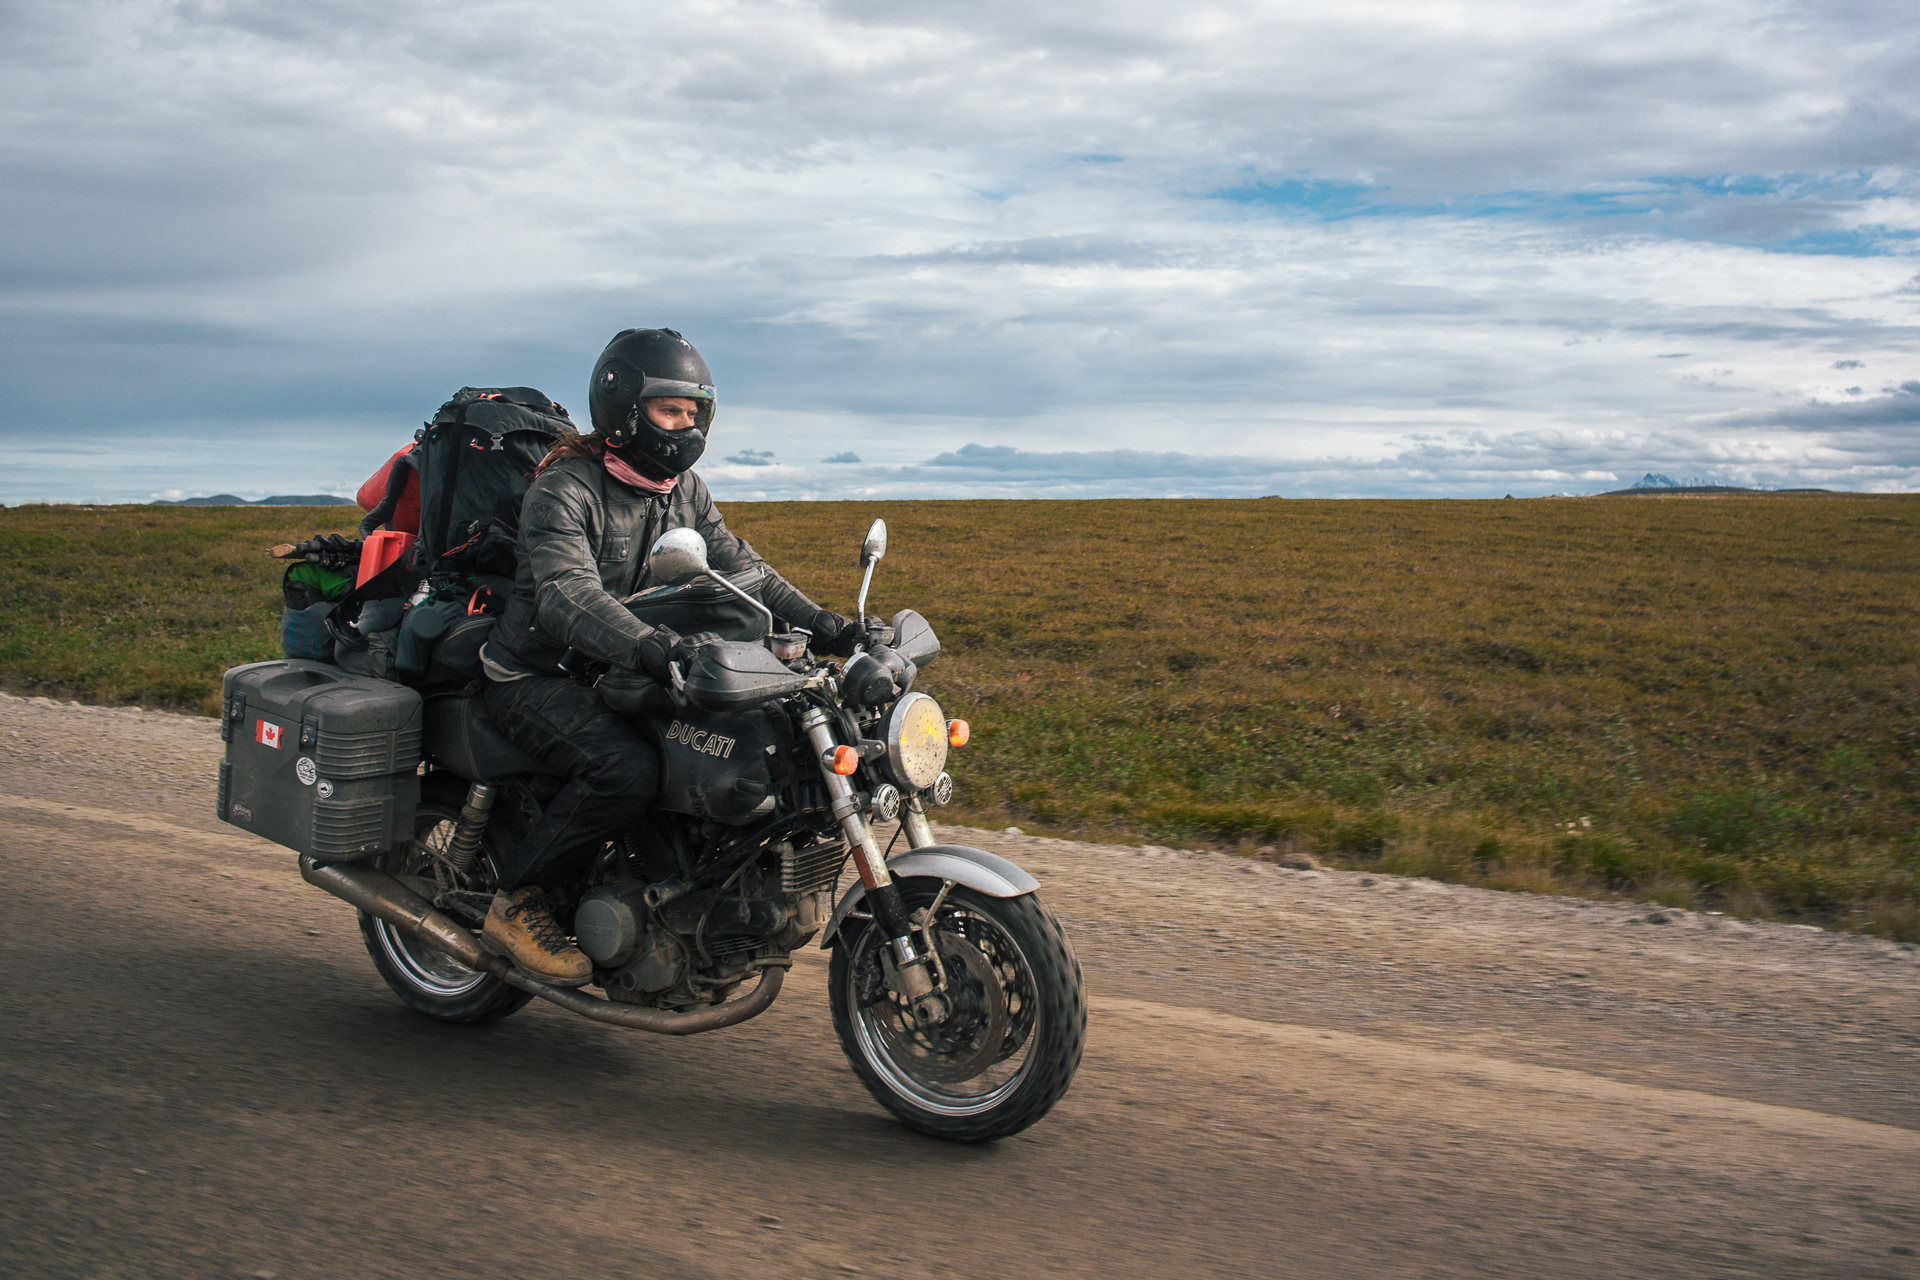
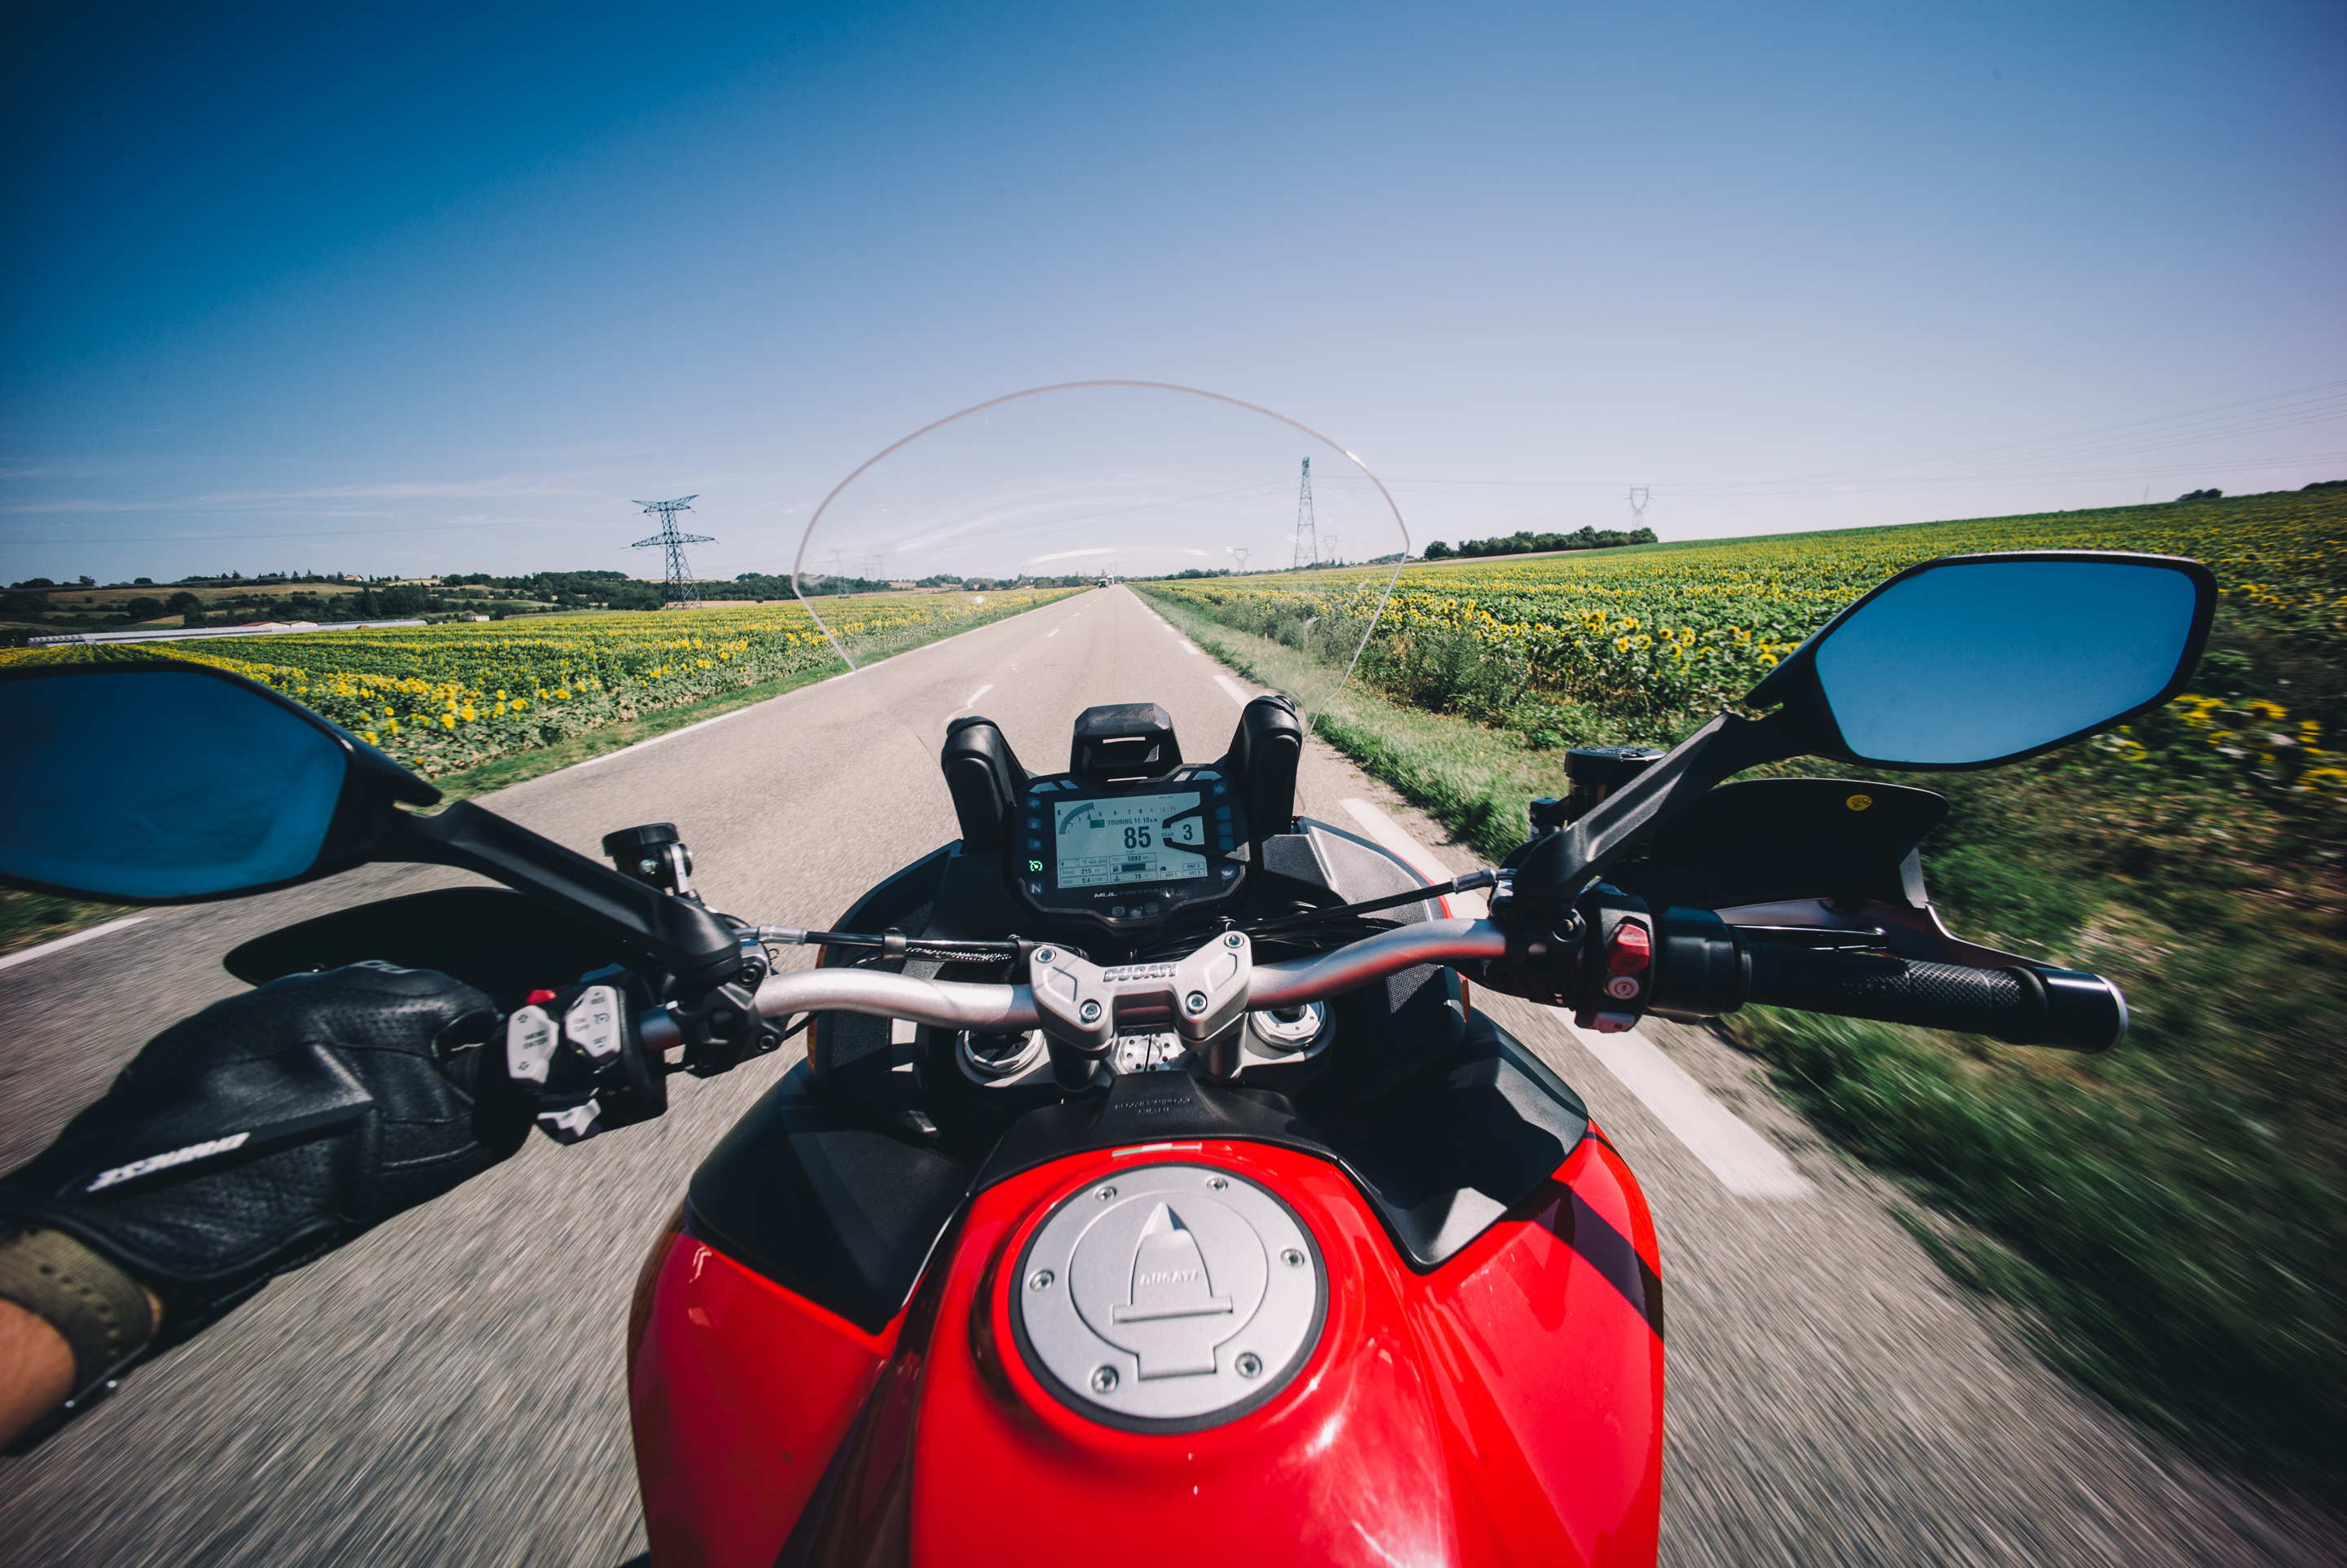
After I first got it, I took the Leica M to Europe and back. Then, I covered it in dust in a 4-day music festival in California. Finally, I got on my motorcycle, threw it over my shoulder and rode to the Arctic Ocean with it – took a break, and continued to ride to Costa Rica. It has seen 13 countries, almost every biome on Earth from Arctic Tundra to the tops of Central American volcanoes, deserts and Dutch polders, has shot through over a dozen lenses, shot an Eryc Prydz music video behind the scenes, and has gotten (nearly) destroyed with abuse.

So by now, I can truly give you my thorough review of this camera.


Basics and Usage


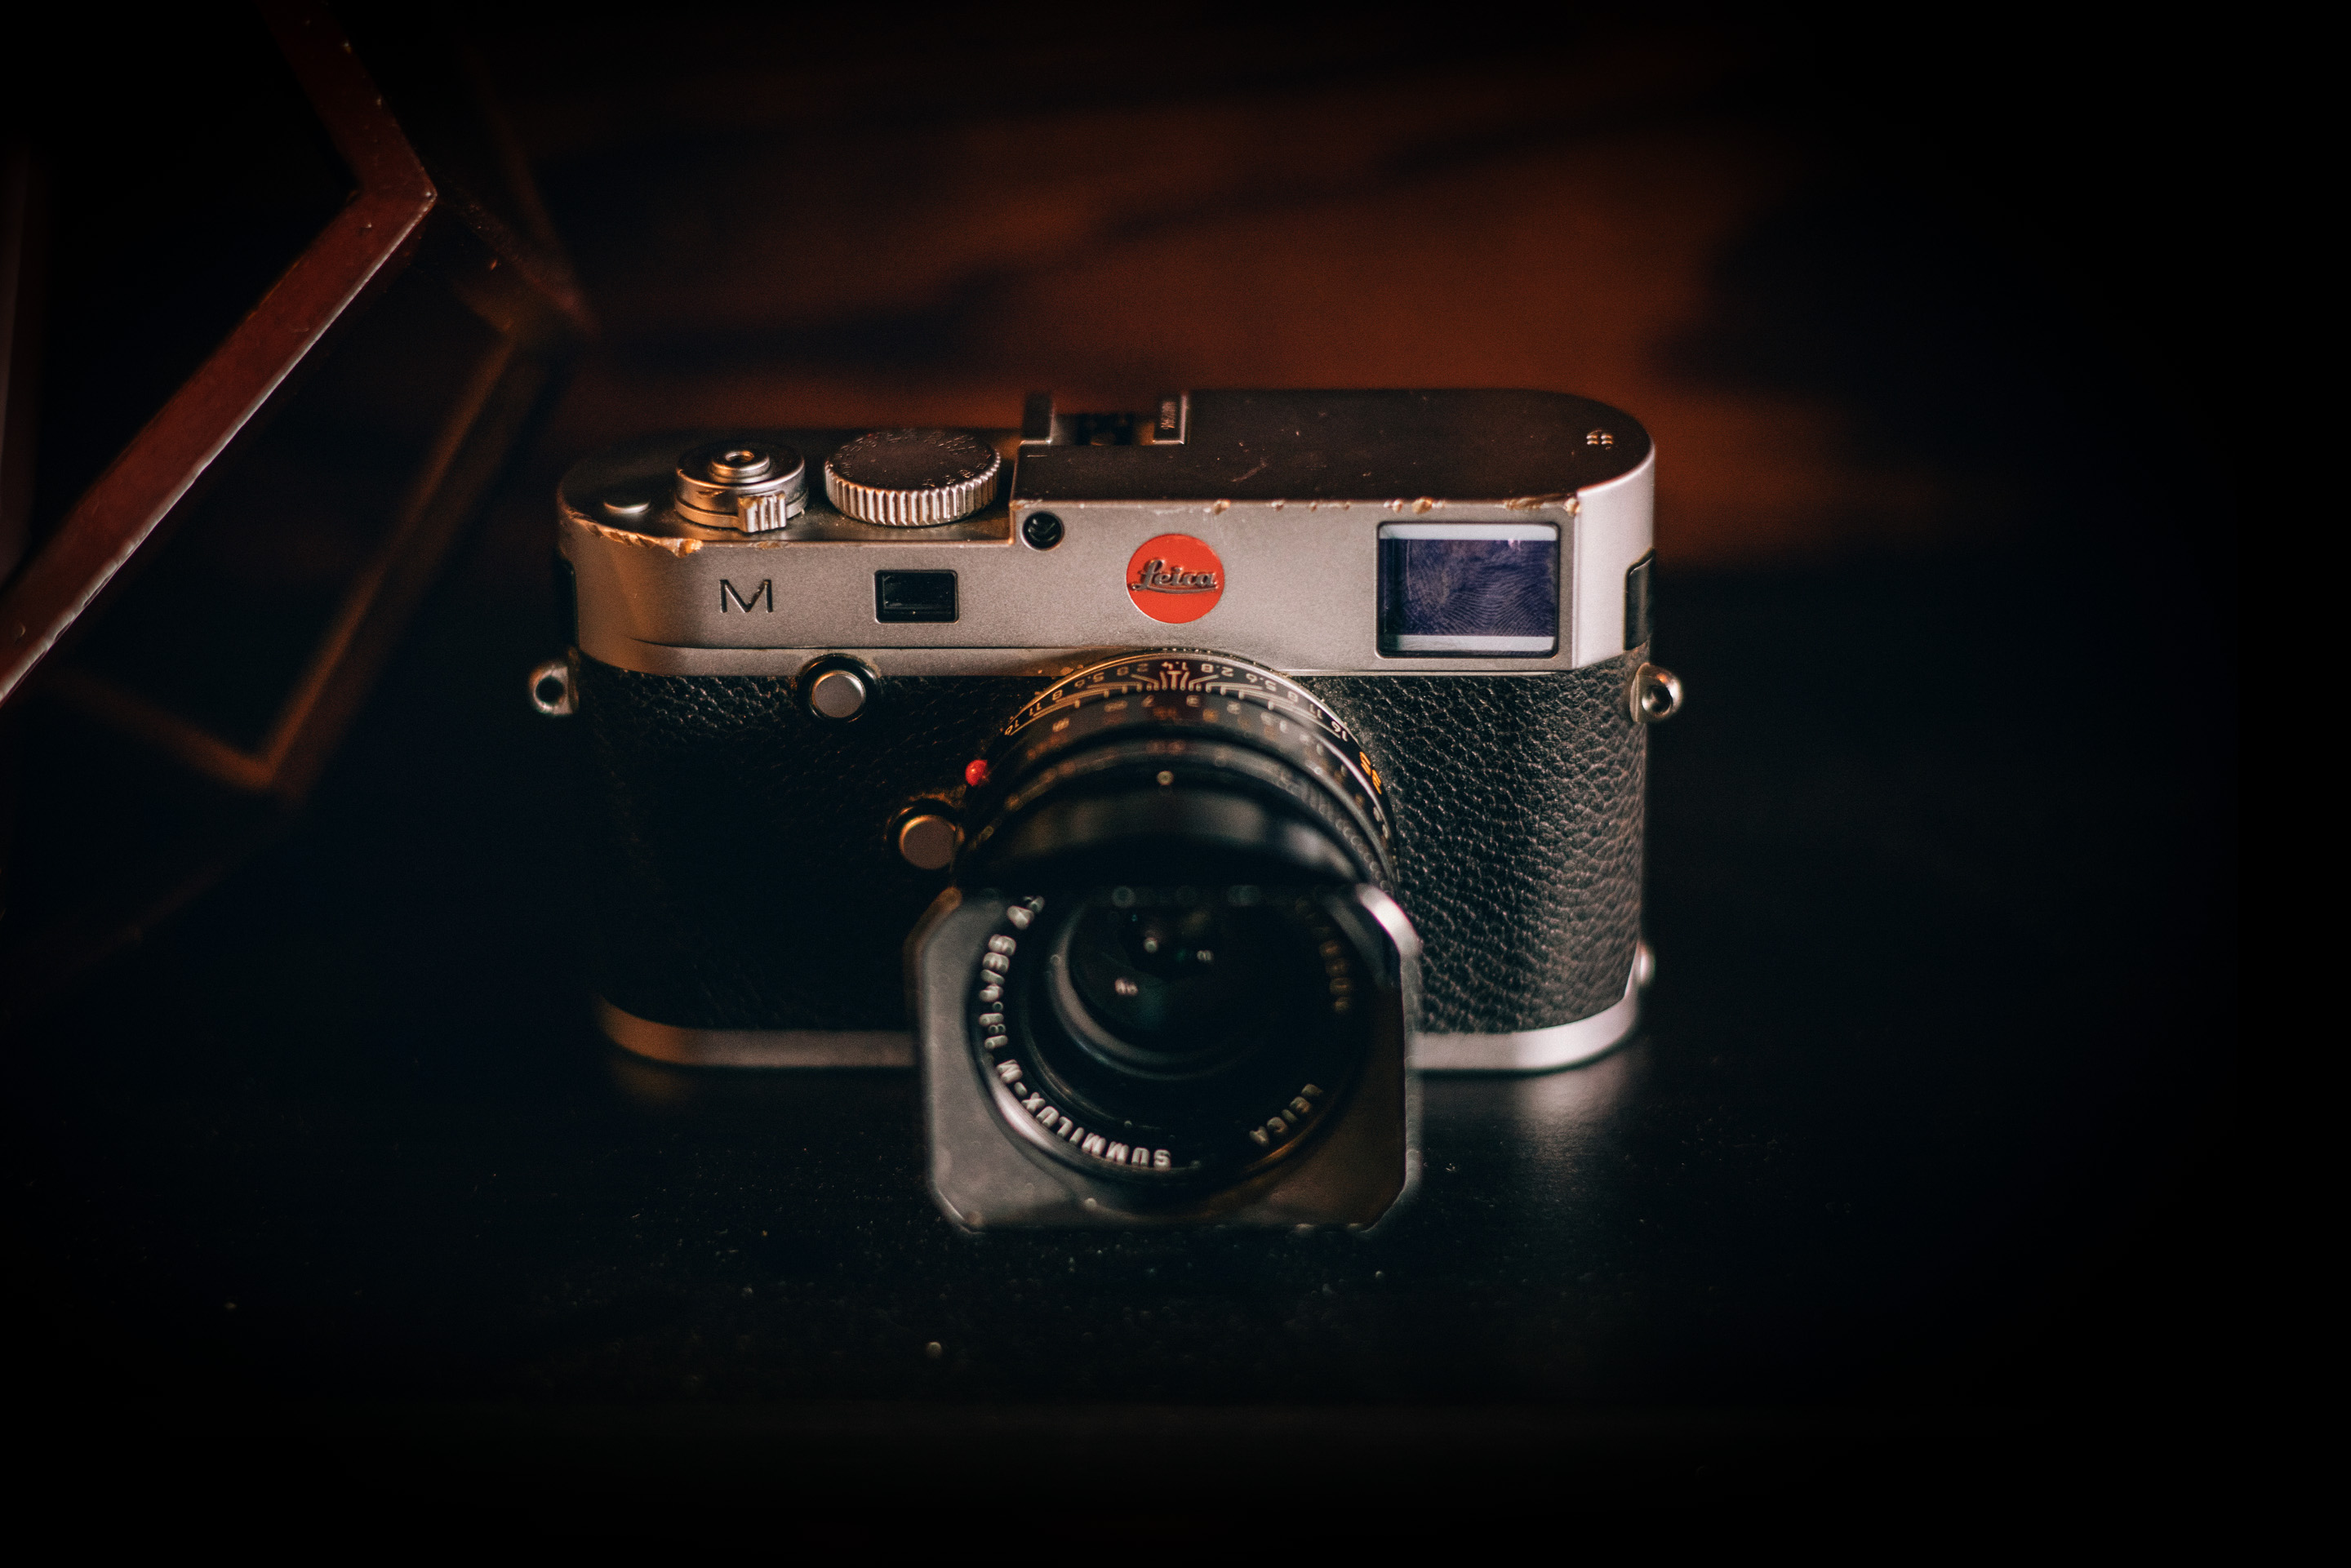
The Leica M is a full-frame, 24 megapixel digital camera wrapped in a tough brass enclosure.


Basics-Updatd


Leica M cameras are ‘rangefinder’ type cameras, which is something different than an SLR. The main difference between an SLR (‘Single-lens reflex’, like Canon or Nikon’s cameras) and a rangefinder is the viewfinder and focusing mechanism. With the SLR, the camera user always sees through the lens. Effectively, your view of the world is entirely the same as your lens, and once you release the shutter a mirror moves the image onto the sensor or film. Rangefinder cameras are mirror-less and do not operate in this way: they have a little window which shows a set of lines overlaid on the image that correspond to what your lens will capture. Looking through the viewfinder, it looks like this:

IMG_3898-Edit

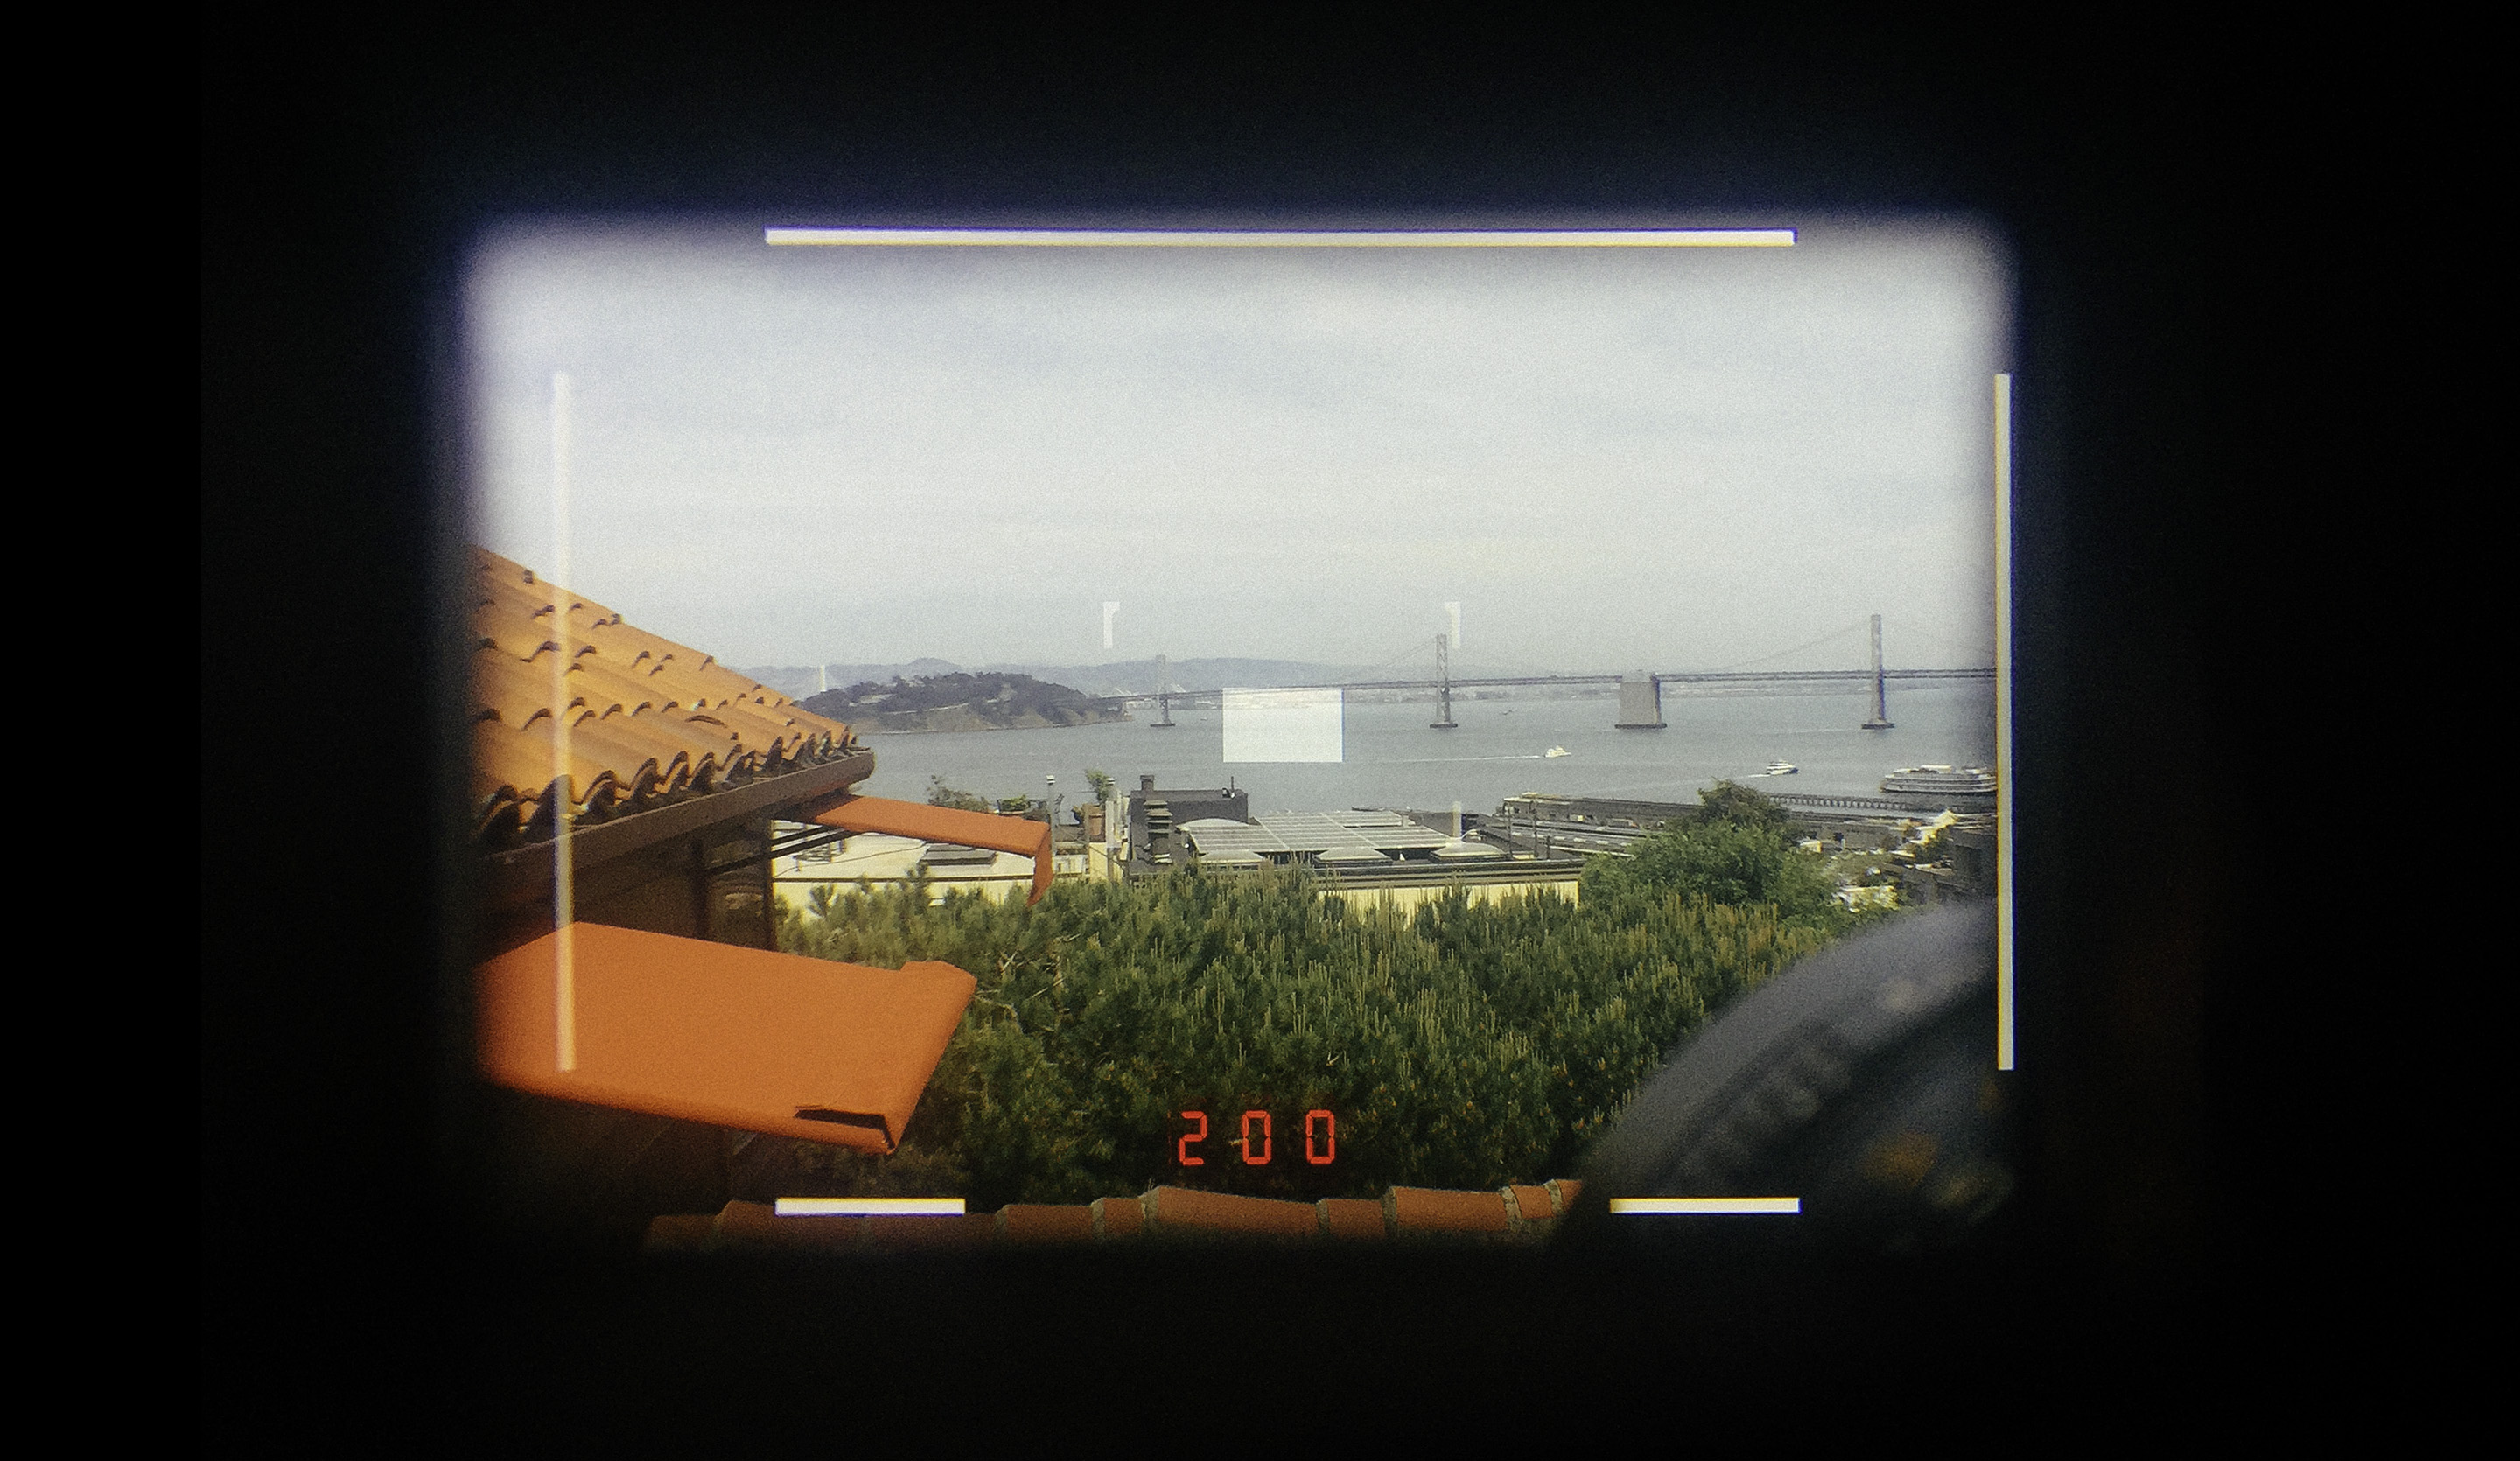
Note you can even see the lens on your camera in the bottom right!

The bright patch in the middle is for focusing. Rangefinder based focusing is one of the older technologies for capturing a sharp image and works incredibly simply: as you turn the focusing ring on the lens it pushes in a cam on the camera which in turn moves a prism near the viewfinder that projects a horizontally offset image of what you are focusing on on top of your viewfinder. Once these two images — the projected, offset image — and the regular image of what you are framing are overlapping, the focus is accurate.

It sounds more complex than it is:

Rangefinder

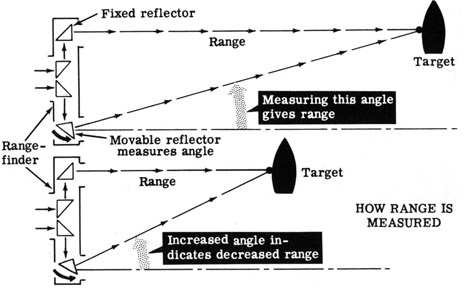
… the end result is simple: overlap the same thing in your viewfinder and boom, perfect focus.

The benefits of rangefinders are multiple: for one, as you can see more than just what your lens sees, you can frame your image more effectively. You never have to hunt for your subject as you see things the same as you would with your eyes. When you take a photo, the viewfinder remains unobstructed; contrast with an SLR immediately interrupts the image as the mirror moves, blacking out your view for a moment.

Personally, I also feel like looking through an un-magnififed image directly into the world with your framelines overlaid gives you that particular hard-to-explain feeling some people wax poetic about when it comes to rangefinders: it becomes an extension of your eye. As there’s no adjustment in perspective, it feels like adding a little overlay to your actual eyes to shoot a photo. You feel part of the scene, involved, connected. You can think of the photo more conceptually than you would when you would look through the lens. The end result, I’ve found, is that it forces you to think about your shot a lot more.

The drawbacks are also real: for longer focal lengths like telephoto lenses, it can be quite difficult or impossible to even see what you are shooting. Rangefinder cameras just weren’t made for longer lenses — well, until this particular one. More on that later.

Leica has an excellent reputation as one of the best camera lens makers in the world, and the M line of cameras has an incredible variety of glass. Thanks to the all-mechanical aspect of the lenses — no autofocus, all-metal — even some of the oldest Leica lenses from many decades ago work perfectly with the modern M camera. With the new M, you can also adapt a huge variety of lenses from established camera brands like Canon, Nikon, Sigma and even Leica’s old R-line of SLR lenses, thanks to the new camera’s sensor being a CMOS.

DSC02528

The previous Leica M camera, the M9, used a CCD sensor. While it gave it lovely colors and a more pleasant-looking noise pattern, it had poor high ISO performance and no movie or Live View capabilities.

The newer M, with its CMOSIS CMOS sensor can indeed now record movies or show the photographer exactly what the lens is seeing with ‘Live View’: a video feed right from the sensor. It’s a fantastic addition: not only does it offer more options for focusing and exposure checking, it also eliminates one of the drawbacks of a rangefinder camera: putting a long telephoto lens on it is now completely viable through the use of the electronic viewfinder (EVF) or the screen on the back.

With Live View, you’d think the battery life of the M would suffer, but as the battery in the M is significantly larger than the older generations of digital Ms, it shoots for a significantly longer period of time on a single charge. I don’t measure battery life in my reviews, but when I use it intensively I only have to charge it once every few days. In my experience the battery lasts longer than a Canon 5D Mark II / III and far, far longer than the Sony A7S / A7R II in a similar day of usage.

What also sets it apart in daily use is weight. Despite being tiny, it has quite a bit of heft: the Leica M is pretty much a solid piece of brass, and it feels like it. People who handle mine often exclaim ‘wow, this thing is heavy!’. Comparatively, though, a Canon 5K Mark III body is 860g (just shy of two pounds) whereas the Leica M is a svelte 680 grams (24 oz). What fools you is the difference in size: the Leica is just so damn compact. Before the Sony A7 series, there was no smaller full-frame digital camera on the market, and it is still impressively small coupled with its small lenses.


The Design


Leica makes some of the world’s most beautiful cameras, which has the somewhat sad side effect that what seems like a majority of Leica shooters don’t really go out and use their cameras. I often get called out at serious shoots on sets or at music festivals by astonished photographers that find it insane that I actually take it out to shoot with. A bit embarrassing, isn’t it? If you aren’t going to use your camera for its sole purpose — taking photos — what good is it?

L1040311

But sure, it looks gorgeous. I’ll hand it to the ‘stable queen’ keepers who baby their Leica on a shelf in their home: it looks beautiful just sitting there. It’s a camera that doesn’t just take photos well, but also photographs well. My friend Garrett Murray hilariously observed that his most popular photo on Flickr was a photo he took *of* his Leica while it’s being held by his wife.

The M comes in two colorways: silver chrome and and black. I have typically opted for chrome-finished Leicas. Some people swear by the notion that a rangefinder camera, being the tool of the street photographer, should be as stealthy as possible and thus black. I have found the chrome versions to be a bit nicer looking and reactions much nicer if people are aware their photos are taken anyway — not to mention putting any camera up to your eye will get you noticed, black camera or not. They seem to hold a higher value, too, for a reason I am completely unaware of.

An added benefit of the classic look of silver chrome and black leather is that people almost always assume it is a film camera, which is generally received with a more warm attitude as well as having the great benefit of letting you take photos without people wanting to see them immediately after.

Functionally speaking, the M has a very minimal take on camera controls: it simply has one dial for setting exposure and a shutter release button. The two buttons on the front are a lens mount release button and a button you can use for focus assist if you use the electronic viewfinder.

Aperture is controlled on the lens itself, and a smattering of buttons are on the back of the camera to view images as well as adjust ISO other and settings.

DSC02548

Leica’s lenses are something else entirely as far as design goes, as well. ‘Design’ is often misunderstood to be a mere aesthetic flourish or a lick of paint, but for Leica it’s not just the impeccable color highlights and typography on the lens that makes them a design leader. Their products have a tactile sensation that’s not quite unlike the feeling of an ultra-high end car door, or a finely tuned motorcycle gearbox. I can’t actually think of a single physical object that has as pleasant and satisfying of a tactile feedback as the aperture ring on Leica’s top tier lenses. You may only have manual control — Leica’s M lenses are simply metal and glass, with no electronics — but the treat is that the manual controls feel exceptionally good.

Where many camera lenses offer a shoddy feeling plastic hood, Leica’s lens hood literally just slides out, and completely vanishes into the lens barrel design when not in use.

Newer lenses even have the hood lock into place – and thus, putting a hood on your lens is as simple as 1, 2, 3:

leica lens hood extension - vertical - spaced

These are but a few of the small things you run into that make you hopelessly fall in love with the Leica Way of Doing Things™ once you get (un)fortunate enough to use one of their cameras. Optional hoods, like the one on the Leica 35mm Summilux-M ASPH FLE, can be removed, but also ship with a small metal ring that can be screwed on to maintain the smooth design of the lens barrel and not leaving the lens hood thread exposed. When screwed on, these hoods have a patented detent that ensures the lens always locks flush with the camera body, and the hood itself features a small cutout to minimize blockage of the viewfinder when attached.

These details are so impeccably detailed and well thought out that it sometimes feels like you’re just spoiling yourself a little too much. It’ll certainly make you smile if you appreciate great design.

5254744_1_l

The camera body’s geometry is fairly ancient. It still resembles the first Leica camera from 1913 quite a bit. The Leica evolved into the M3, eventually, which stayed mostly identical in design until today. The main difference is size: the Leica M is a bit thicker than its film cousins.

It also got greatly simplified, with each previous generation losing an external feature on the camera body as technology allows.

Compared to the M7 film body, the overall finish of the chrome is improved, as well as the shutter dial receiving a nicer design. They dropped the frame selector lever on the front as well as the rangefinder lighting window. Otherwise, it looks unchanged from the M9 and M-E, though in a rather puzzling change, the shutter release button uses a different thread.

Yes, I say ‘thread’: where most modern professional cameras use a remote shutter release either powered by infrared, Bluetooth, Wi-Fi or something else, Leica still only takes a shutter-by-wire remote release like you sometimes see in movies from the 1950s. It also lets you screw in an, in my opinion, absolutely non-optional accessory known as the ‘soft release’, which gives the somewhat stiff shutter release button a more pleasant and tactile action.

A small byline: Leica has a way with packaging. It’s a lovely experience to receive anything from Leica. The M arrives in a type of folding box, with all packaging beautifully and thoughtfully designed. It’s a far cry from the average Japanese camera company, with its boxes stuffed full of black and white booklets, small mountains of black cables and shoddy packing materials.


Shooting with the M


It’s nice to look at, sure, but the shooting experience is what makes the M excellent. The sensor of the Leica M, while not made by a company like Canon, Fujifilm or Sony (who makes the sensors in Nikon cameras and even in your iPhone) is really quite great. Out of the gate, the only quibble with it was its white balance being a bit off, but subsequent firmware updates improved the auto white balance performance quite a bit.

The most important quality of a sensor in this day and age, for me, is its dynamic range. The dynamic range is essentially simply how well it can cope with images with very bright and dark areas in one frame. You can imagine the camera attempting to expose to retain detail in the highlights, but in doing so making the image darker, and thus losing detail in the shadows. If a camera sensor deals with this well, it has excellent dynamic range.

Here’s an example of an image I shot in Rennes, France. When I shoot, I tend to expose for the highlights, leaving the image dark out of the camera. With the M’s default light metering mode, it also tends to expose very well for highlights.

After correcting the shadows in Lightroom, you can see a ton of data was well-preserved in the shadows:

Shadow Recovery with the Leica M

This is a great characteristic to have in a camera. I found other modern cameras like the Sony A7R2 to be great in the area of dynamic range, too, but its fine grained noise (likely caused by its rather extreme pixel density on the sensor) is very bothersome in most shots I took once I pulled the shadows up a stop or two.

Additionally to its excellent sensor performance, the Leica M lacks the low-pass filter of many full-frame cameras which gives it superb sharpness. It also makes it more susceptible to moiré patterns, though I have never found this to be an issue.


Focusing


Focusing is incredibly easy with the M, with the caveat that your rangefinder has to be well-adjusted. I have never had to adjust a Leica rangefinder camera for any issues save for a motorcycle accident once, but rangefinders can get out of whack: my Zeiss Ikon rangefinder camera had serious issues with its calibration over time. The prisms and mirrors that create the focusing patch in the viewfinder can be misaligned when the camera takes a beating, leaving you to do focusing with the lens focus scale. Fortunately, it seems the hard body of the Leica Ms protects the rangefinder workings well.

Naturally, with the new M you’re always able to get focus another way: the option of being able to frame and focus with the screen on the back or the optional EVF (Electronic Viewfinder) lets you see what the sensor in the camera sees; looking through the lens instead of the traditional rangefinder is a nice addition, and I use it often for some of my adapted lenses or to get an idea of what my ultra-wide lens sees.

I have restored an old Helios 40, for instance, which was nearly seized up and in a bad shape when I got it from eBay. Once I cleaned the elements and re-greased the focusing helicoid I had a great, quirky and fast 85mm lens:

Leica M with Helios 40 lens

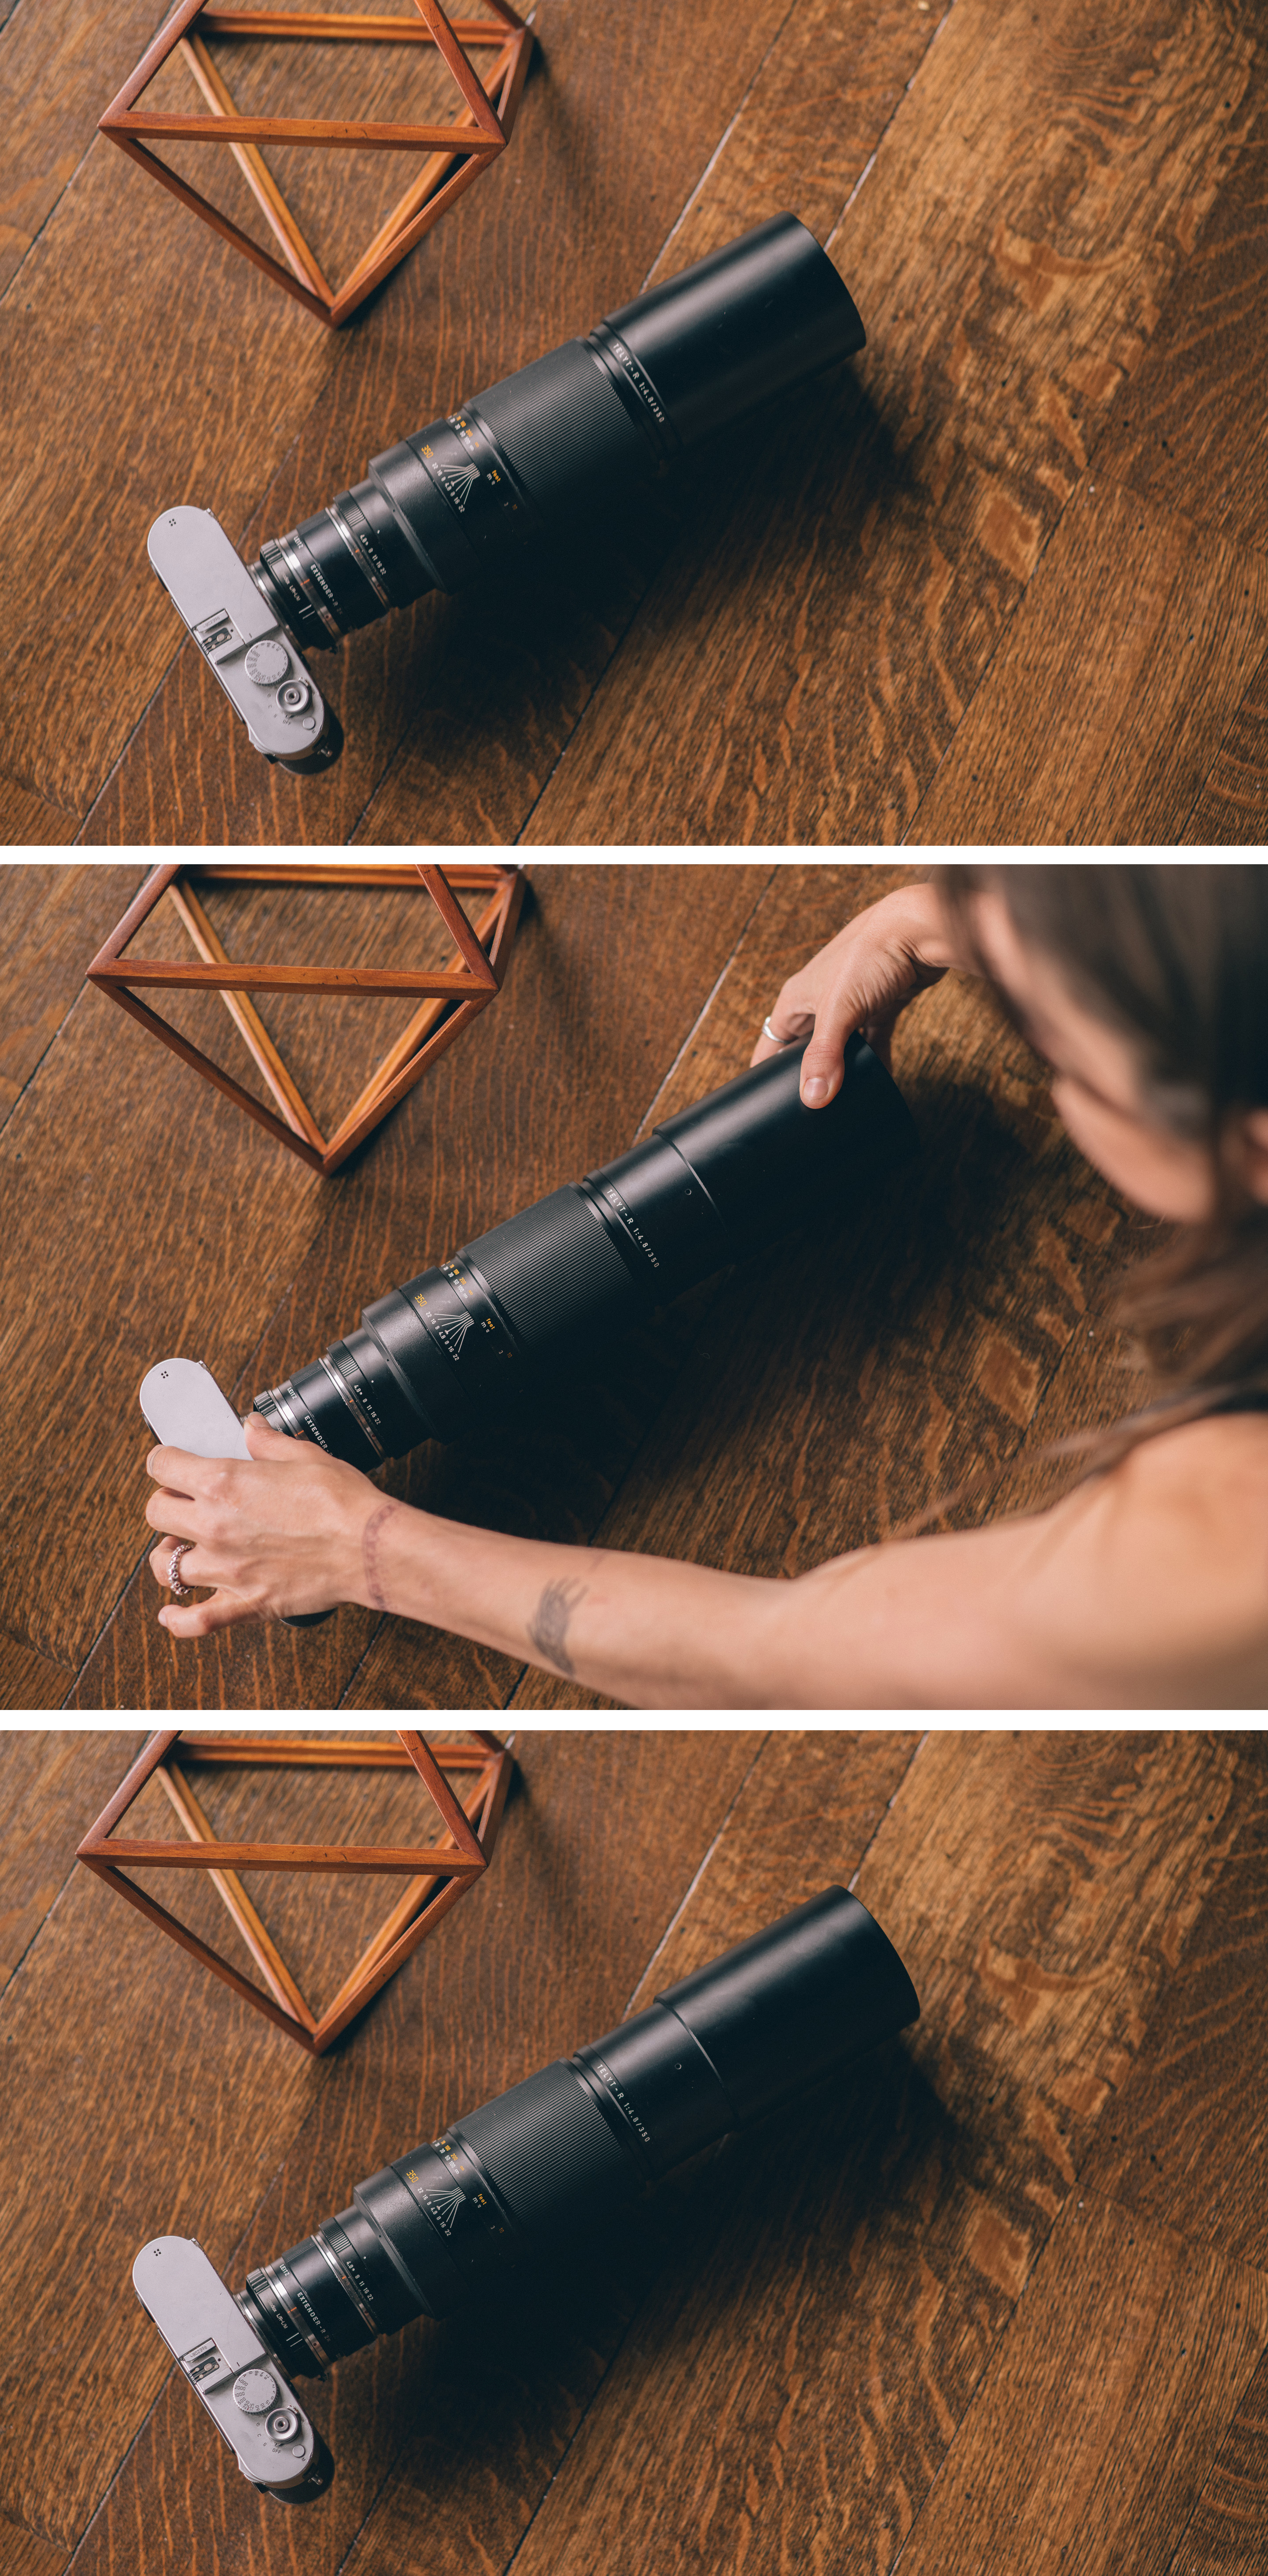
I have also adapted the rather huge Leitz 350mm Telyt-R to the M, which looks both hilarious and terrifying:

Leica M with Leica Telyt-R 350mm lens

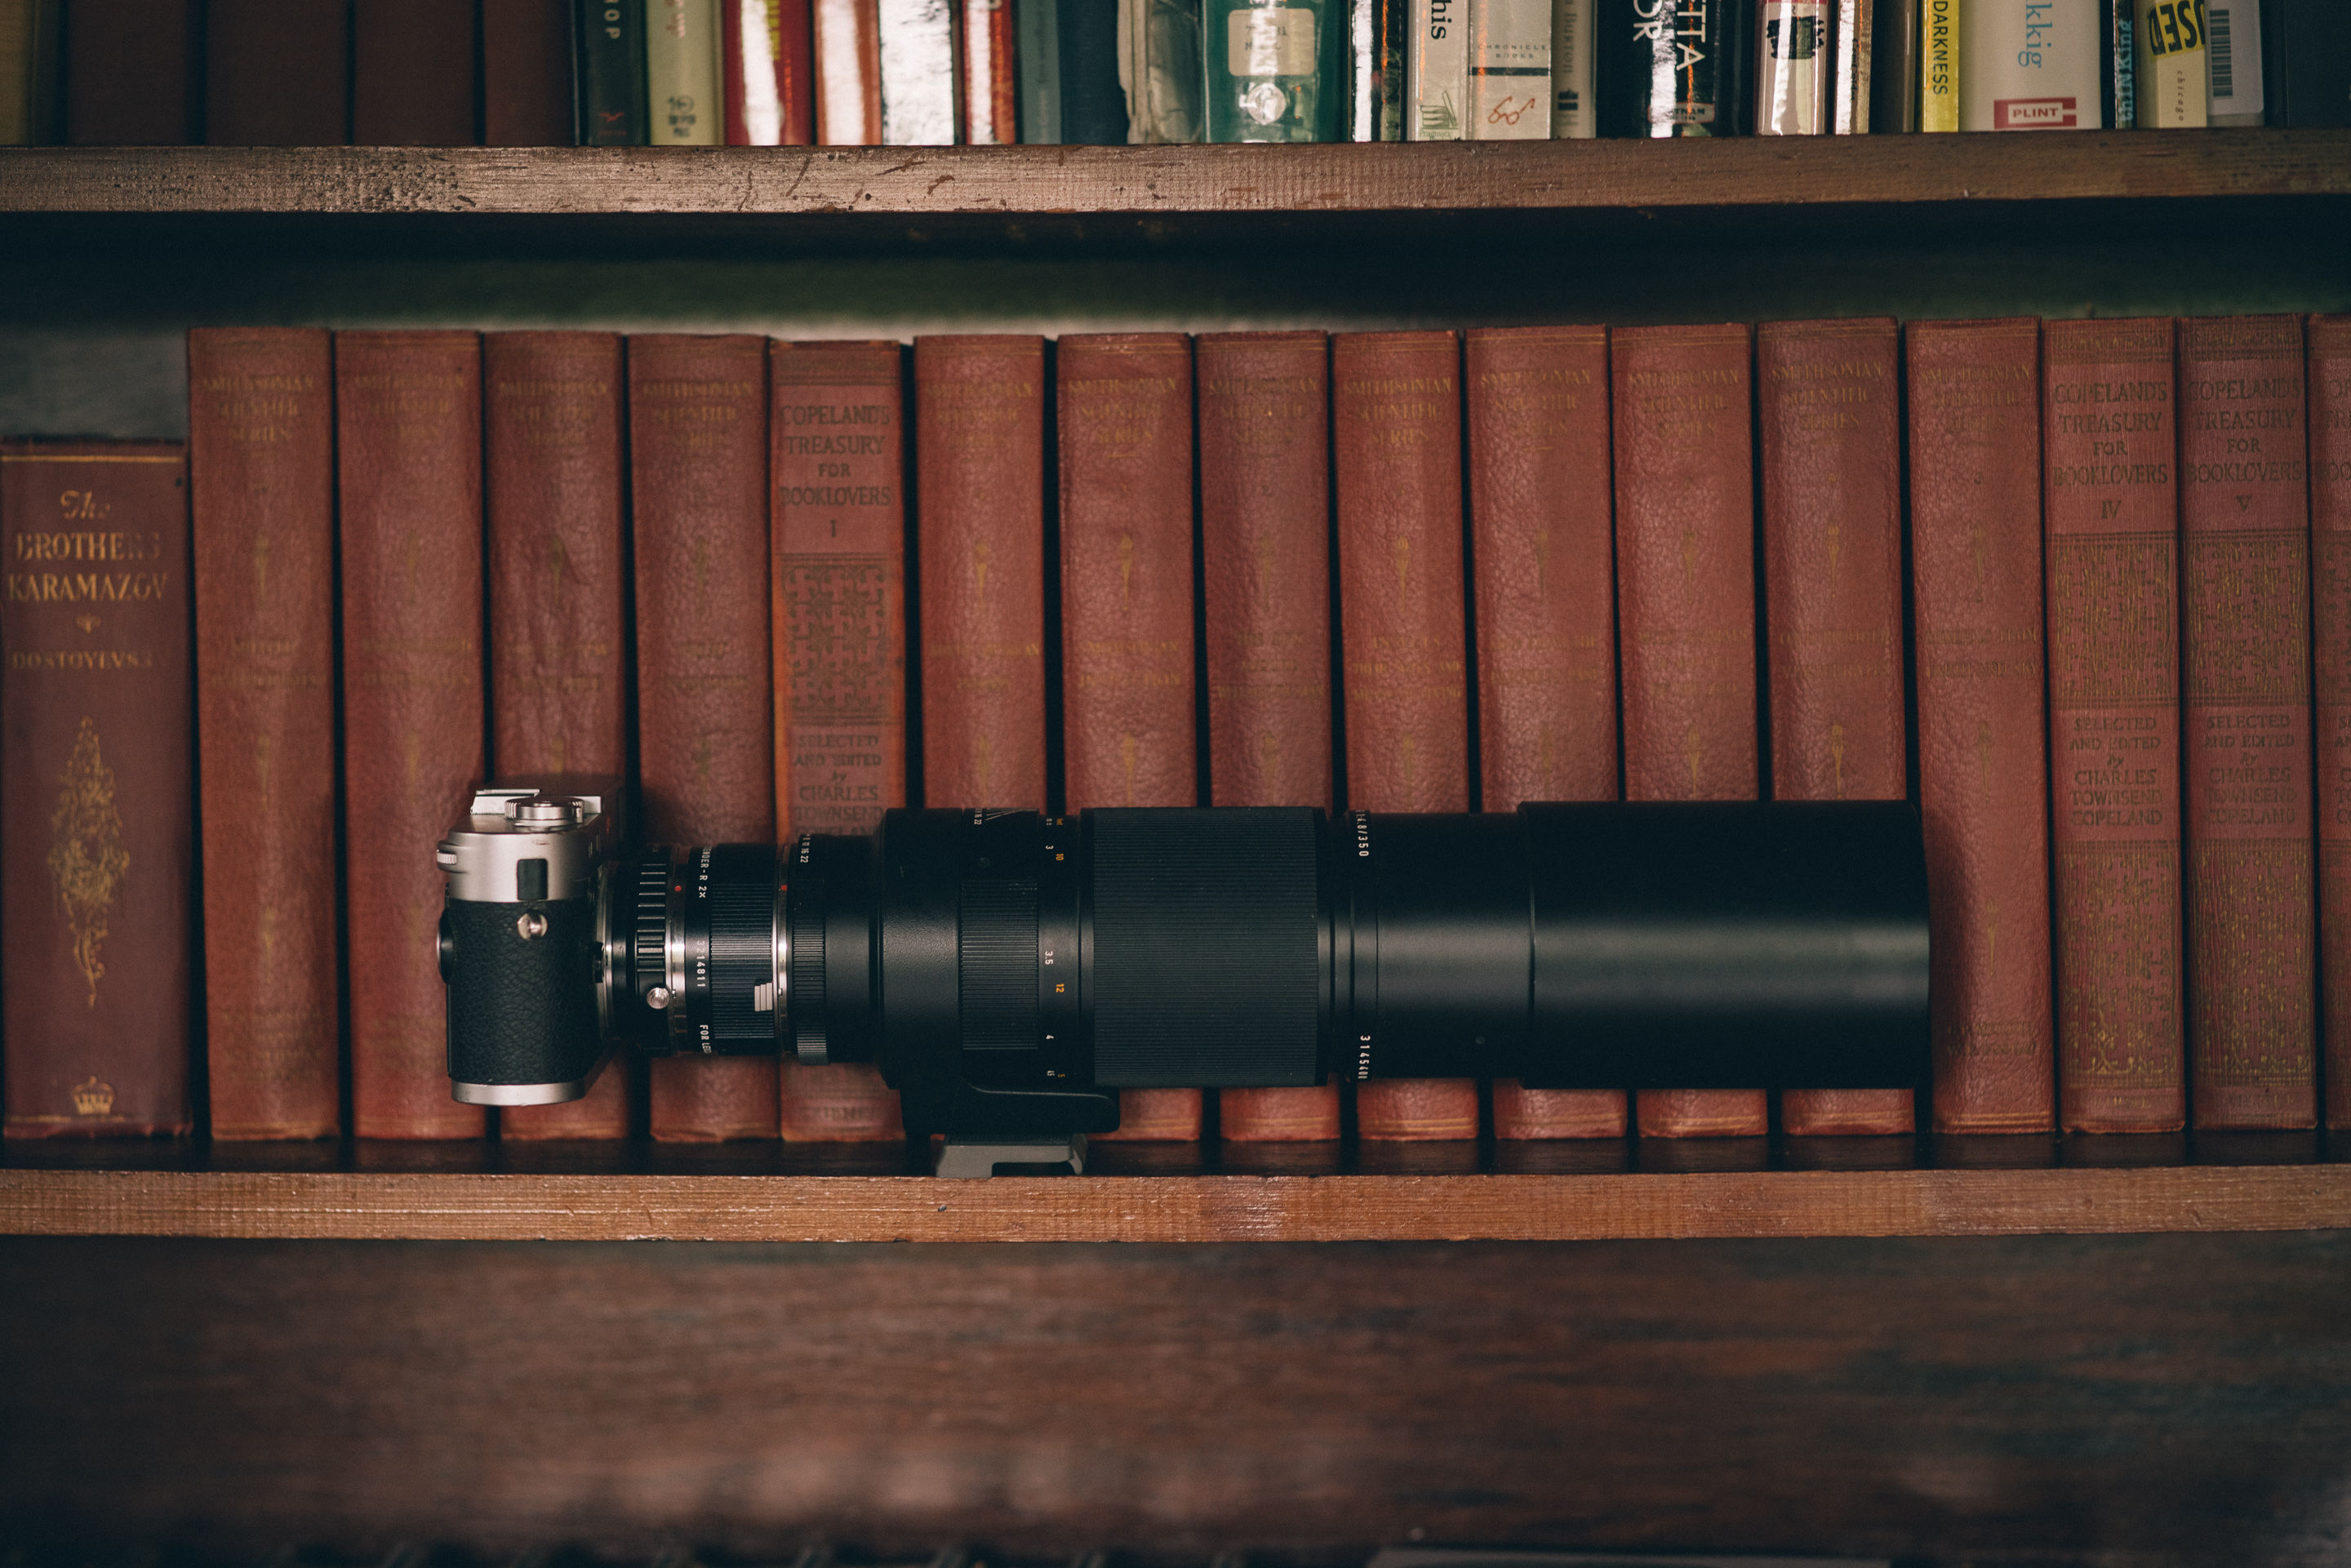
But it performs quite well, and with the EVF it’s easy enough to focus. Here’s a photo I took at sunset of Sutro Tower in San Francisco from Bernal Hill:

Sutro Tower

This is where you can see how much of a difference Live View really makes: thanks to the addition of it you can actually use the M with longer lenses!

In the past, it’d be quite literally impossible to do so. A rangefinder camera simply wasn’t able to use lenses that long. It was a pleasure to use them on the M, mainly thanks to the new features added in a firmware update that let you enable an electronic level overlay and ‘focus peaking’, a filter on the image that highlights the areas that are in critical focus for even easier focusing.


Optics


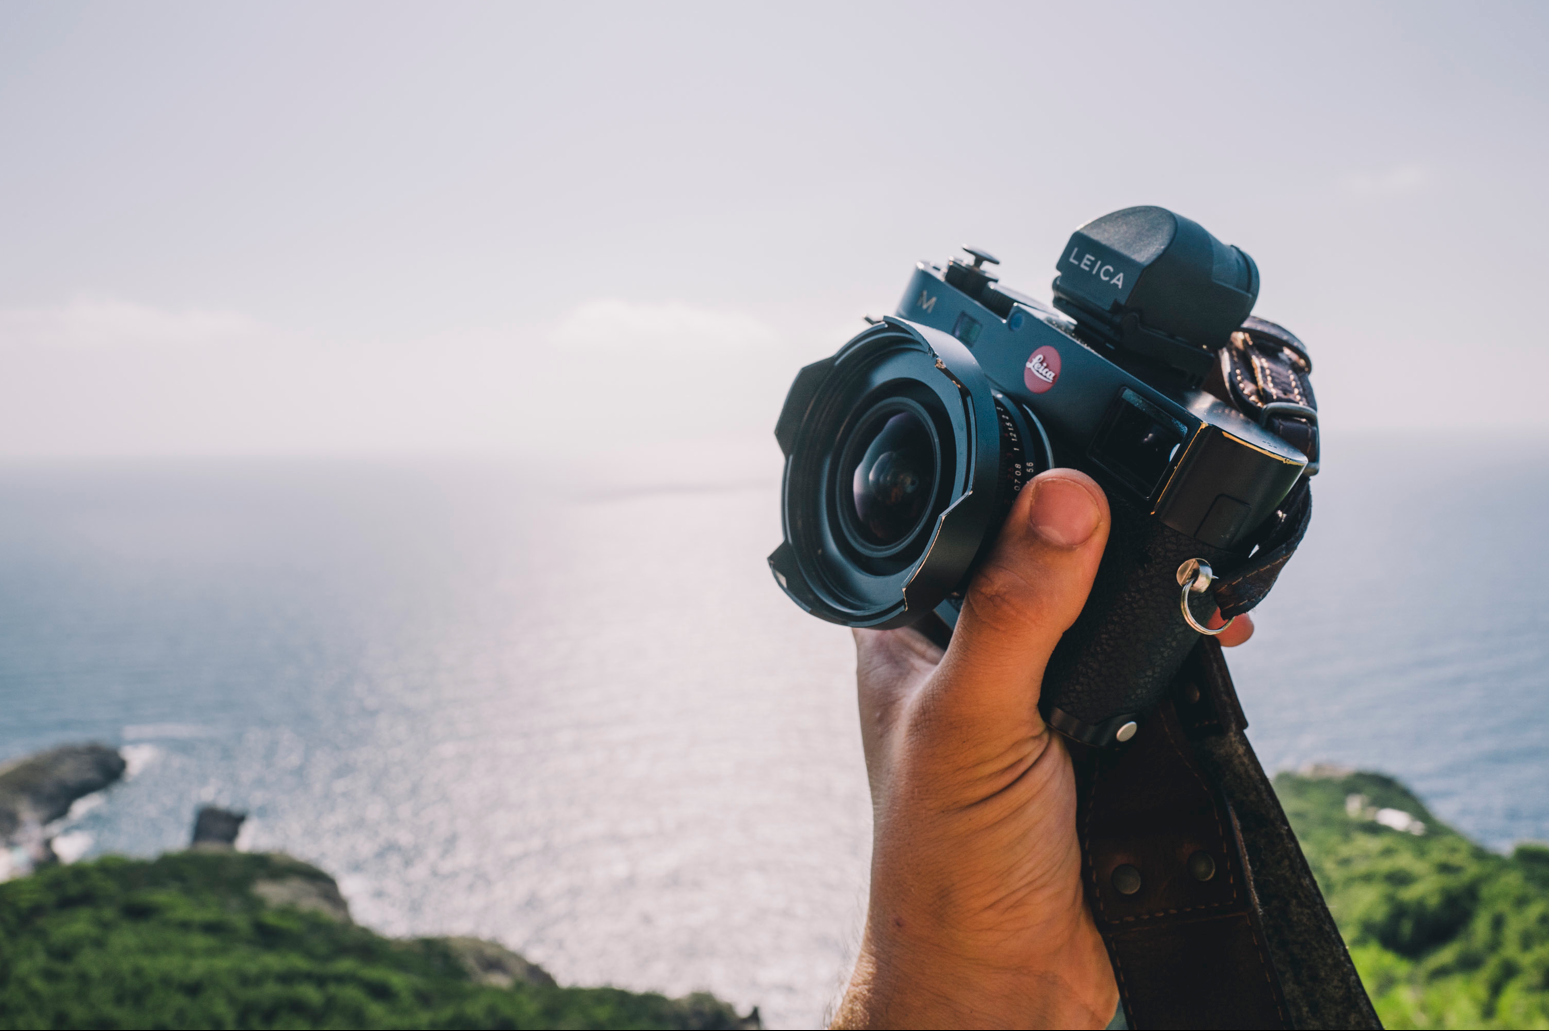
The Leica M doesn’t come with a lens; it has to be purchased separately. Leica lenses are impressively small and perform incredibly well — particularly the wide-angle lenses. A hallmark of the Leica wide-angles is the lack of spherical distortion (often referred to as ‘fish-eye distortion’). Thanks to the lack of the mirror box in the Leica M bodies, the lenses can be engineered in an entirely different and much more compact way. There’s simply no way to build the same lens for a longer focal plane length, and Leica reaps those rewards with great grace. It is worth noting that Leica also added a unique micro-lens design on the sensor to minimize the color shift in the edges of the frame.

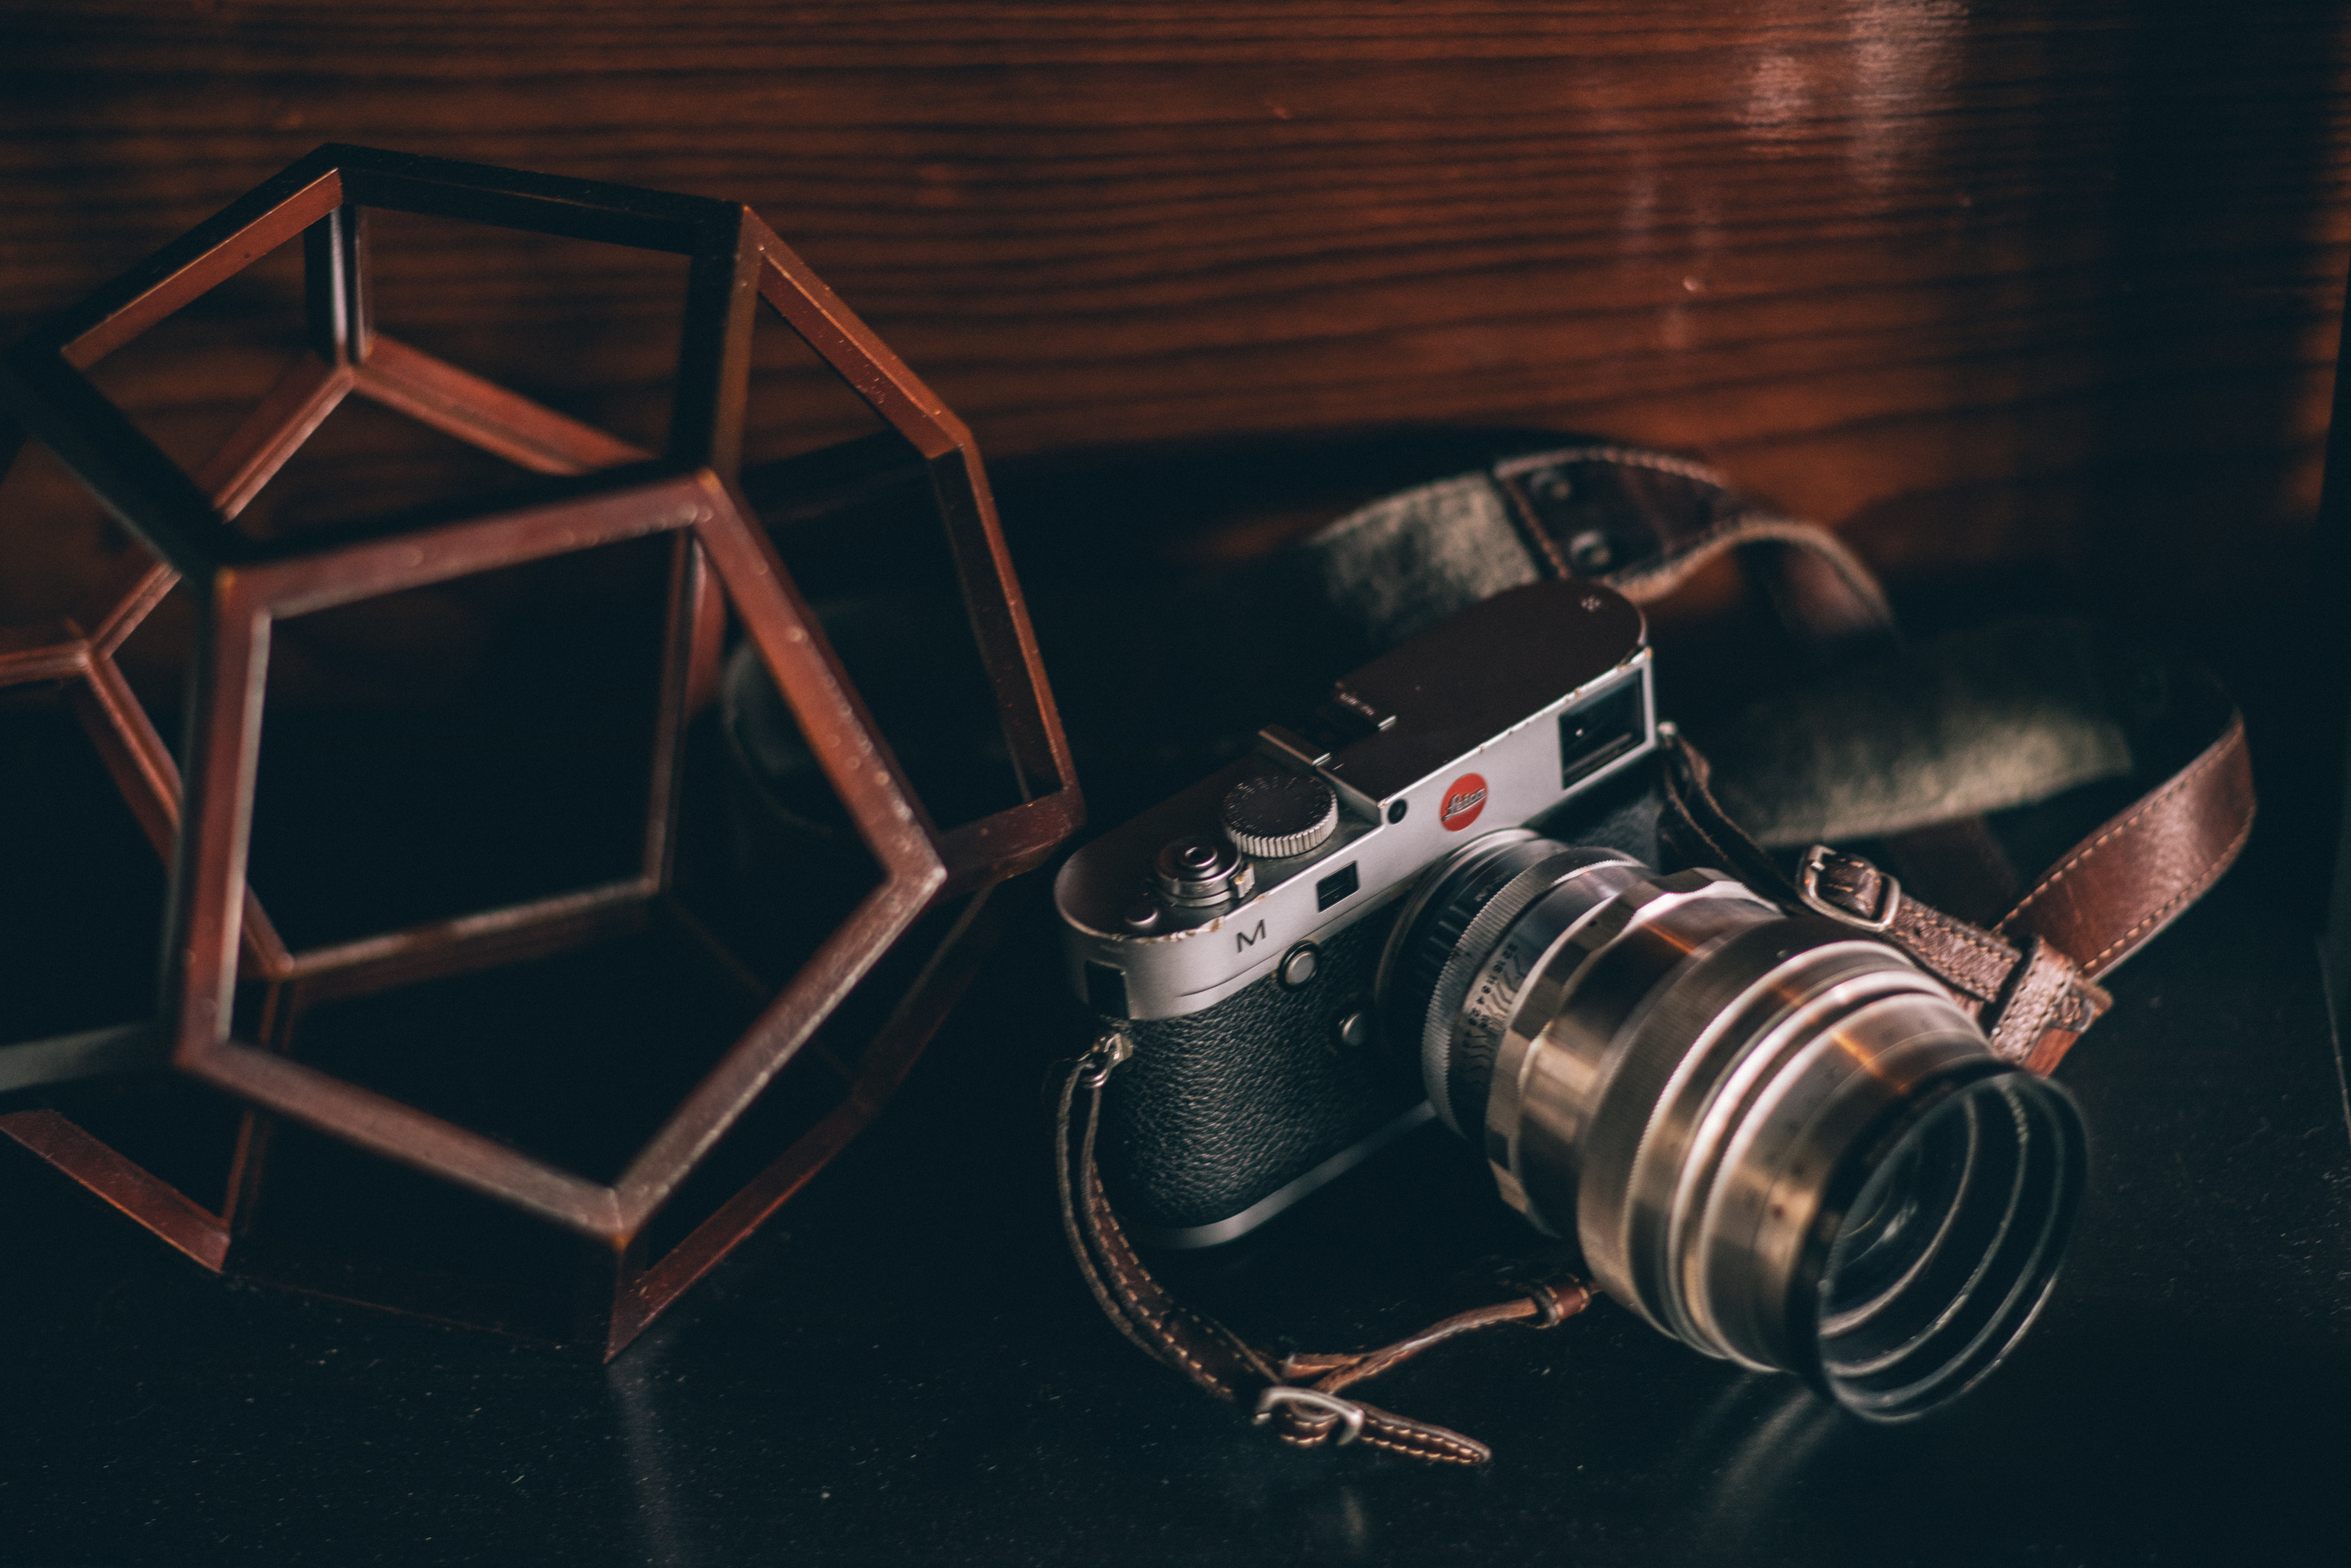
One of my favorite lenses for the Leica M is the 12mm Voigtländer Ultra-Wide Heliar. I previously used the 15mm Ultra-Wide by Voigtländer as well, on the M9, but it seems the M handles these lenses even better, with less discoloration and vignetting at the corners:

Leica M with Ultra-Wide Angle lens

The reason this discoloration exists, is that light hits the camera sensor at a rather extreme angle of incidence and refracts into various wavelengths — thus, colors — of light. It causes a pink or green color shift which can be rather undesirable. Again, I noticed the M handled this better, which may be attributed to the improved design of the micro-lenses on the camera’s pixels.

L1002705

Sony’s A7 series of cameras are not great at handling these lenses yet, sadly, due to the lack of such specialized micro-lens design on their sensors, causing actual pixel smear and detail loss in the corners. Their sensor also has a significantly thicker cover glass that makes it lose some critical sharpness if you use your Leica lenses on the A7-series bodies.

A common critique of all things Leica is, naturally, the price of their wares. Leica M lenses are certainly pricy: one of my favorite go-to lenses, which was used to shoot a lot of the photos in this article, is around four thousand dollars. But the point of a true system camera is options; for an M shooter, those options are drawing from a long list of vintage rangefinder lenses going back almost a hundred years (which are often optically excellent), Voigtländer lenses, Zeiss’ line of ZM lenses and Leica’s modern M lens offerings. Between all of these, acquiring a set of fast primes can be very affordable.

While tangentially related to optics, it is worth noting that due to the small size and soft shutter action of the M body — and of course, the lack of a mirror slapping — vibration is reduced so significantly that it is quite easy to shoot handheld photos at slower shutter speeds than comparable SLR cameras. I can shoot my 35mm lens at 1/20th to even a tenth of a second without the image getting too blurry. A compact lens helps here, too.


Build


The Leica M is, like its M series predecessors, made out of brass, which gives it a nice bit of heft and makes it feel quite dense. Its solid feeling body is no illusion. In this particular version of the M, some weather-proofing and a stronger lens mount were also added. I haven’t noticed the improvements significantly: I always took my old M-E out in adverse weather and continue to do so with the M.

I can, however, share an anecdote on the M’s general solid build.

Ride_North_Stus_pics-61

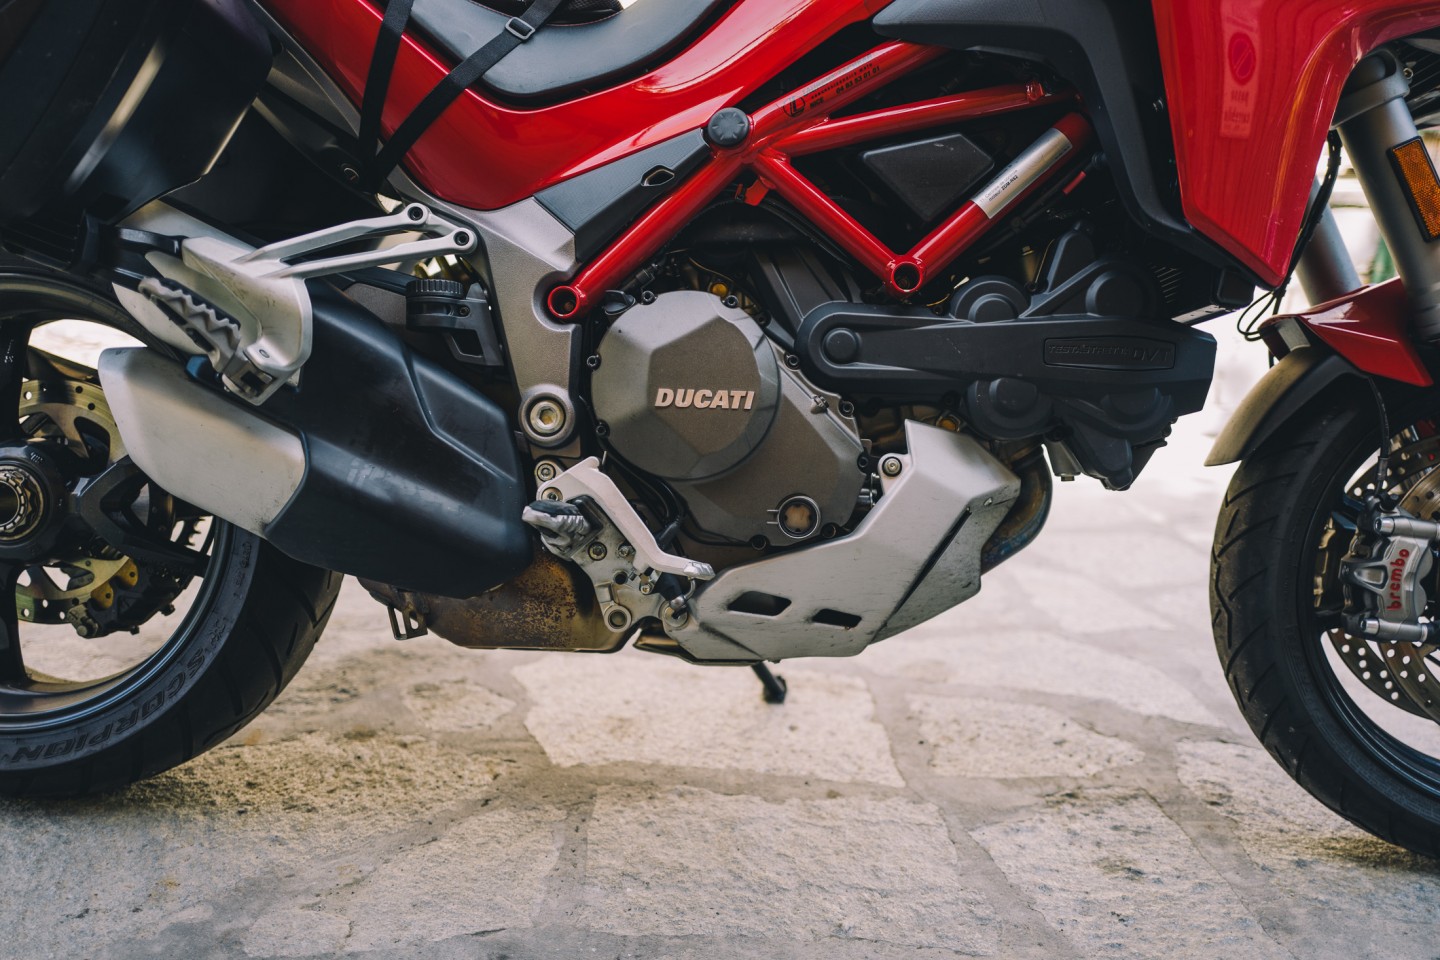
While shooting in Alaska I crashed my motorcycle. I was going about 55 miles per hour when I hit a bunch of large rocks in the road, and a rather wobble quickly flipped my bike right into the ground, tossing me off the seat and onto the rocky ground. I had my Leica M on my shoulder and I happened to land on it. Ouch.

I gathered myself, and ran back to my bike to pick it up. After I assessed the damage to the bike, I started to grab my belongings off the road and noticed the camera that was still dangling off my shoulder – but the lens was missing.

The lens was a bit further down the road — I landed belly down, so the lens and the top of the camera took the brunt of the impact. The lens, a Zeiss ZM 28mm f/2.8, snapped off at the mount. The mount was a bit damaged, but worked fine. I was certain that I wouldn’t be shooting with the camera body anymore – I’ve accidentally kicked my 5D Mark II across a floor once, and it was completely destroyed with pieces of plastic flying all over the place.

Not so for the M. I was actually in a nervous enough state to put on another lens and take a shot, which resulted in this rather creative image:

Leica M Shutter Broken

I figured the sensor was probably toast. The shutter didn’t sound very healthy, but once I triggered Live View it took photos fine.

The sensor was (obviously) quite dirty, but the mount, sensor and the rest of the camera was completely usable! I ended up attaching my remaining lenses (a 35mm Summilux and a 12mm Voigtländer Ultra-Wide) and shooting more. 18 days later, I took this photo riding over the Golden Gate Bridge:

M on Golden Gate

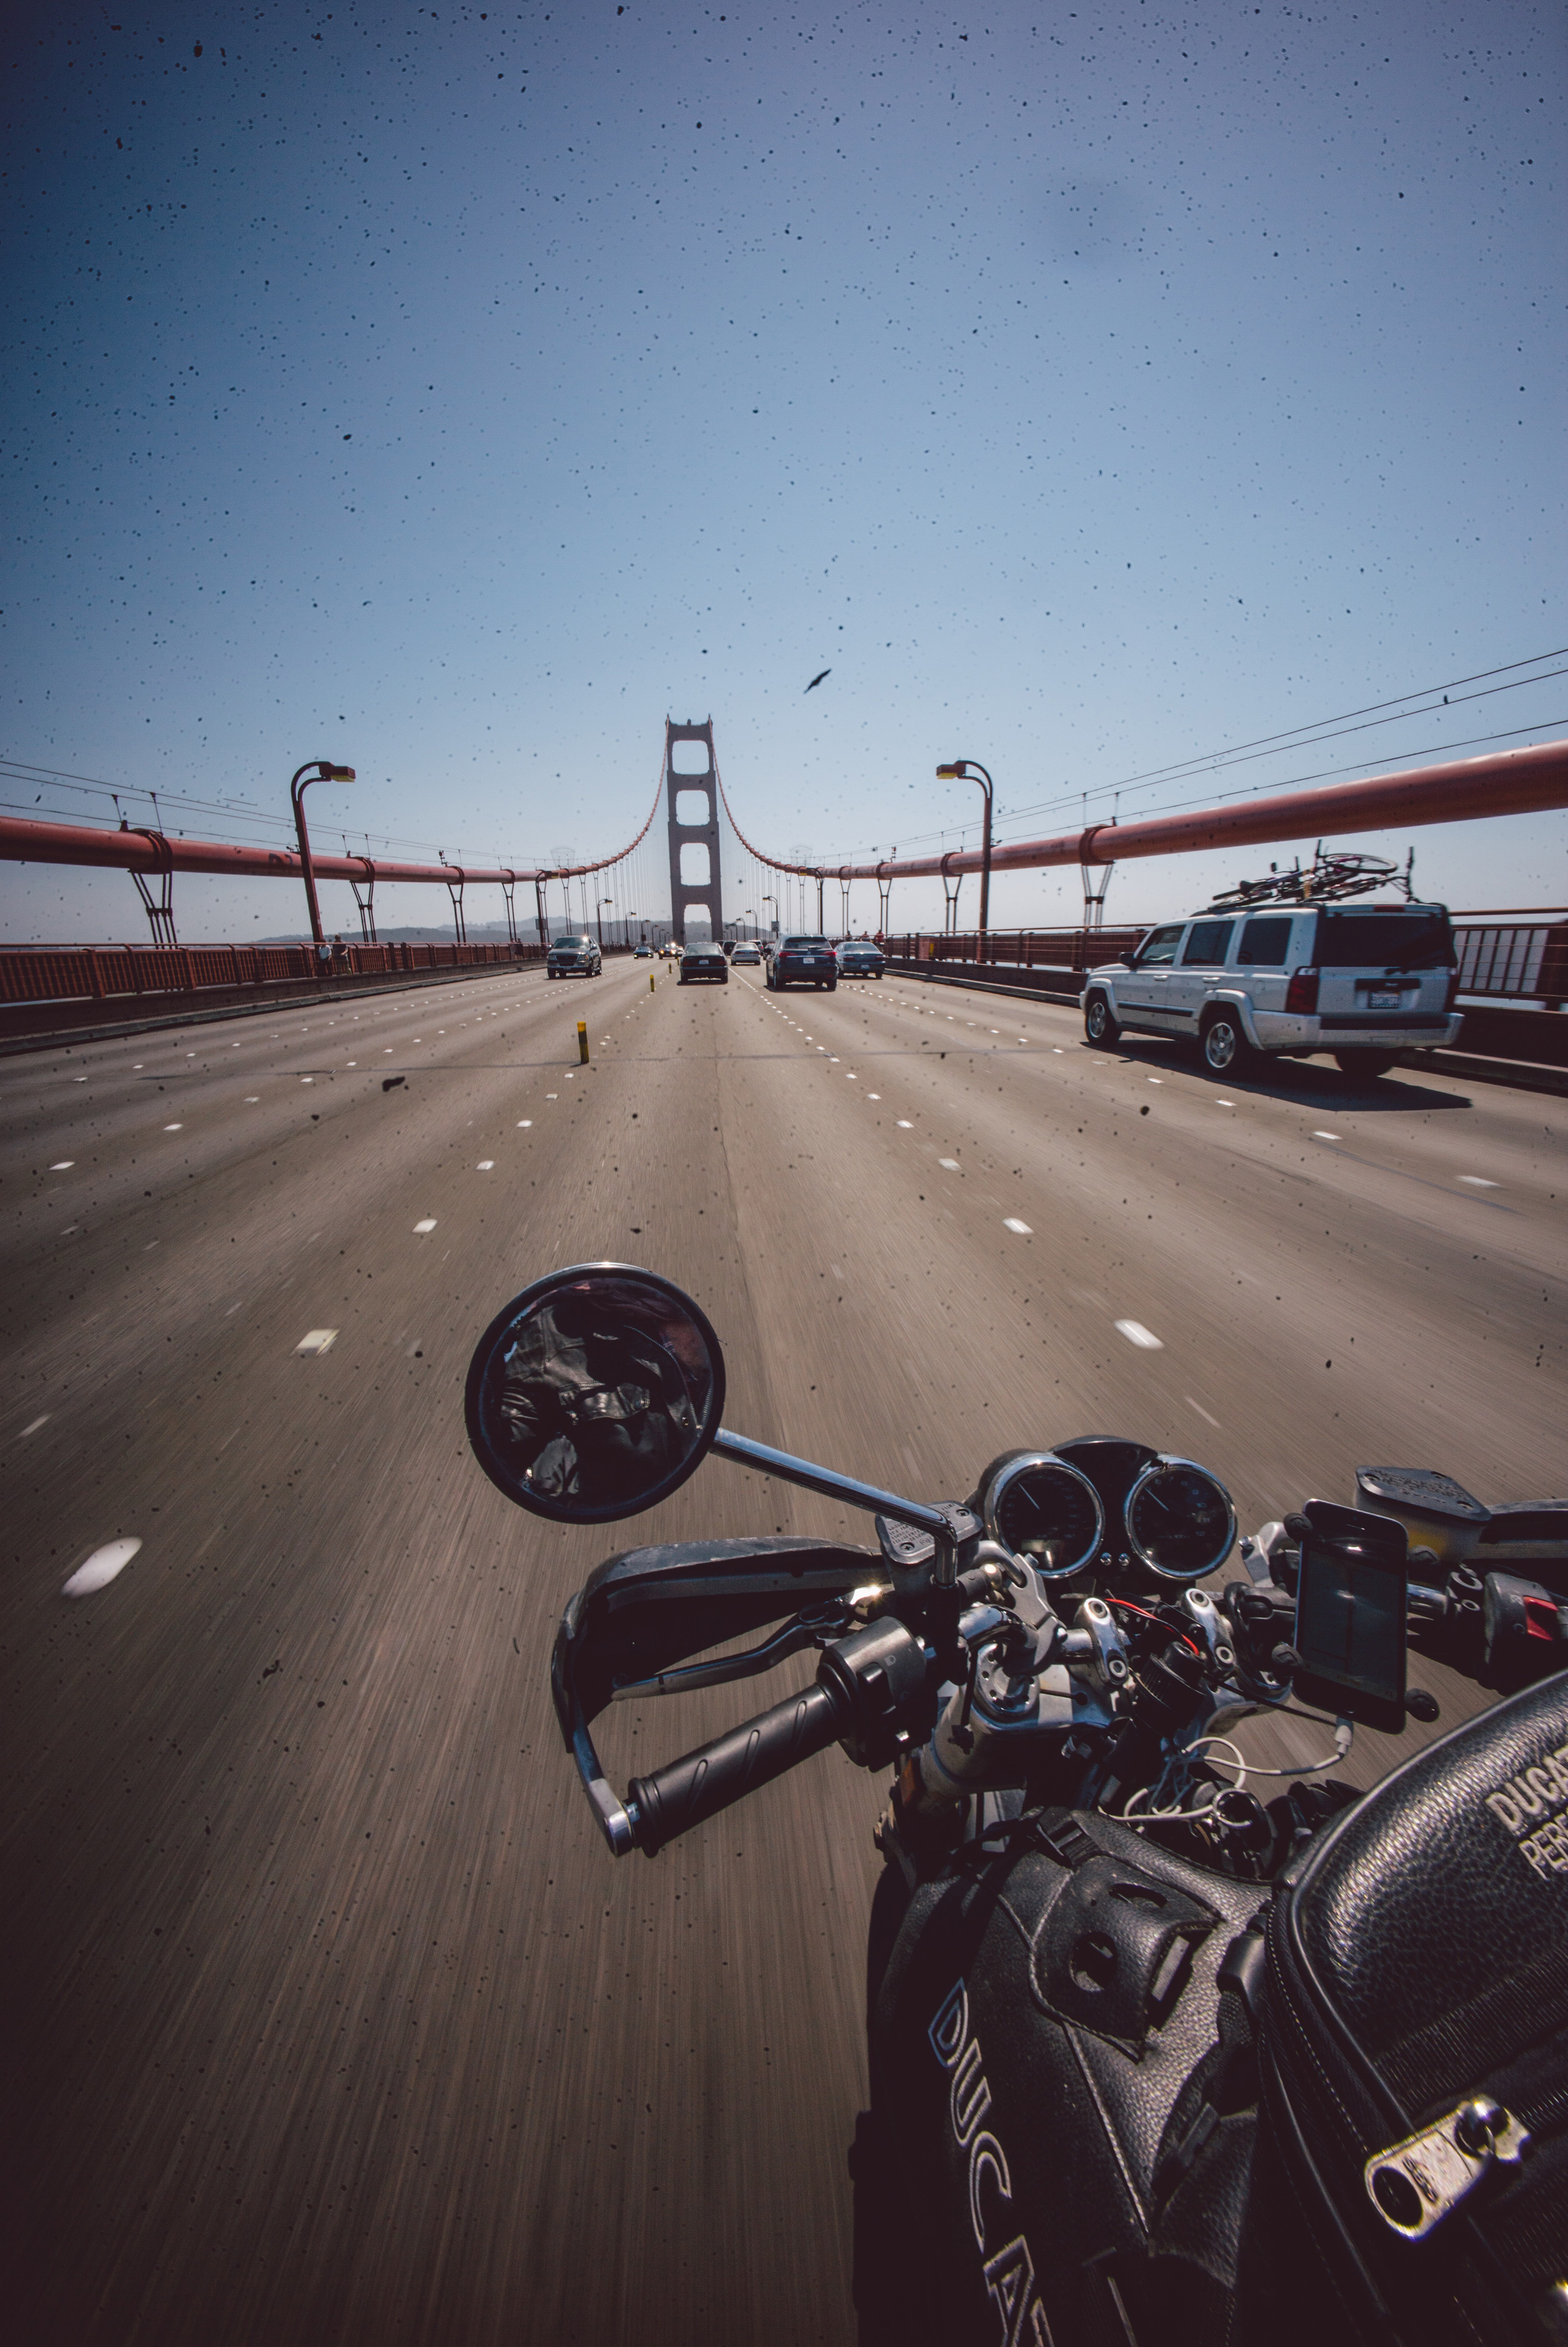
(that is one dirty sensor!)

Once back in San Francisco the camera started showing some more issues — particularly with the shutter — so I took it to Leica which fixed it up. Leica being a bit of a small shop takes a pretty long time to get a repair assessed and done, which is my biggest complaint with them. Other than the turnaround time the repair was very well handled by the Leica Store SF people and the company, and when I got it back it worked perfectly, while still showcasing its character:

My worn, beat up Leica M

My faithful former companion.

I wouldn’t have it any other way — it certainly looks used and abused now. I often get comments from people that are astonished I bang it up so much and take it places where it gets scratched or dinged up. Which is silly — you shouldn’t buy a camera unless you plan on using it without any reservations.

The lens I was unable to fix. Even when I attached a new mount (the old one was bent beyond repair) the lens itself is a bit shaky and less than sharp. I suspect some of the elements were sufficiently shaken up to get out of alignment. A real bummer as it is easily one of my favorite lenses of all time. Zeiss offered me a discounted replacement at this time of writing, stating the lens was unrepairable.


The M vs. the competition


A few thoughts on my use of the M versus other oft-used comparable cameras. While I’ve used the SL for about a week, I can’t really make a sound case for it yet so I have omitted it.

Leica Q icon

The Leica M vs. the Leica Q


Leica released a new, pocket-sized but premium fixed-lens camera last year and dubbed it the Q. Comparisons with the M are abound, but overall the Q is not so much based on the M as it is a reimagining of a pocketable camera with modern technology using M-grade optics.

The Q excels at quick and simple snapping. Smartphones occupy this niche firmly, but no matter what huge billboards tell you, their photos simply aren’t that great. Barring any extreme advances in camera engineering, they will always lack depth of field, low-light sensitivity, sharpness and dynamic range. The Q has been designed to go exactly in the same use case as your phone:

– it uses a comparable wide-angle fixed lens (28mm for the Q, compared to a ~22mm equivalent on the iPhone);
– it autofocuses as fast or faster as a top smartphone today;
– it comes with a touchscreen to quickly swipe through photos or even tap to focus on a subject;
– it takes great, no-fuss video;
– and it has Wi-Fi for pairing with your phone to immediately share your snaps

In doing so, it does things the M probably never will. The Q is great with dynamic social settings like being in the backyard with your kids running around; continuously manually focusing would be tiresome and difficult there. It can go head-to-head with the M on street photography, with a shutter that is possibly the quietest I’ve ever heard. Notably, unlike the M, there is no direct viewfinder or rangefinder but a (decent) EVF that looks through the lens. I found the EVF to be acceptable, but no substitute for the optical rangefinder of the M.†

Overall, the Q is an exceptionally great point and shoot camera. Its manual focus system and macro switch are things that are so well engineered and so much fun to use I actually laughed with glee when I used them. To me, however, it’s not a camera for more demanding usage scenarios simply by virtue of feeling more fragile and less flexible than the M. Being unable to swap lenses leaves you with the one (admittedly exceptional) lens on the Q, and when traveling with both it just made me reach for the M that much more often.

the SL’s EVF is really, really exceptional. In some cases, better than most optical viewfinders. I still found its color and shadow rendering suboptimal, though.

Sony A7R2 Icon

The Leica M vs. the Sony A7R2


The Sony A7 series are the current cream of the mirrorless full-frame crop. I’ve used the A7, A7R, A7S, A72 and A7R2 (confused yet?) and the latter — also known as the A7 R Mark 2 — is arguably the most advanced and ‘best’ of the bunch‡.

The Sony A7 series wins over the Leica in sheer flexibility. You can literally load apps onto the A7 cameras (the time-lapse one is my favorite). It has several buttons which only exist to be bound to a particular feature. There’s 12+ pages of menu settings to explore. You can install a smartphone app and shoot through that, or pair your phone with NFC.

The A7R2 wins over the M in both video usage (the M’s video feature is a token video feature that I have personally never used) and raw megapixel count. It’s delightful to be able to crop down to a quarter of the image and have adequate resolution left. That being said, I can’t say I use this often, and it makes for extremely large files that can be a hassle to work with. Another tradeoff of such a high pixel density is some more ‘cross-chatter’ between the pixels on the actual sensor which can produce the aforementioned bothersome noise in images.

Above all, the A7 series are simply not nearly well-built or as pleasant to shoot with. I found the controls often irksome, the control scheme overly cluttered (even coming from Canon and Nikon pro-level bodies) and the buttons flimsy. This is also true compared to competition in the same field from Fuji, which makes the impeccable X-Pro camera that is just a lot more pleasant to take photos with. Usability and feel are very clearly a distant afterthought in the A7 series, which is a huge bummer. Anecdotally, the build the bodies I got from Sony was questionable, as I had shutter lock-ups at very high altitudes and battery door hinges come loose in the field before.

As a last minus of the A7 series, I also found the battery life unacceptable. I usually get about half a week to a week of fairly intense use out of my M battery, and with the Sony bodies I find myself needing spare batteries on the same day.

in actual usage in our trip to South America, me and Stuart both vastly preferred the A7S build, reliability and even images over the A7R2, which felt more like a bundle of endless compromises to achieve its high megapixel count. Several A7R2 bodies I used exhibited hardware failures at some point.


Gripes


I have very few gripes with the M. In fact, it’s my favorite camera on the market. I’ve tried all of Sony’s current offerings, but they simply fail to offer the experience and feel of shooting the M. In my travels, they have been unreliable, and their poor build quality doesn’t inspire confidence. Somehow in the M’s feature set, they have found everything that a camera should do and put all those functions in a place that makes perfect sense.

Of course, for different people there’s different ‘perfect cameras’: what might be perfect for me could be completely different from you. But I’ve certainly heard nothing but praise from the friends that have borrowed my M for short periods of time.

Small quibbles with the M I do have, which I mostly have now that the Leica Q is out which boasts a number of features that I’d love to see in the M.

– I certainly wish it could focus closer. I wish Voigtlander could make a close-focus adapter for the M, like they made for the Sony A7 series! I think the flange distance prohibits this.

– The ‘M’ button for movies should be either moved so it’s not easily triggered on accident, or be made reassignable in firmware to other functions. I have made a few accidental movies in my time.

Unknown

– An upcoming M having a method for remote shutter release that is not an old-fashioned cable release would be great and save on my usage of timed release shots for long exposures (or upgrade the ‘auto exposure’ mode to max out at more than 60 seconds at ISO 200)

– The new Leica SL has gotten proper weather-sealing, and while the M is arguably weather-sealed, it’s certainly not as weaponized as the SL. That being said, I’ve used it in pouring rain many times and it’s been fine.

– It goes against being the bare essence of photography, but shooting with the Leica S and SL made me miss their built-in automatic GPS geotagging. To accurately have your photos store their location in their metadata is extremely cool, particularly when traveling.

– Leica simply does not put enough employees on repair duty for the M series. I have heard their pro-level S cameras have a great repair turnaround, but if you do send in your M for repairs, expect to be out of it for weeks – sometimes months. This is absolutely unacceptable, especially at its price point.


Verdict


The previous version of the M which I owned, the Leica M-E, was a very capable camera with incredibly beautiful colors (photos from that camera featured here), but poor high-ISO performance. It also lacked a high resolution screen, weather sealing, and movie recording / live view.

With all that improved in the new Leica M, it is now my favorite camera. It has earned that in its sheer pleasure of usage, performance in image quality and robustness. If I were to buy any camera on the market today, even with Sony’s latest offerings and the new Leica Q, I would still pick the Leica M. Like a film camera, it has improved my photography greatly, but it is also simply one of the most refined tools for a photographer to use… and abuse.

Leica M on bookshelf

It stood up to some of the most serious wear and through some of the worst conditions for cameras we can find in the world – and it stuck with me where many a modern SLR would have failed. I hope Leica will continue making the legendary M for quite some time.


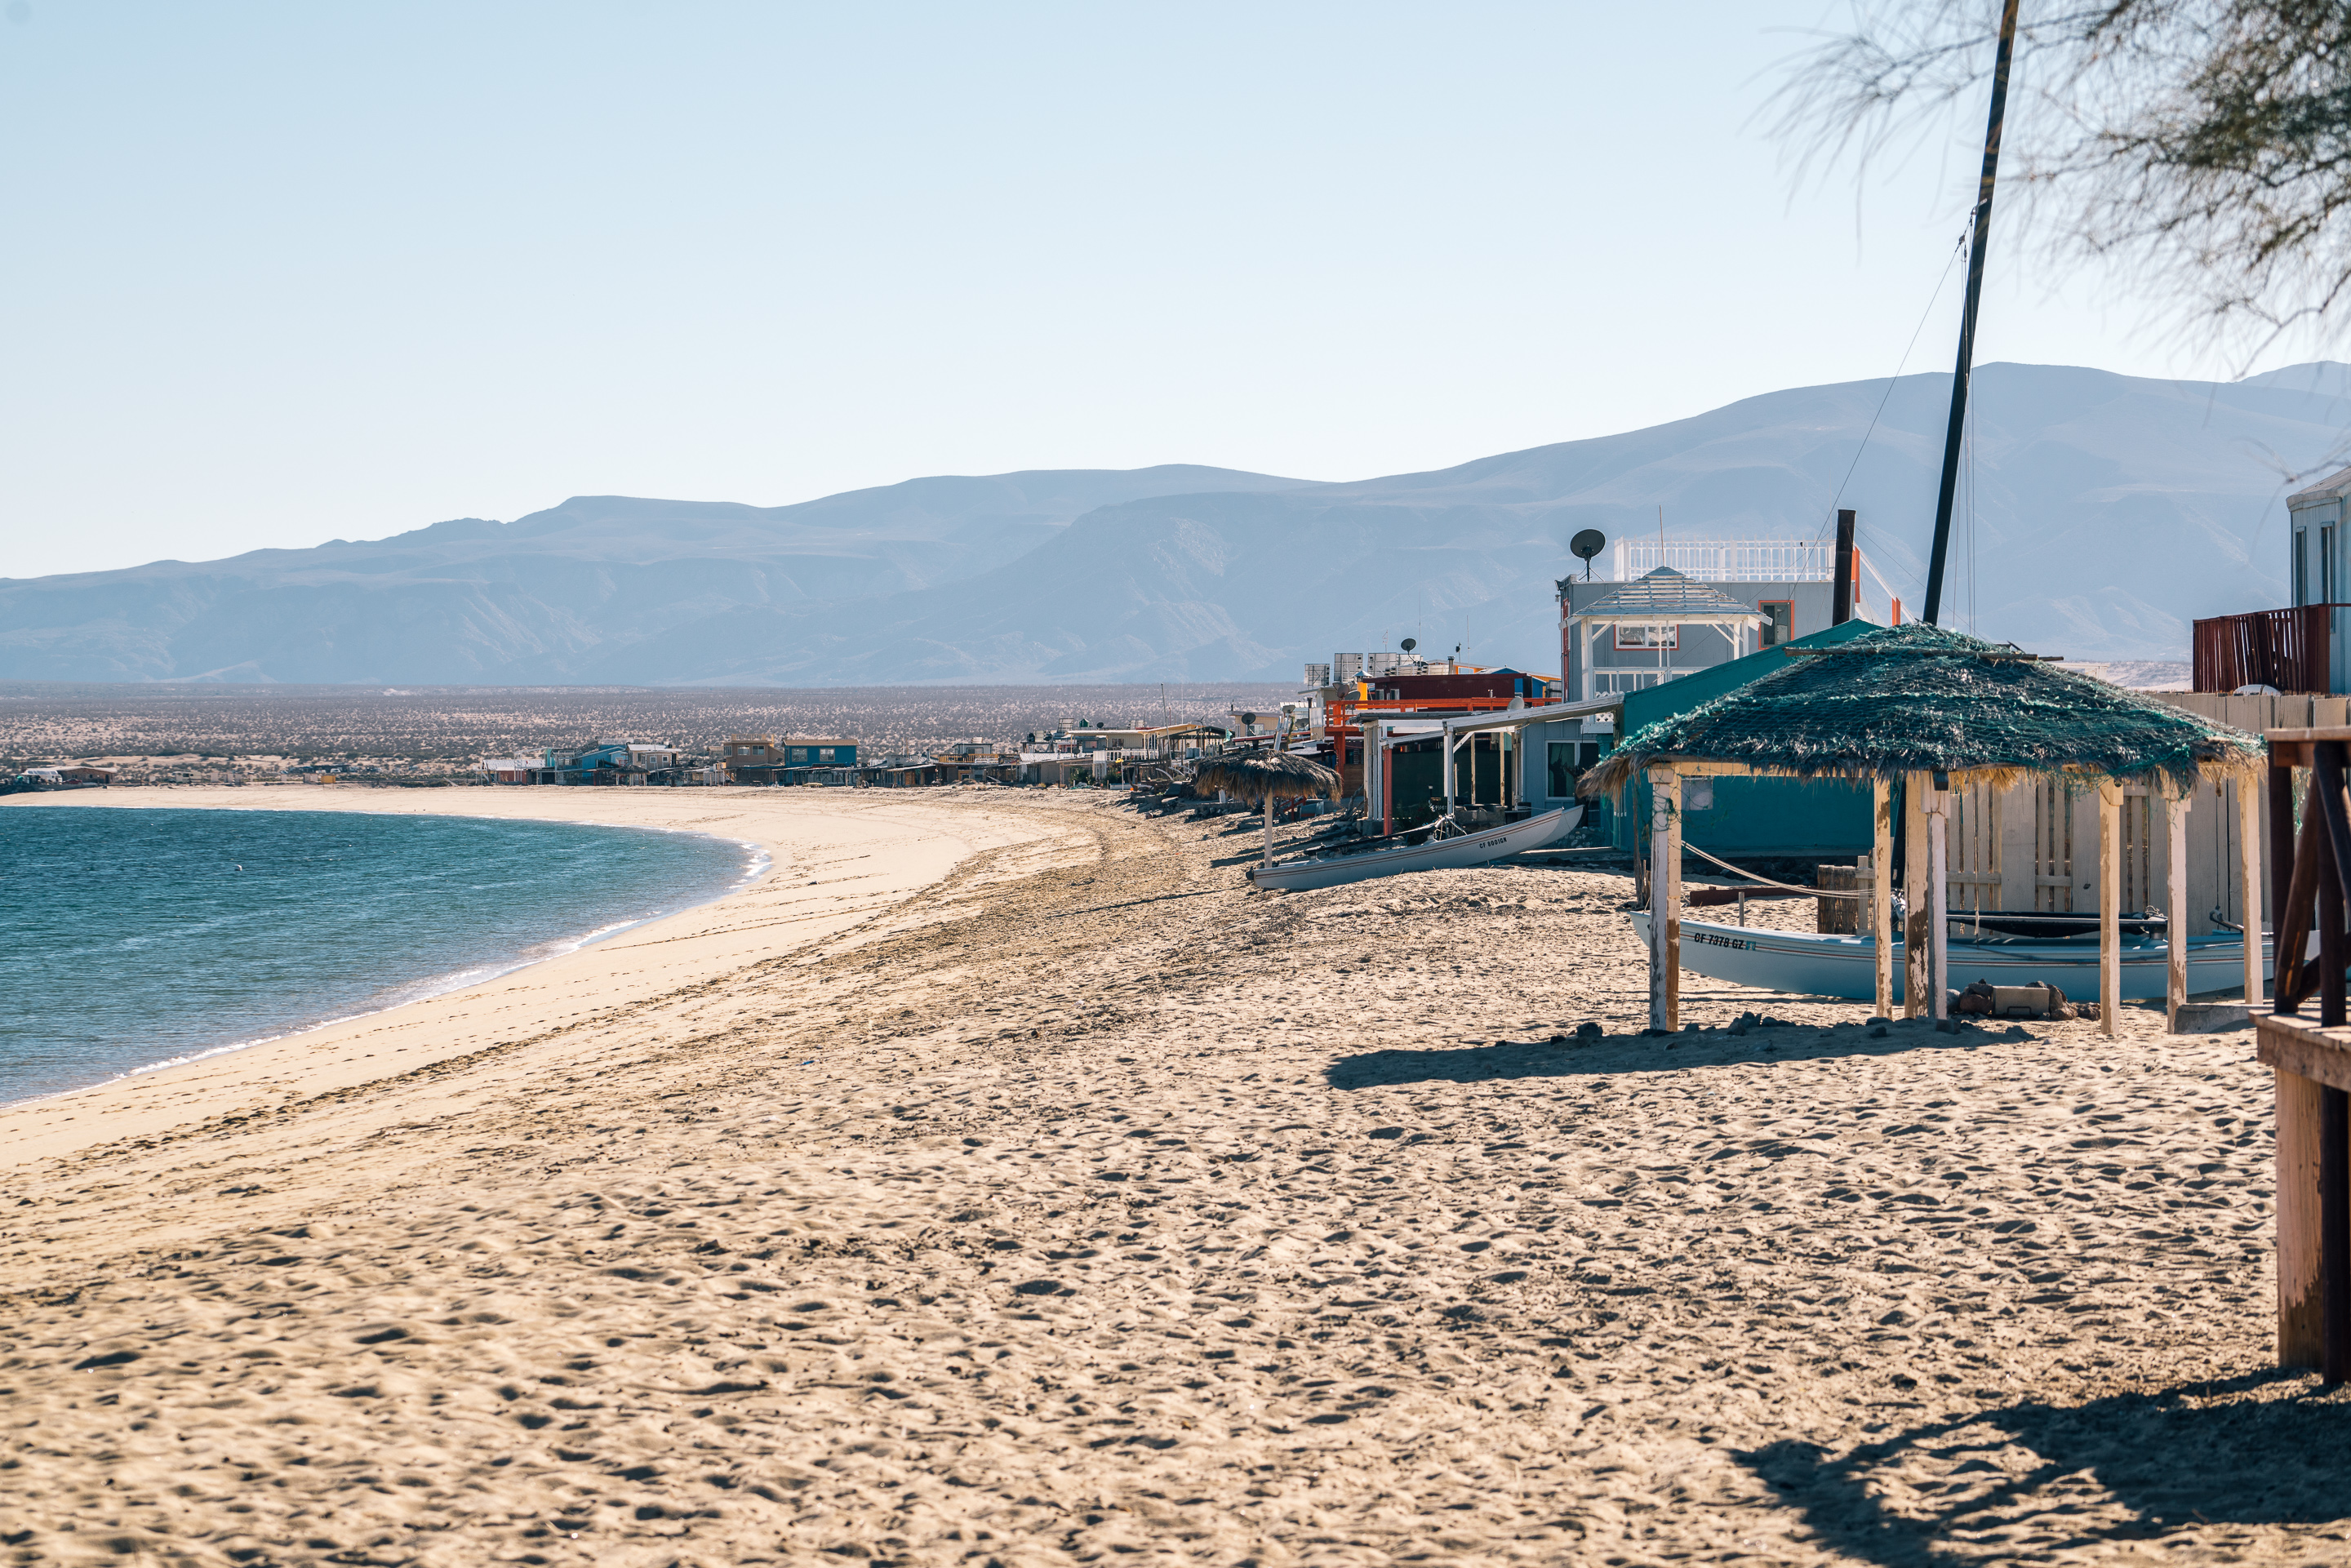
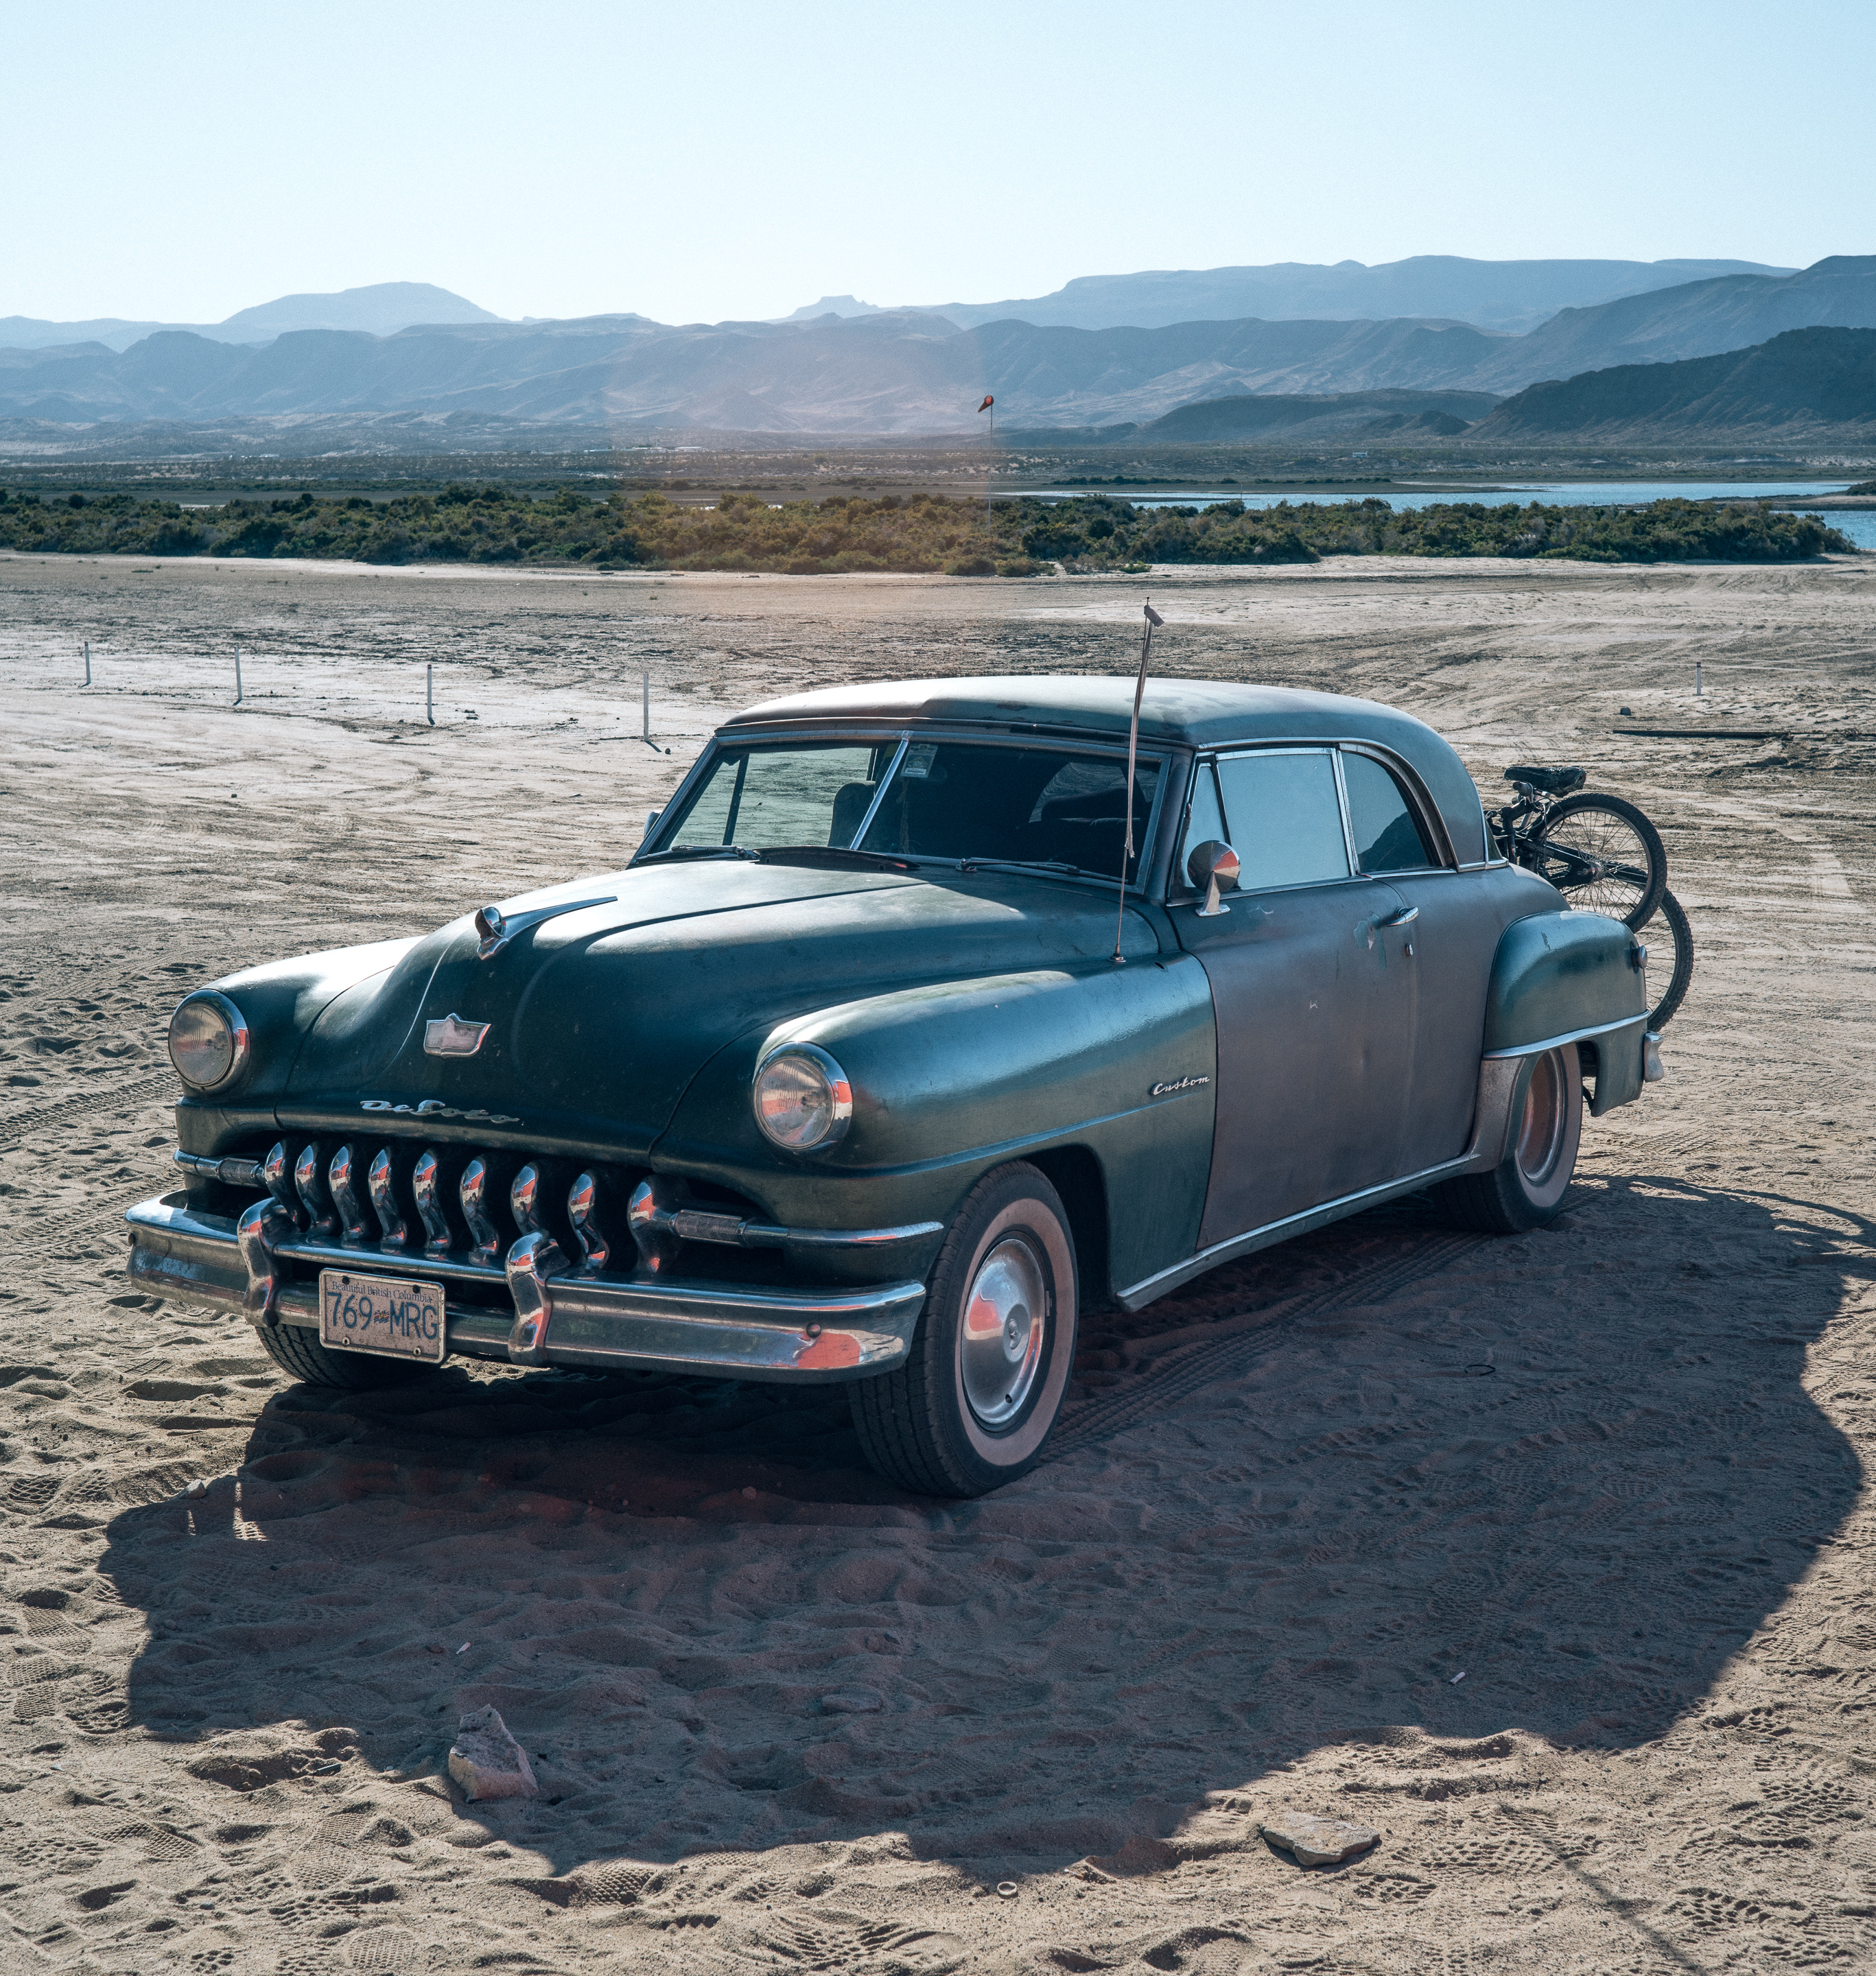
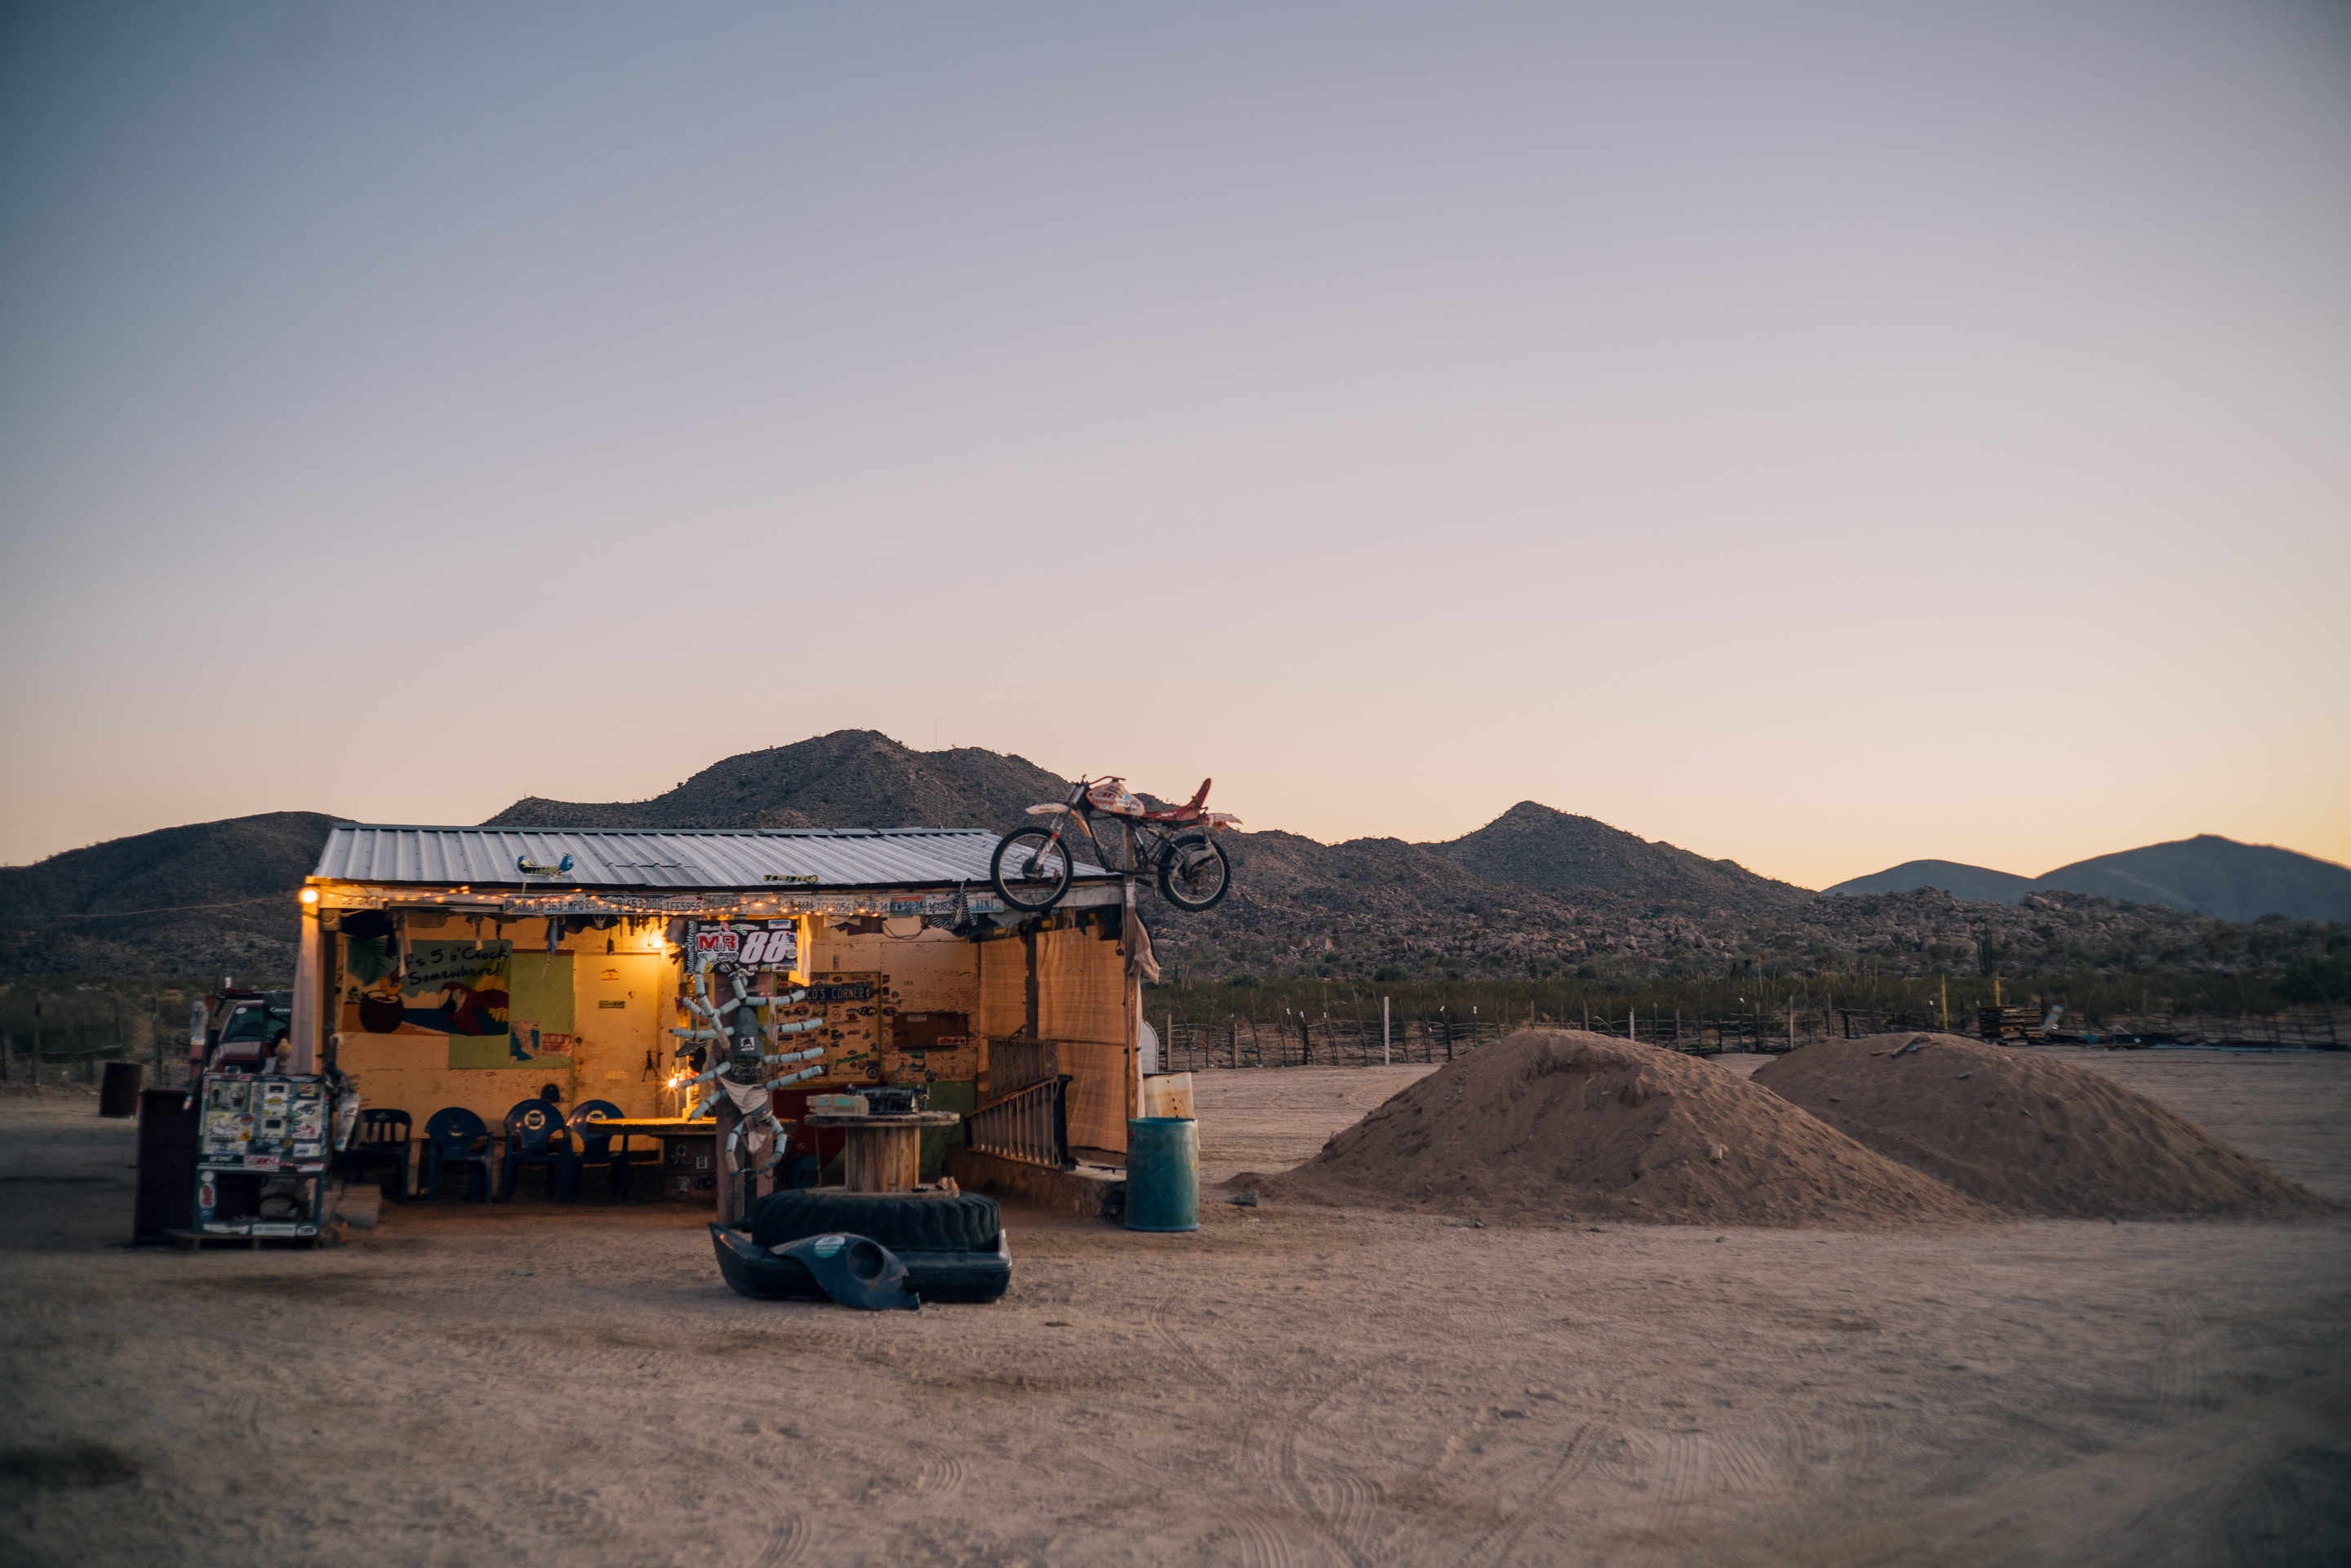
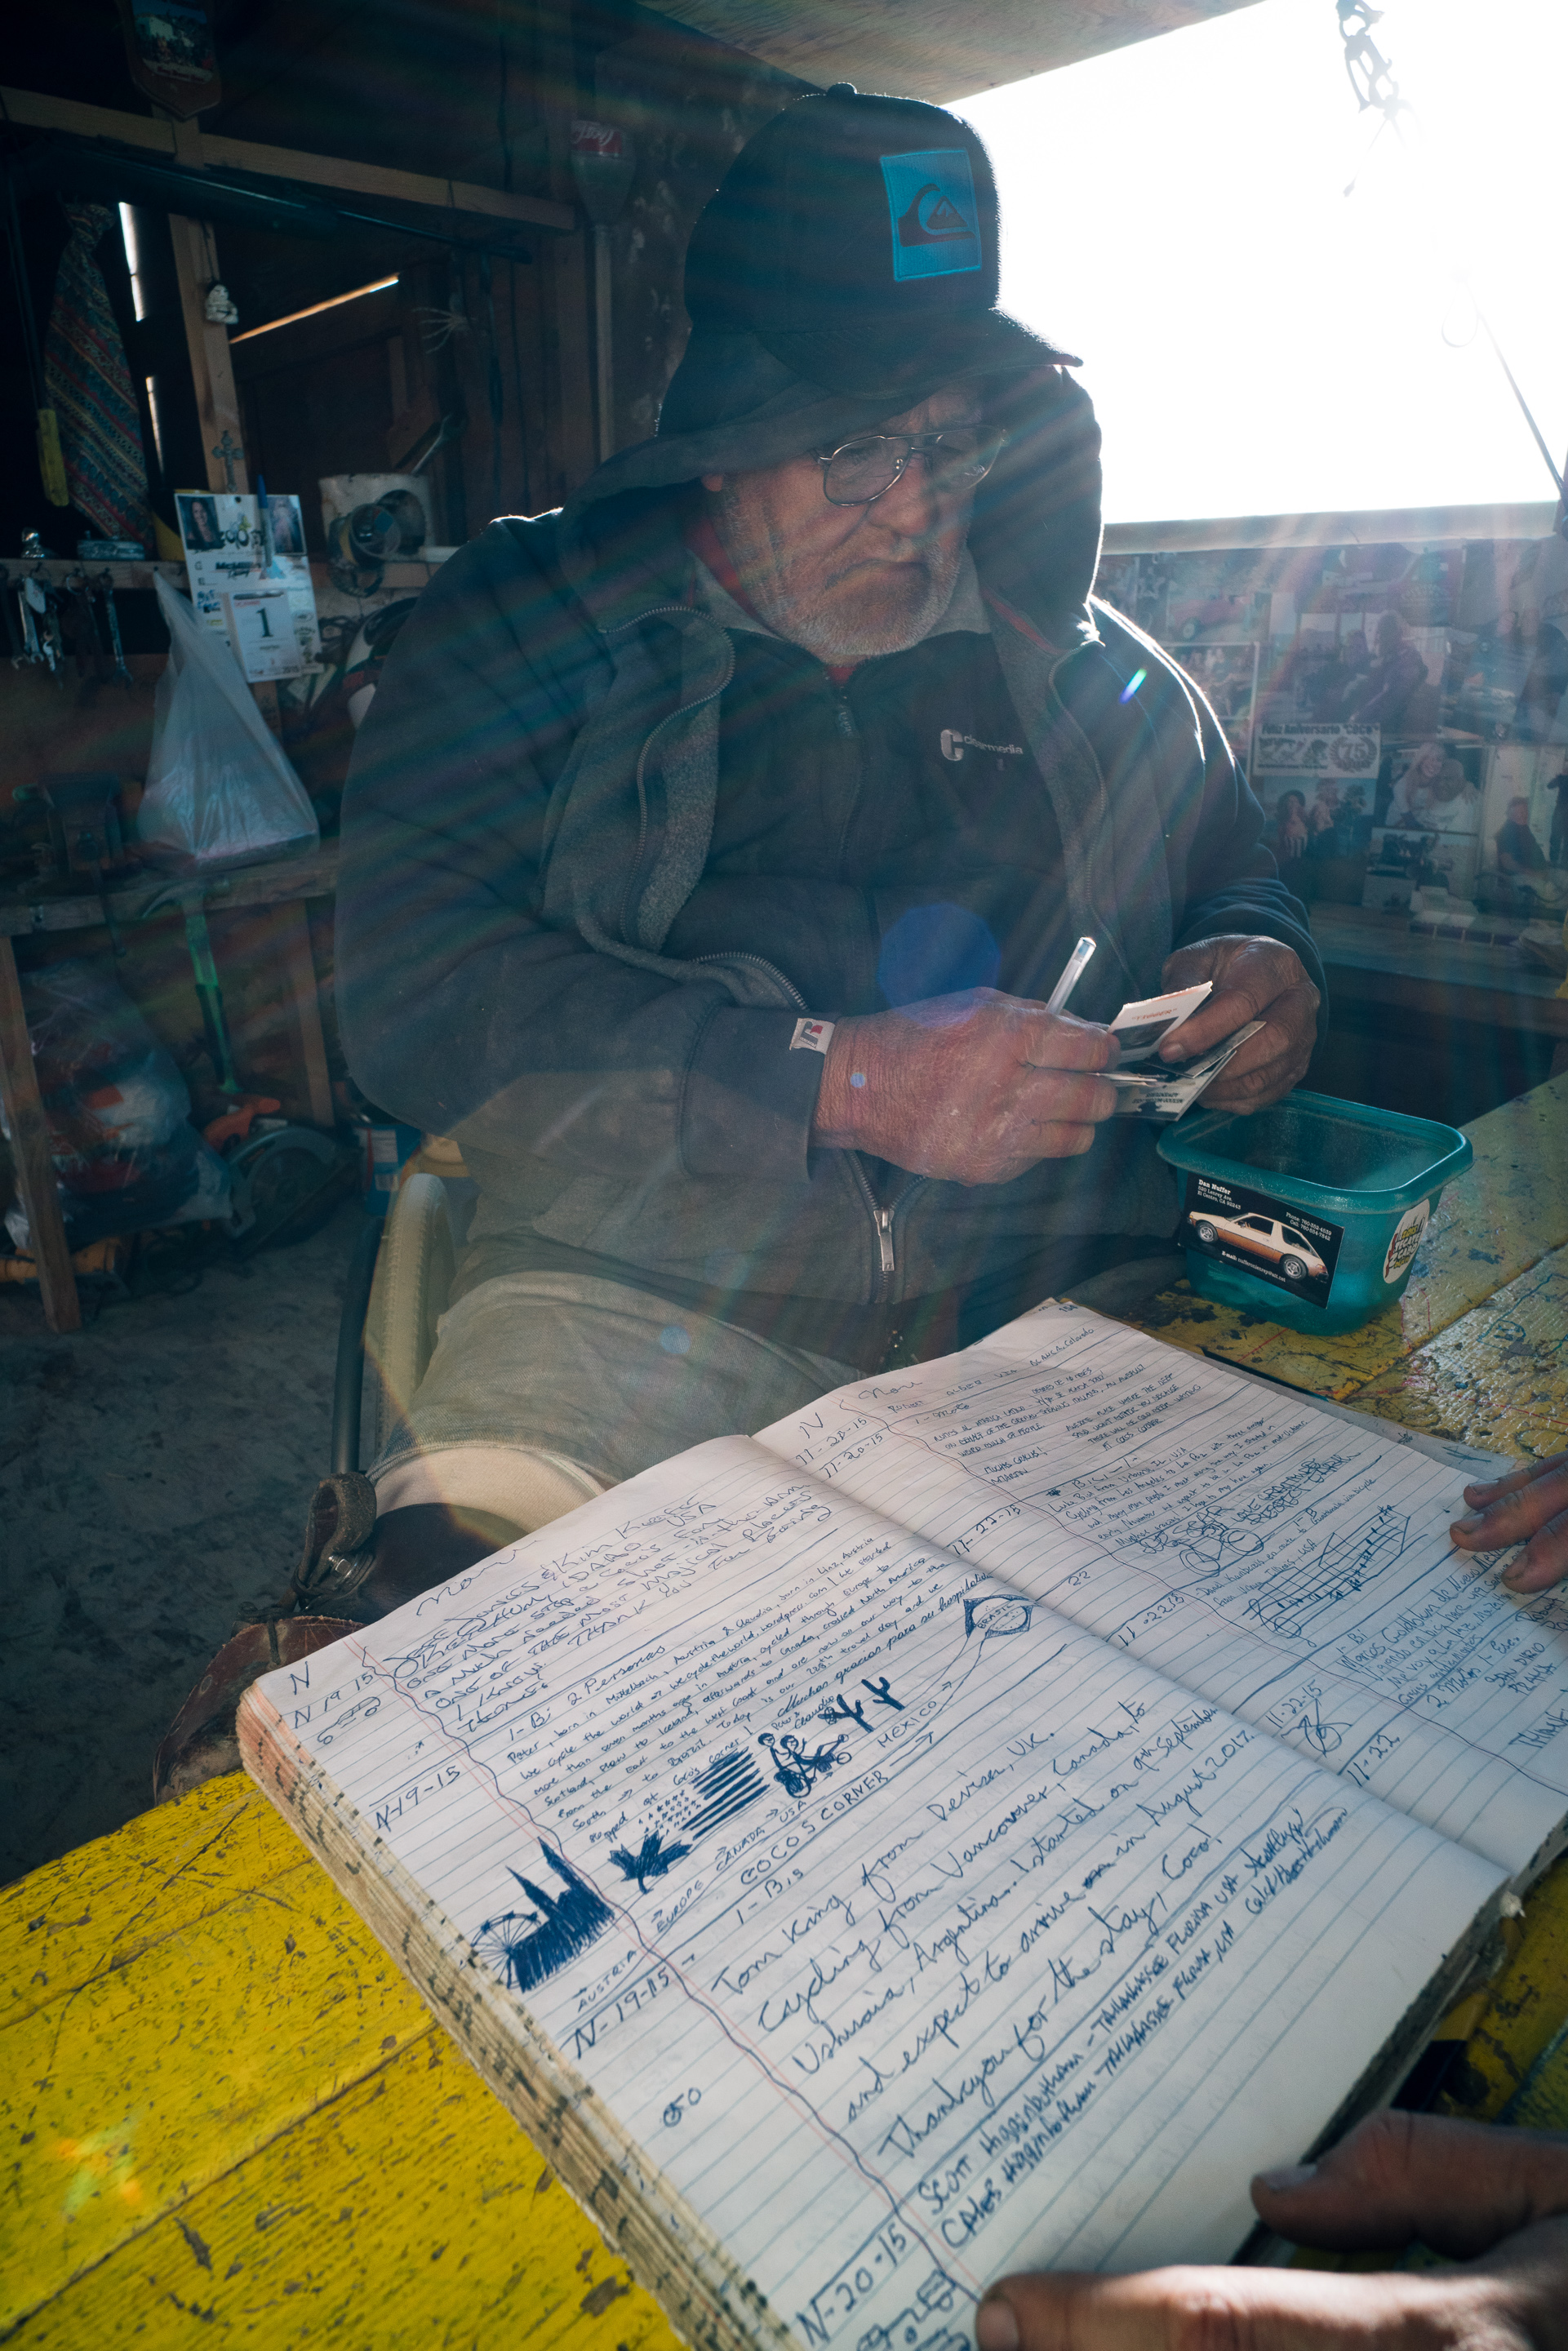
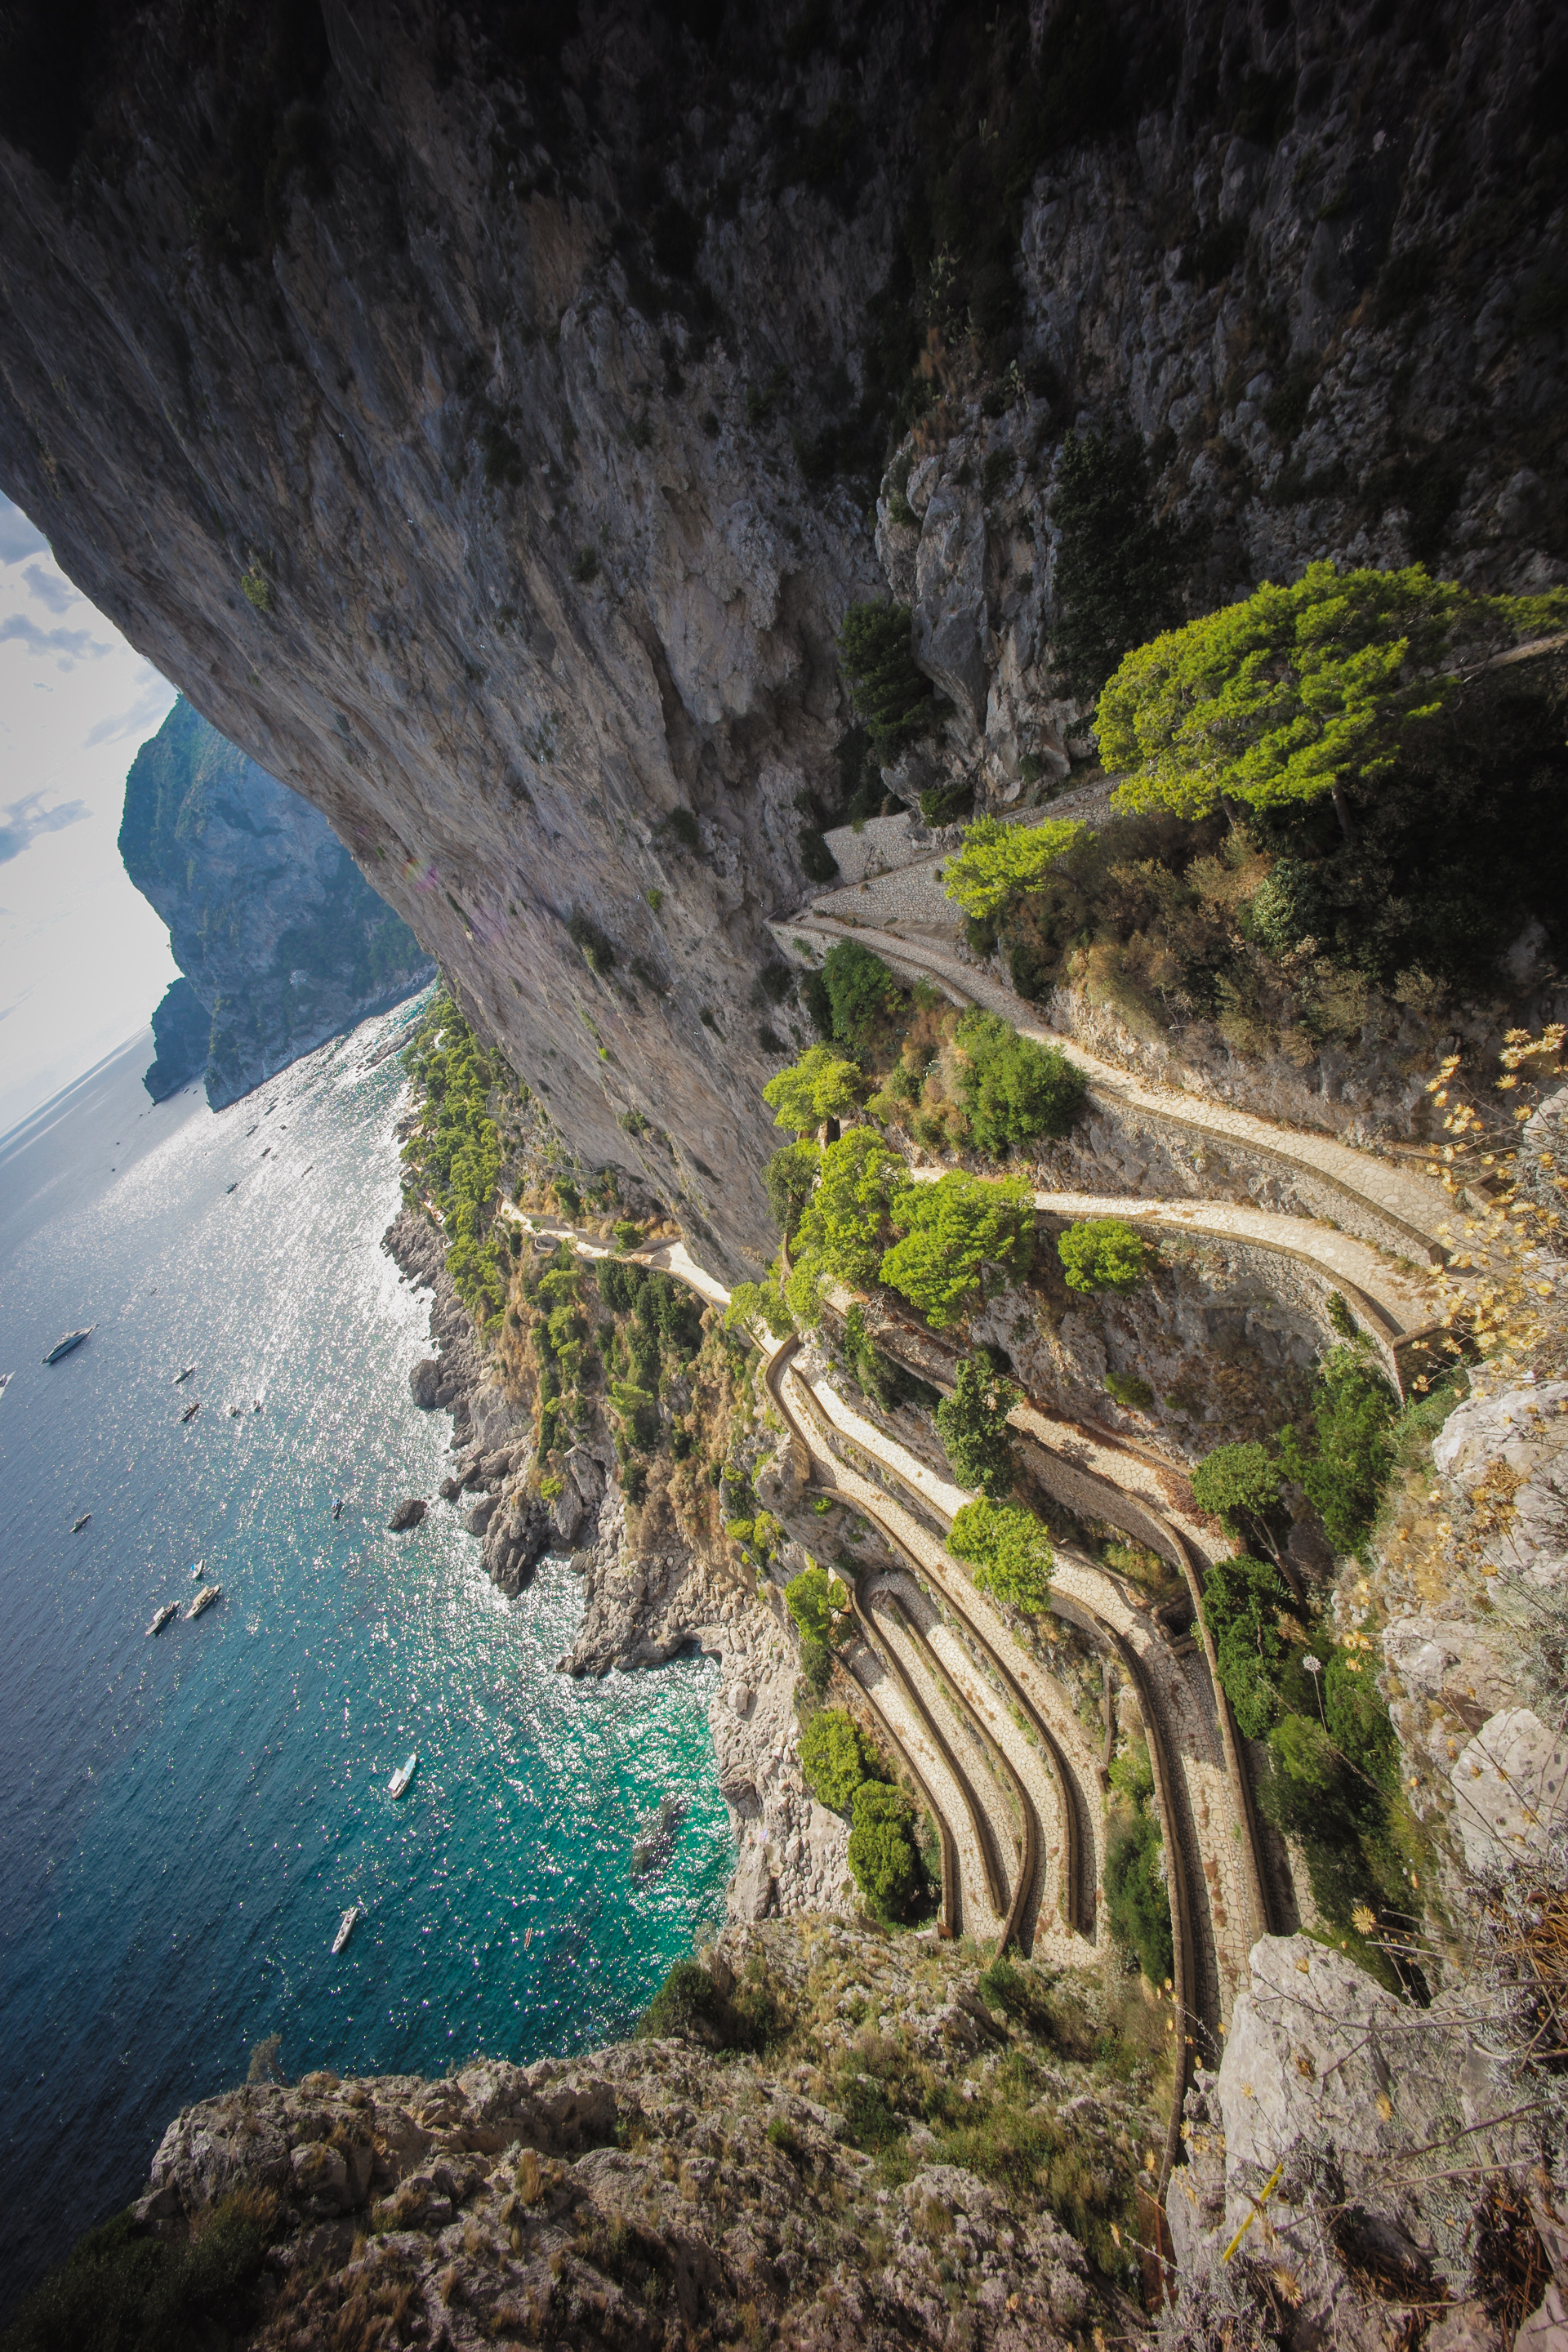
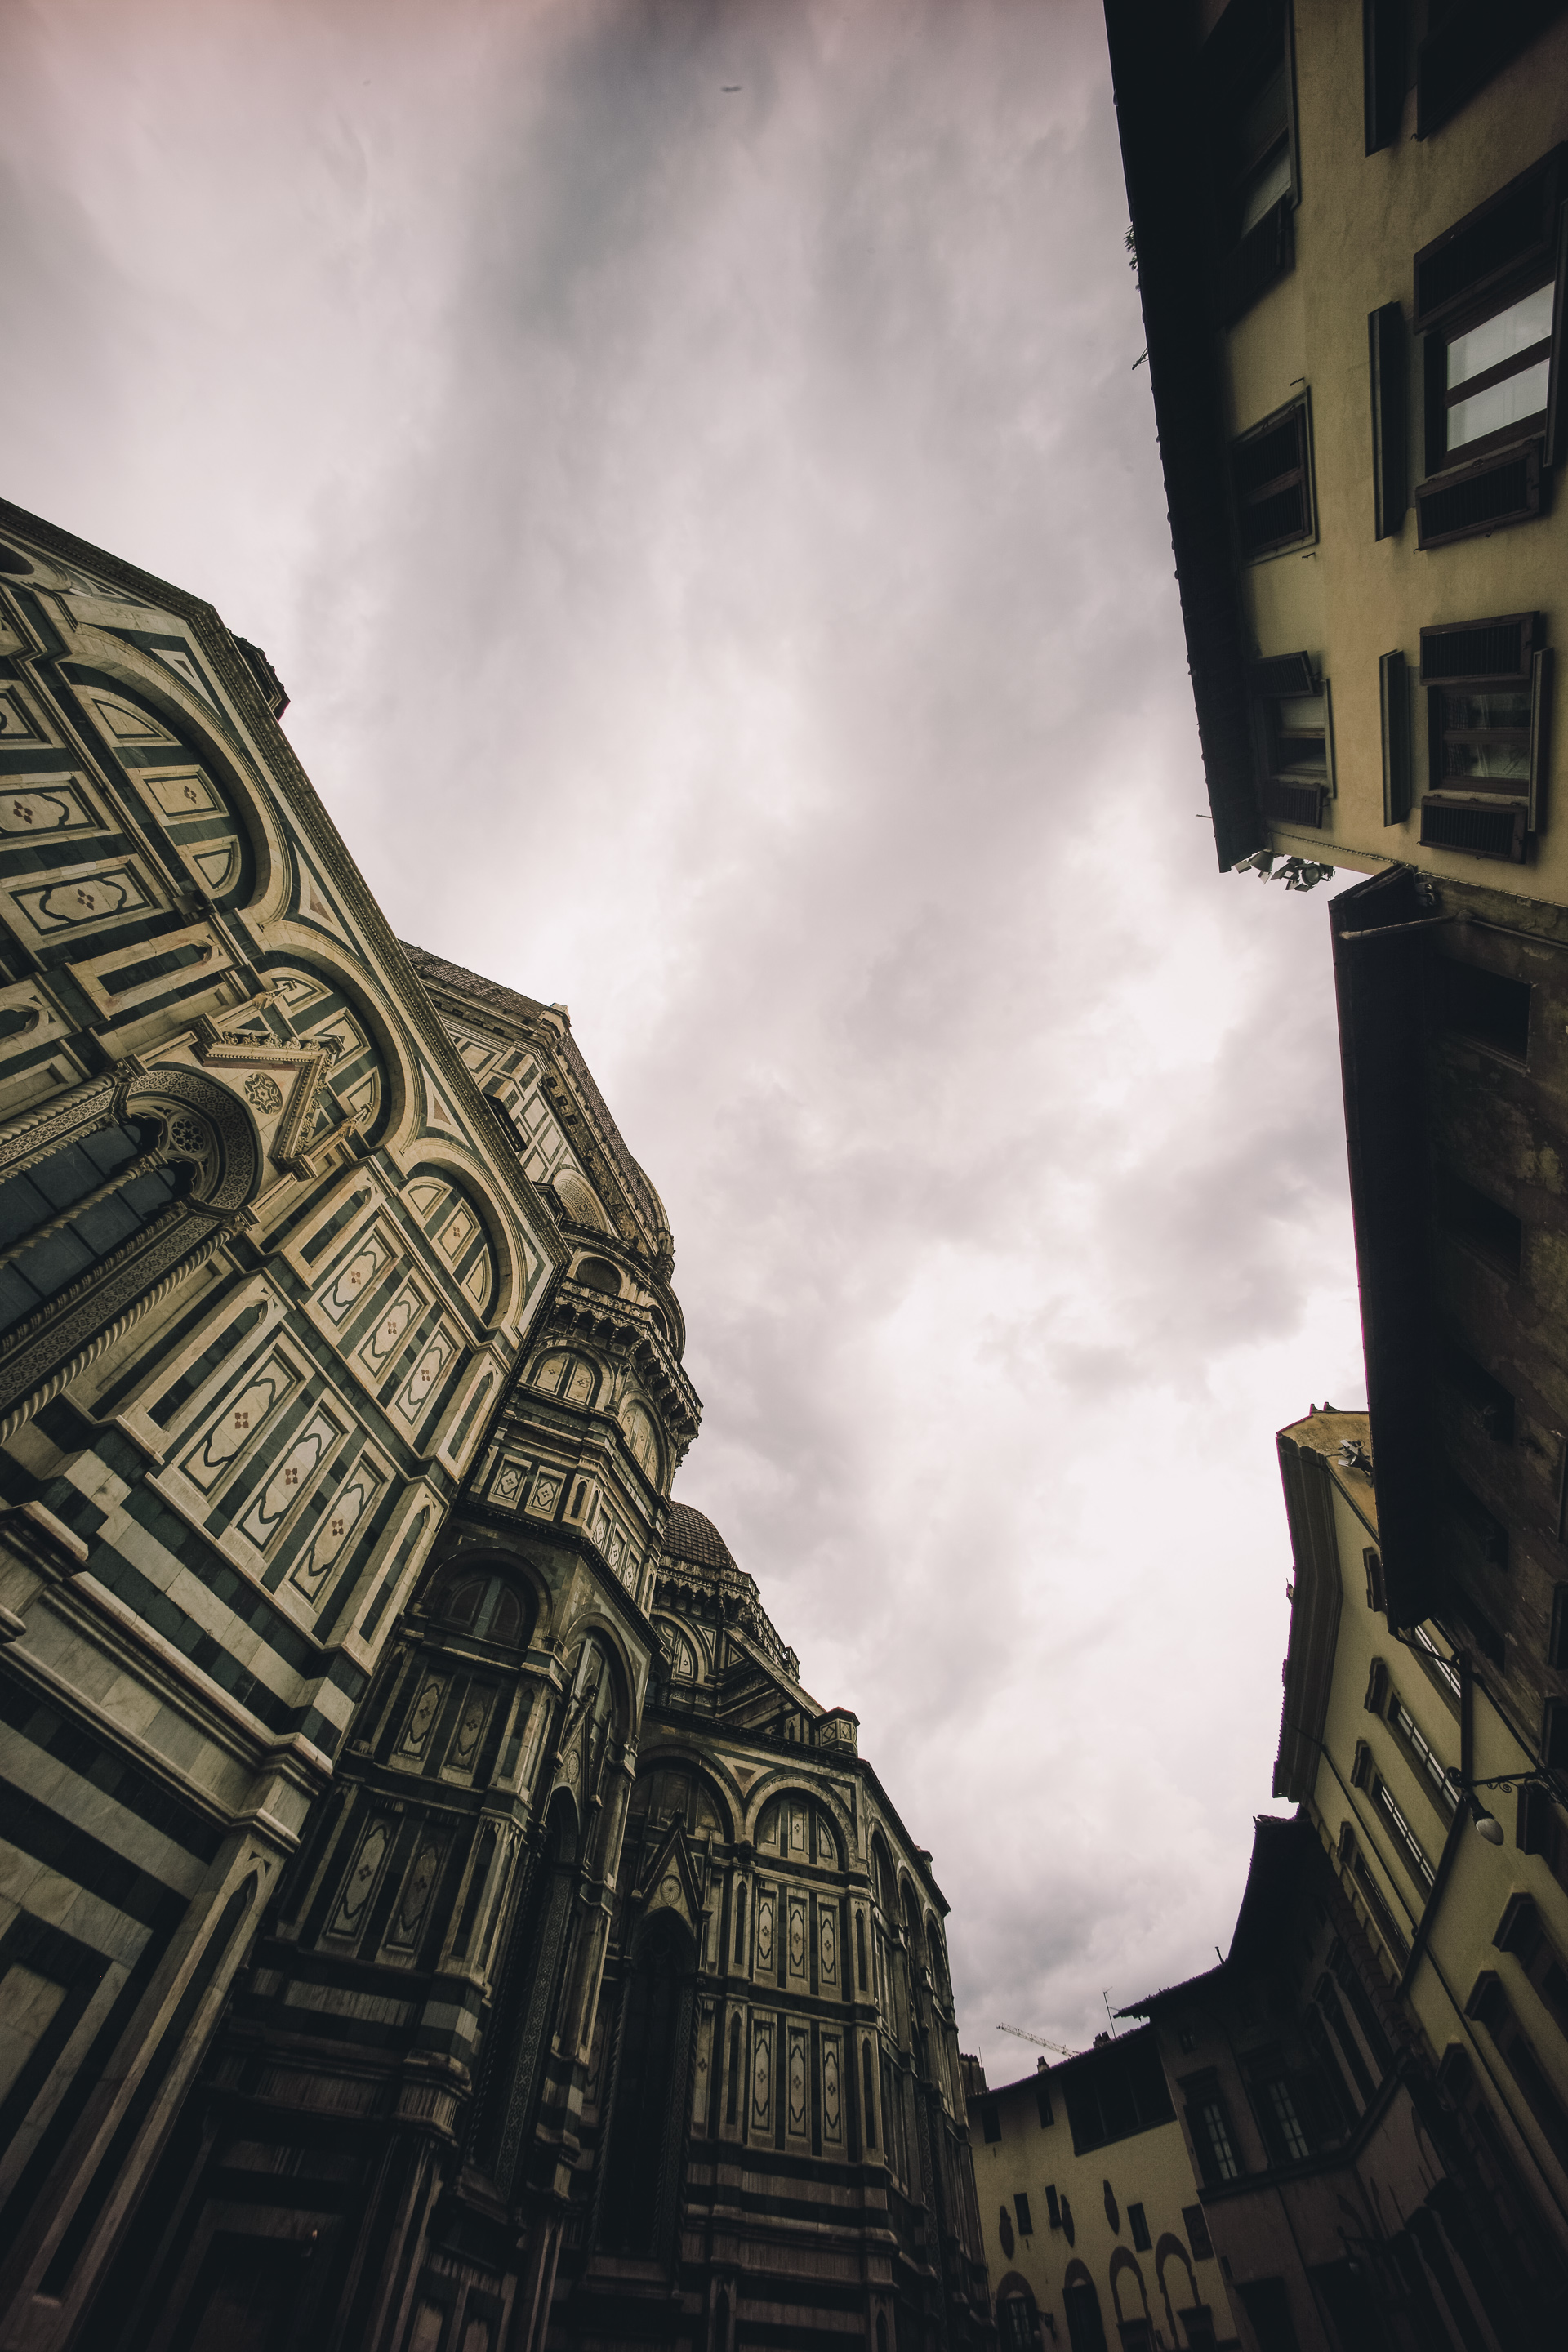
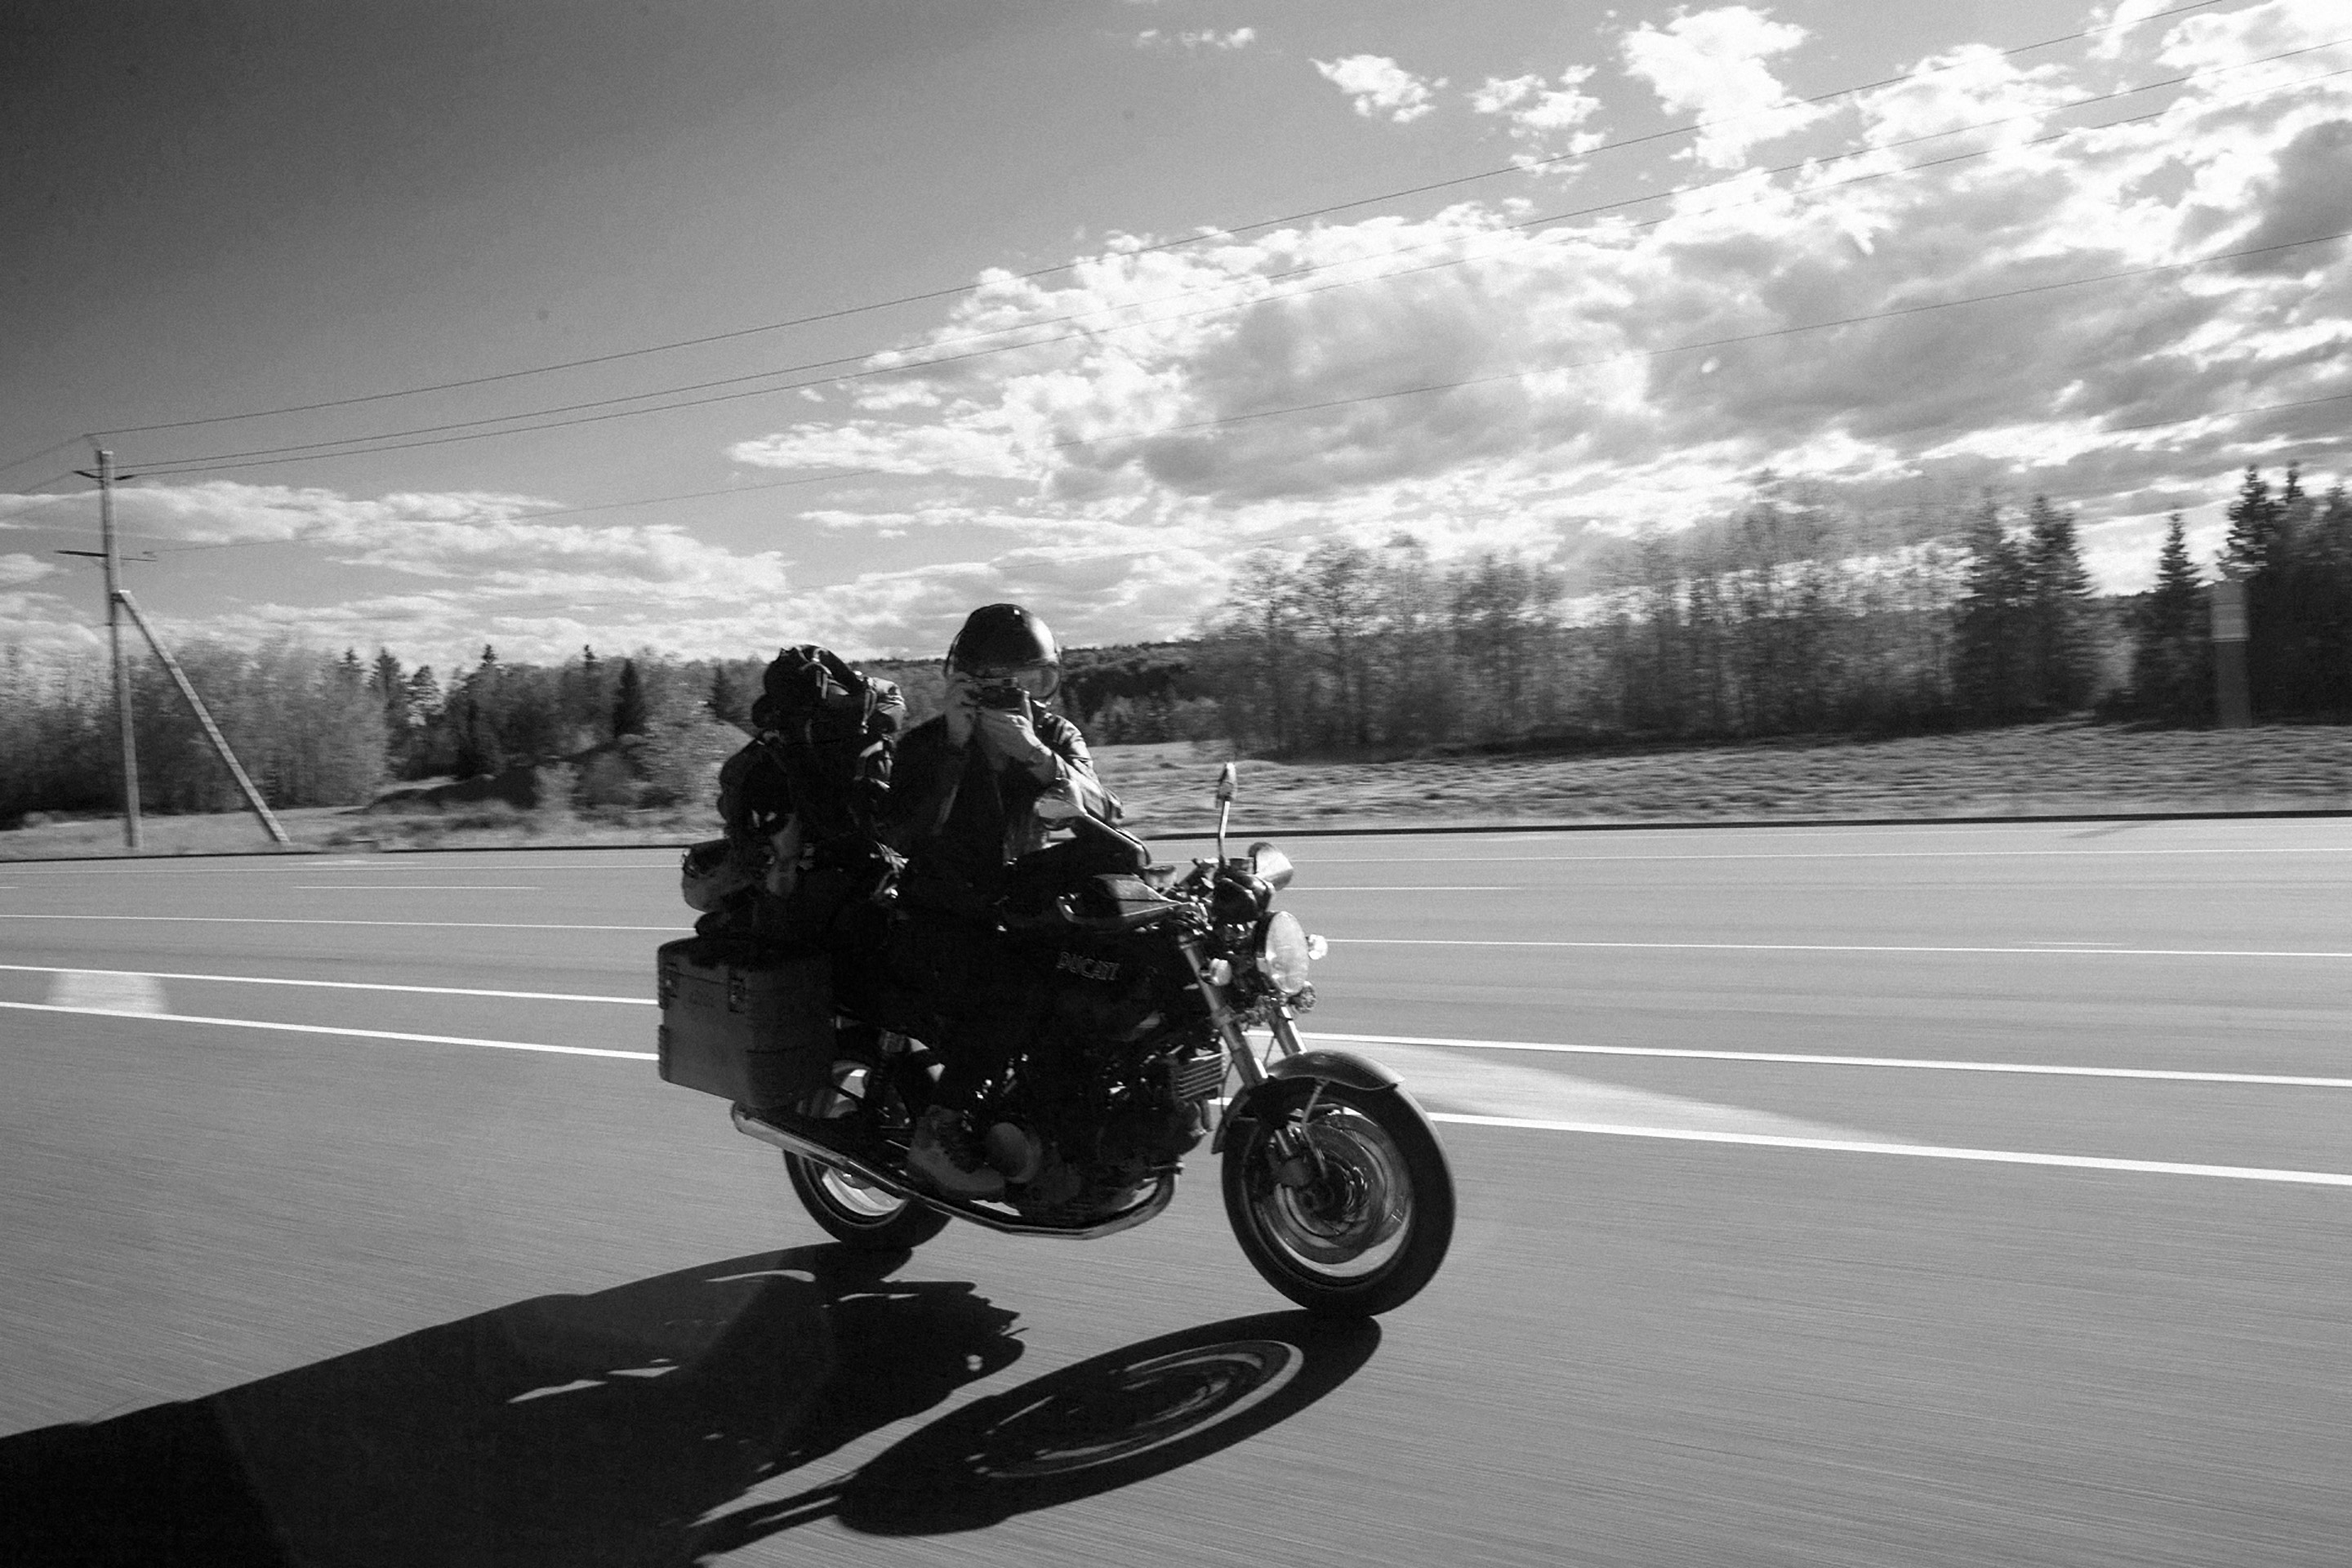
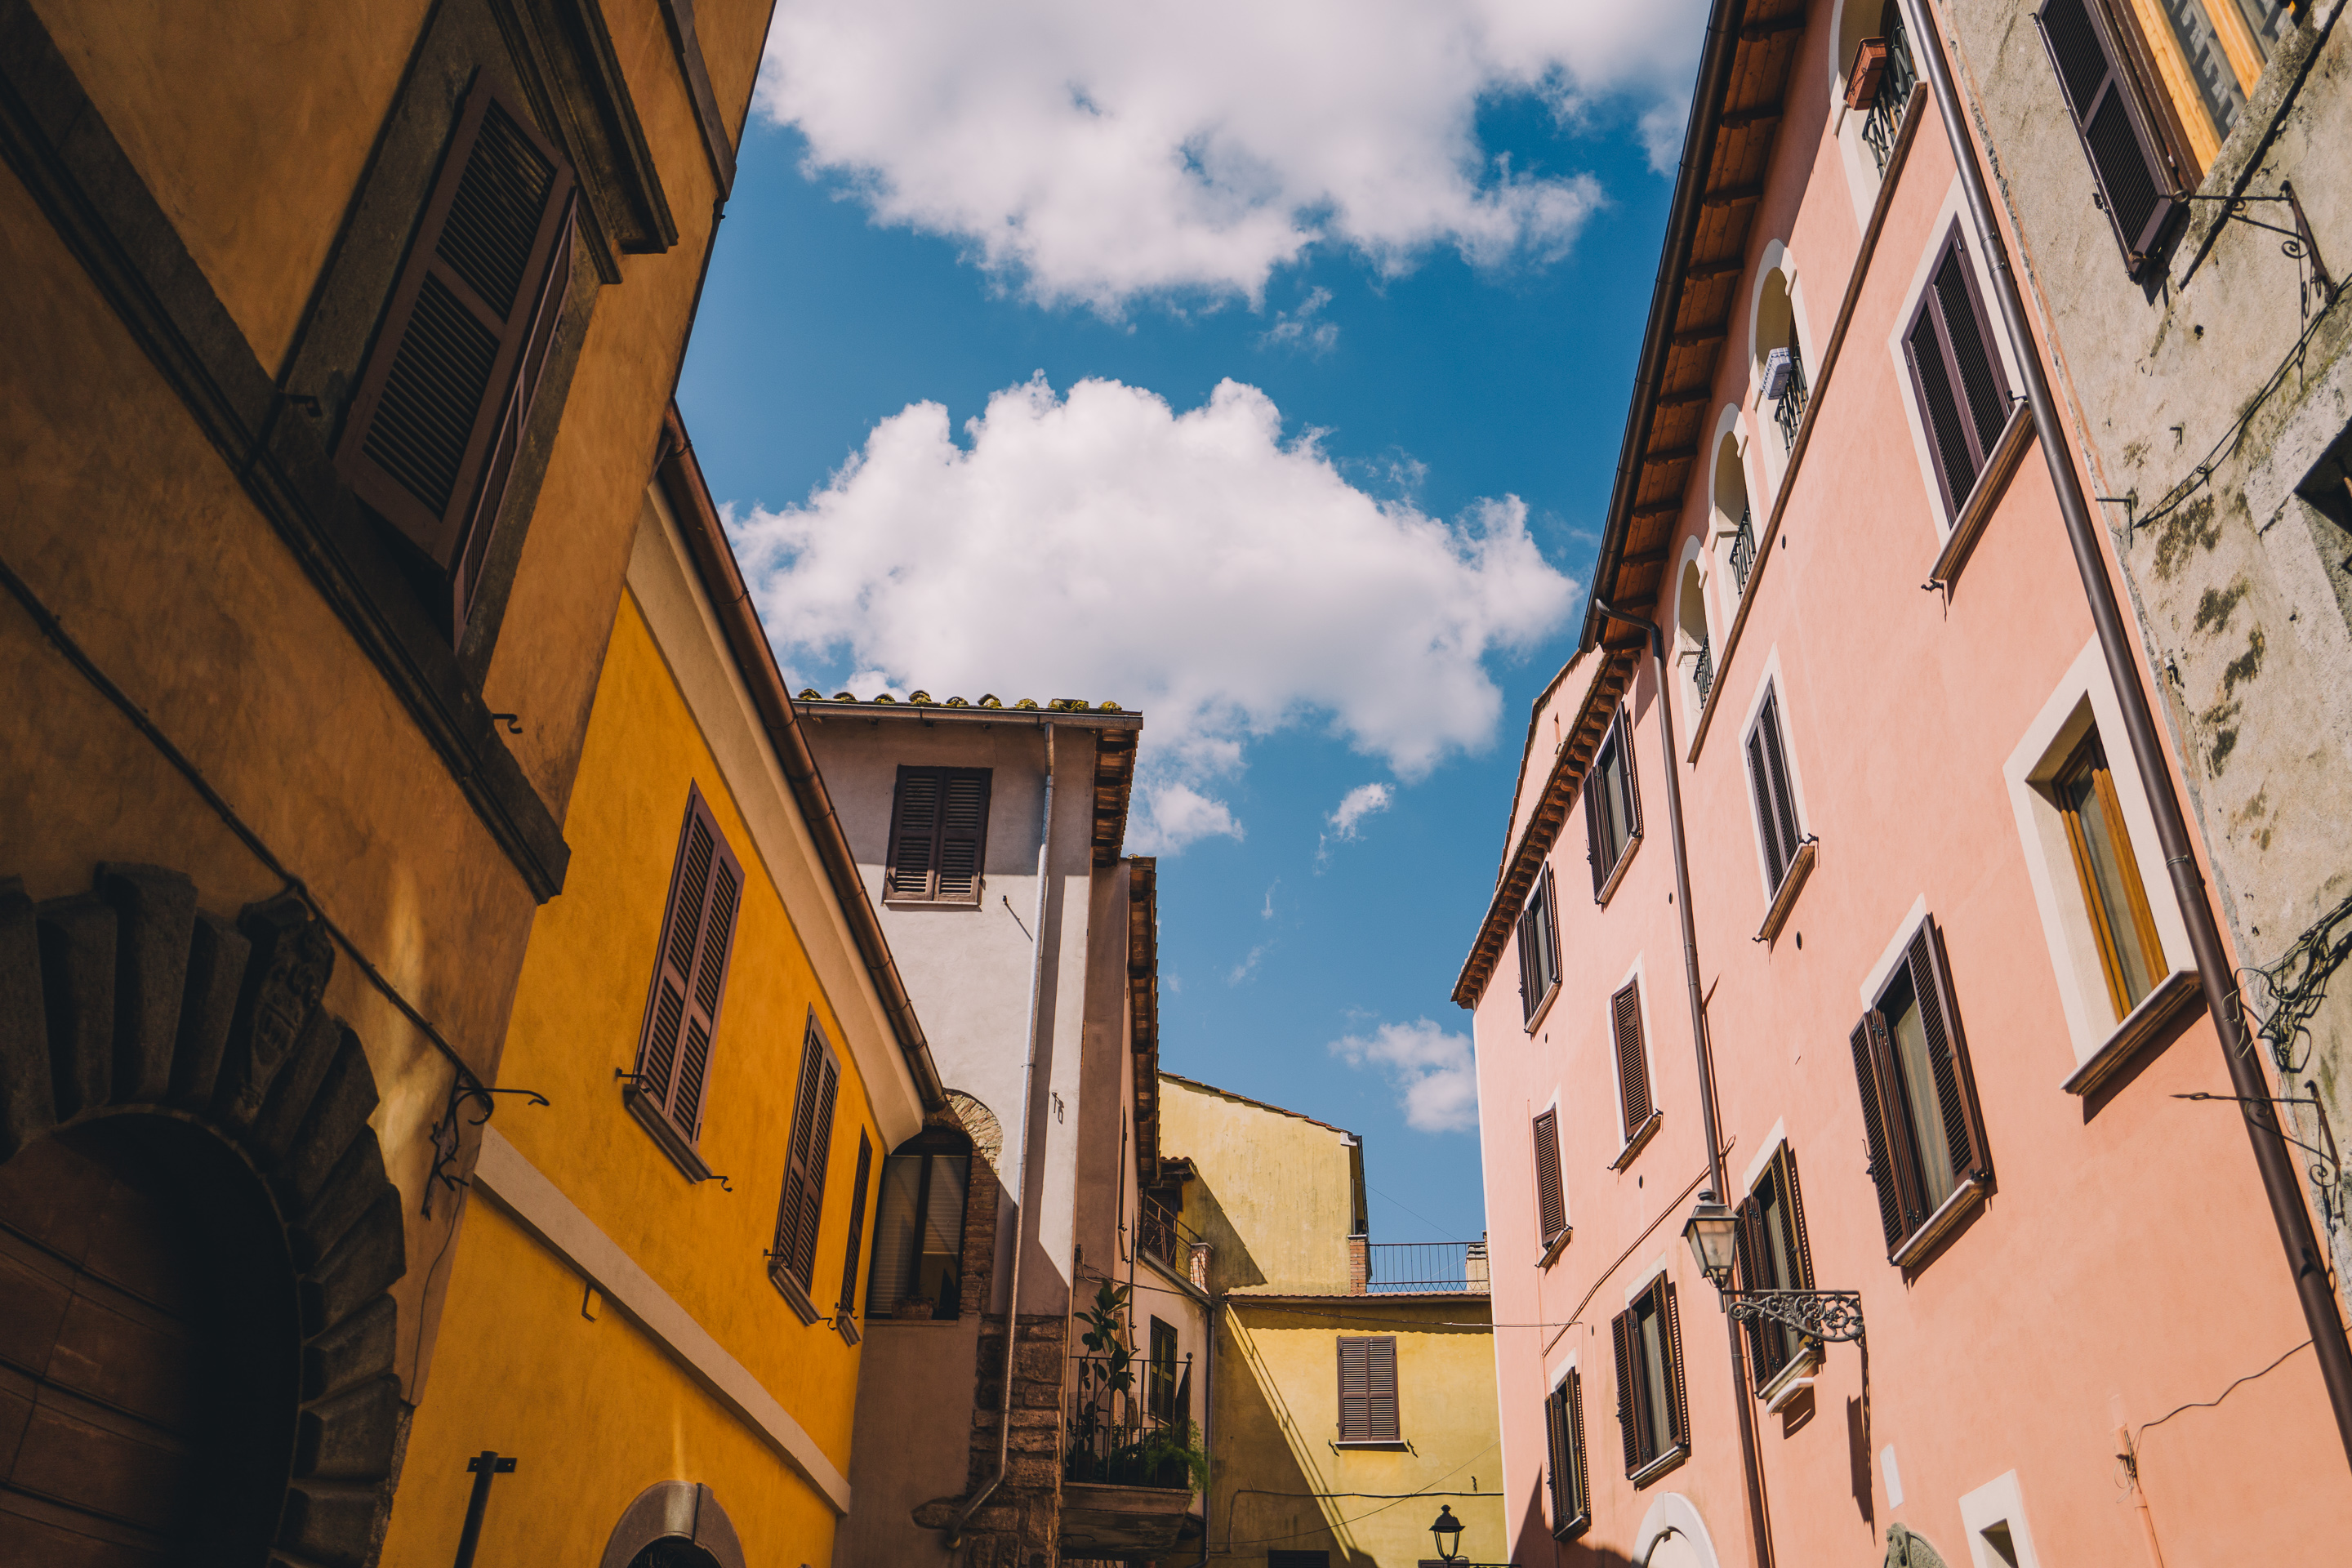
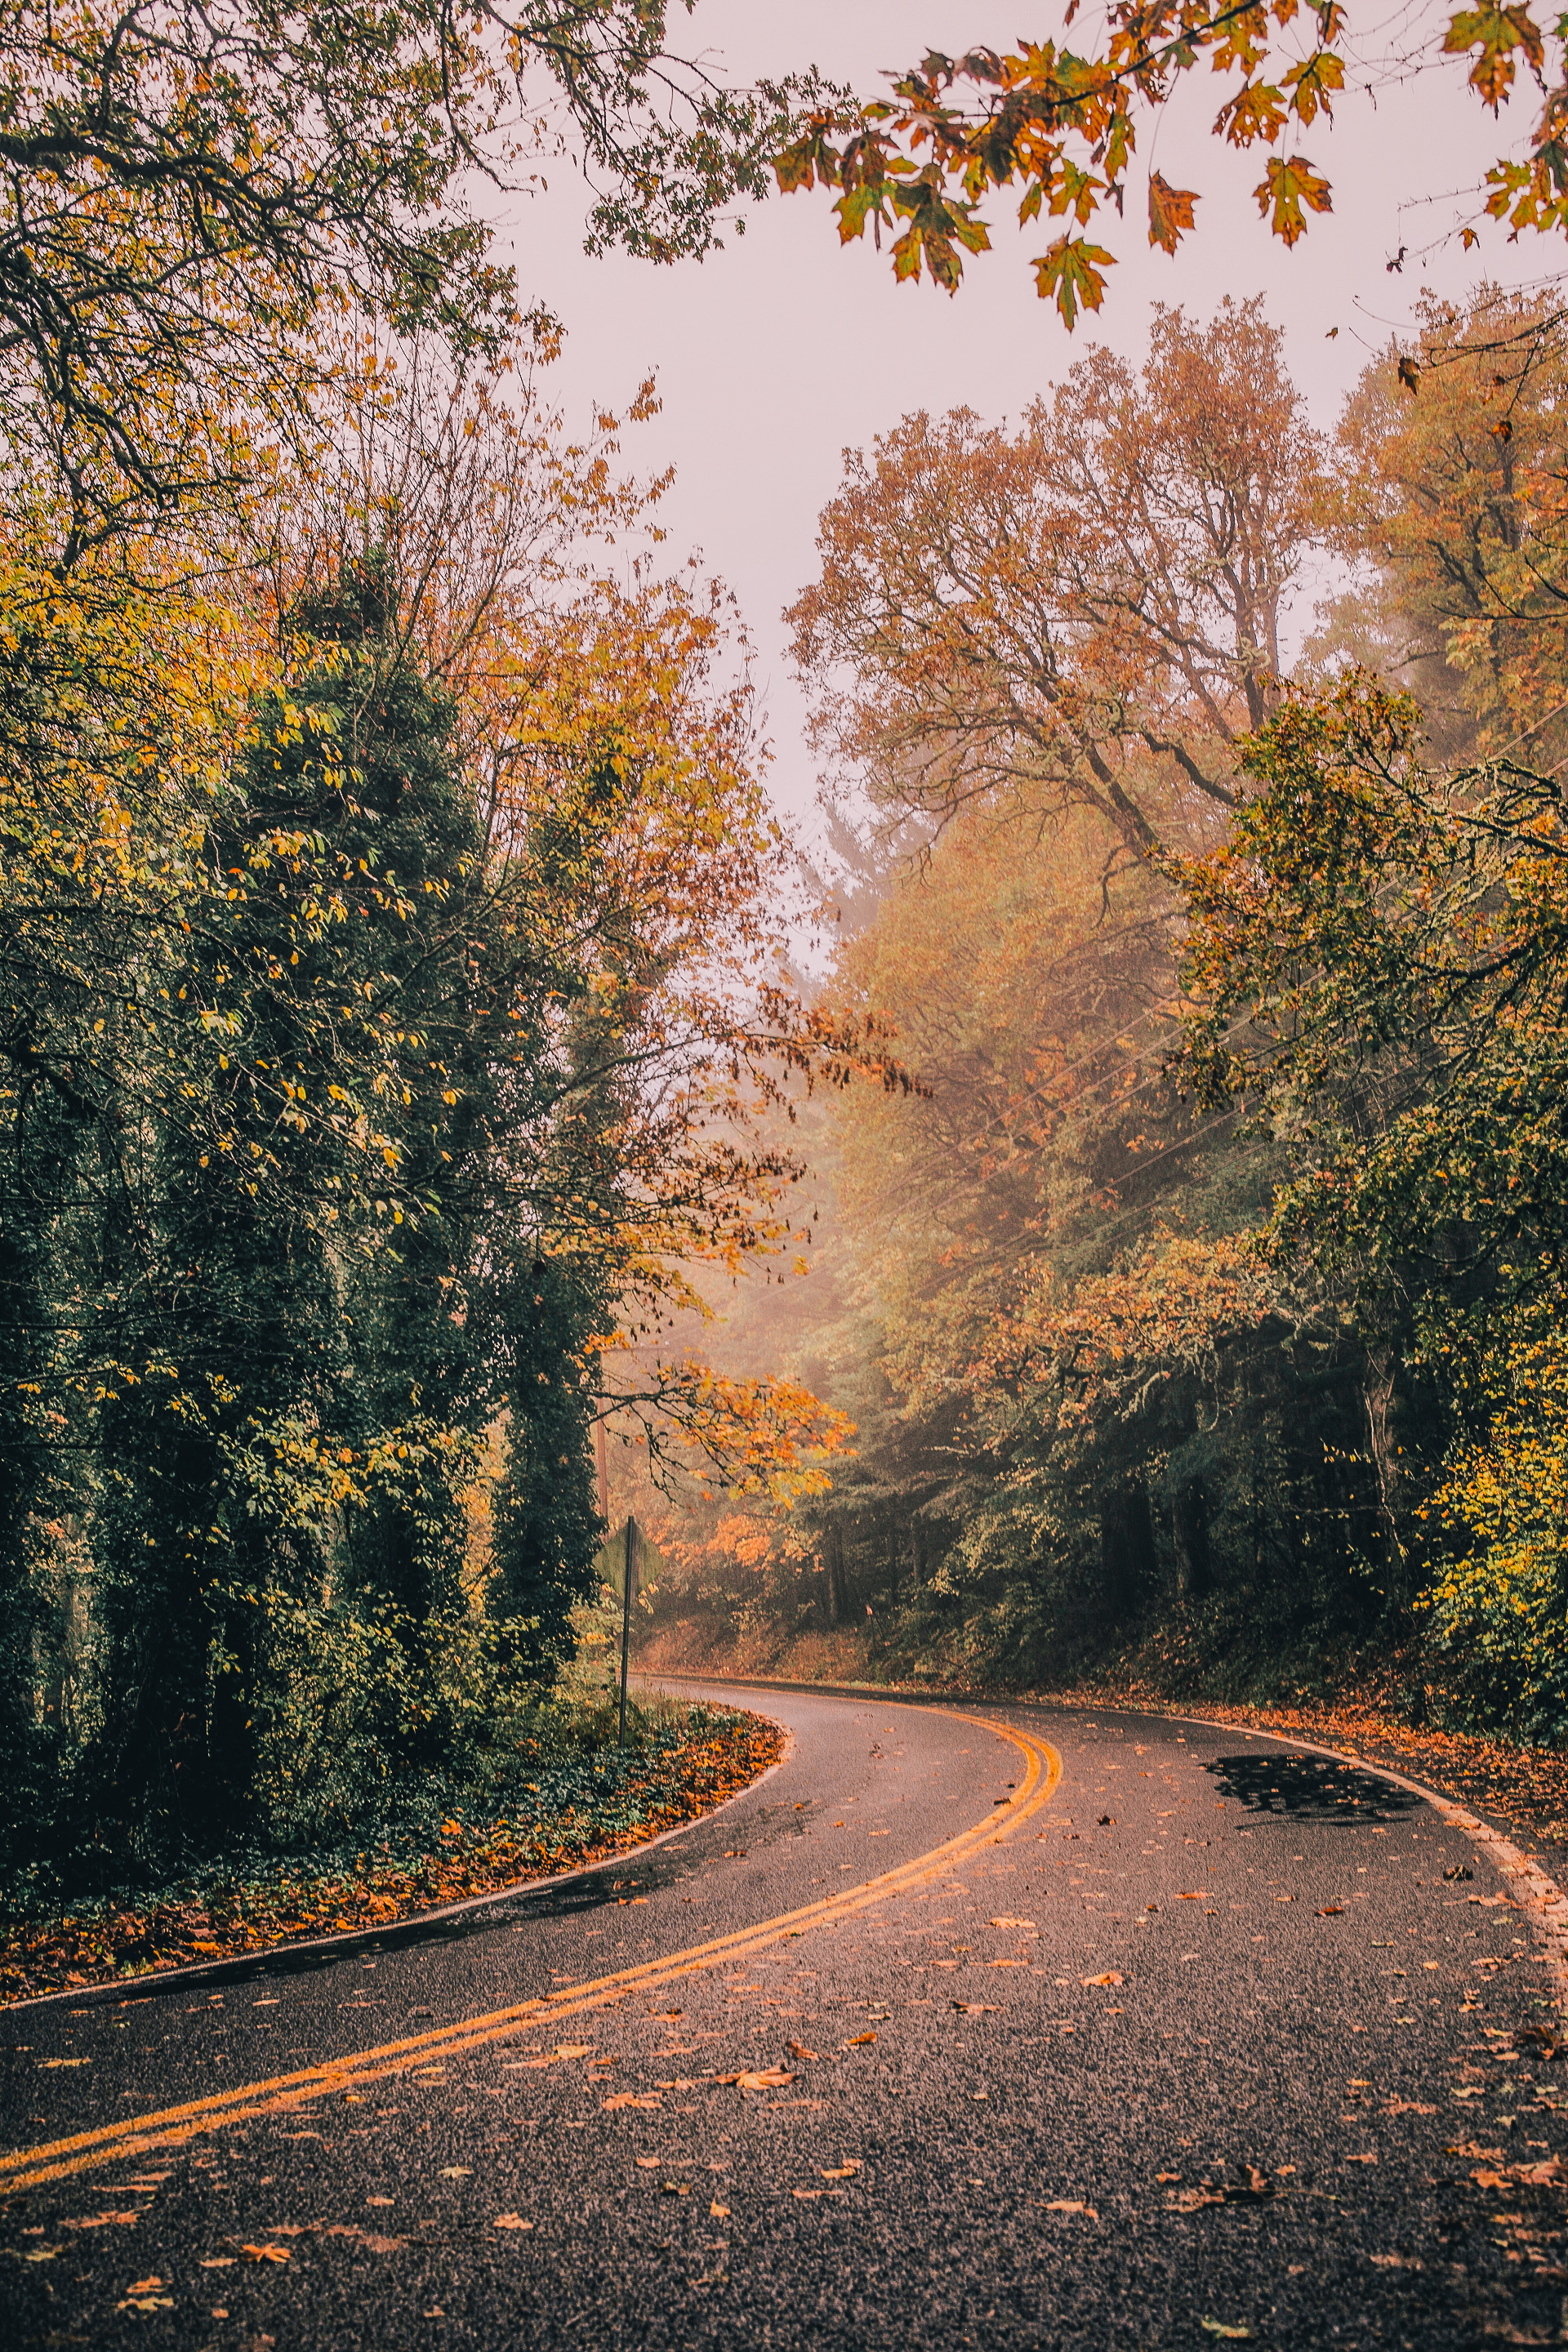
A selection of photos


Here’s a selection of photos I took with my trusty M through the years. Most photos on the ‘Ride South’ and ‘Ride North’ articles on this website were also shot with the Leica M.
 
DSC01113

DSC00214

L1003580

L1004792

L1003595

L1003627

L1003213

L1003300

L1002656-Edit

L1002353

L1030948

20151108-L1000839-2

Full disclosure: my design company has done contract work with and for Leica Camera directly and through another agency.

These views are my own and not that of my company. All photos in this article were taken by me. Photos of the Leica M were taken with a Sony A7R2.

Follow me on Twitter or Instagram.

Categories
Mexico Motorcycles Photography Ride South Travel

Ride South: Baja California, Part 1

It was a warm San Diego morning next morning, and after some of the previously mentioned maintenance work we headed to the border crossing at Tecate.

L1001404

The ride there is a beautiful, twisty road, opening up to views of green pastures and rolling hills.

L1001408

Lovely.The border came up quickly.

L1001410

I stayed with the bikes while Stuart and his friend Tristan did their paperwork. At the border, you can typically just roll through (no checks of documents done whatsoever!) but in our case, we wanted the tourist card. The Mexican tourist card, or ‘FMM’ is required for longer stays in Mexico and any trip to the mainland. It costs about $20 (US).

L1001415

We were losing light fast, and after all the border paperwork we headed down the Mex-2 to find our turnoff to the first dirt trail we could find. Out of light, we opted to camp at a campground instead of riding the dirt South more.

L1001424

I know deserts can be cold, but this night surprised us. The wind was already whipping us and as the sun dropped and we ate some roadside tacos and drank Tecate tall boys (of course) the temperature dropped from the low 50s to about 45, and kept dropping.

We approaching freezing temperatures that night. It was really something. With no real fire pits we just turned in for the night and slept.

DSC09100

DSC09125

The next morning we finally got up to do what most motorcyclists come to Baja for: trails and off-road fun. Our campground was mere miles from the turnoff to the nice and fairly easy Compadres trail, which connects the roadside town of El Hongo to Ojos Negros, on the Mex-3. It’s a perfect way to connect from Tecate to Ojos Negros and get further South towards the Mex-5 on the coast of the Sea of Cortez.

DSC09123

L1001441

L1001451

The Compadres Trail is an immediate showcase of the diversity of biomes in Baja California. Many think (– myself included) of a place full of stereotypical cacti*, plain desert and many rocks.

L1001467

RideEarthBaja_firstupdate-09132

In reality, the variety of landscapes is astounding. As we crossed the 100-or so kilometers of the trail we saw high desert, steppe-like plains, deciduous and pine forest and many zones in between. It was beautiful.

RideEarthBaja_firstupdate-09365

* (in Baja, this would be the Cardon cactus. They get huge, as they are the tallest cactus species in the world! I hugged one.)

L1001459

And an incredibly fun ride, too! Some somewhat gnarly parts involved sandy washes, roots and rocks but nothing incredibly challenging. A perfect introduction to Baja dirt riding.

We came upon an entirely burnt down area, too, which made for otherworldly landscapes.

DSC09153

L1001486

L1001484

RideEarthBaja_firstupdate-09139

Ojos Negros was reached and we had some (incredibly great — probably my best ever) roadside al pastor tacos before slabbing it on the highway to Valle de Trinidad. Light was essentially gone by the time we rolled in into a dusty road to the hotel where we happily charged our devices and showered some dust off.

RideEarthBaja_firstupdate-09163

RideEarthBaja_firstupdate-09188

RideEarthBaja_firstupdate-09176

Still hungry for more dirt, the next day we set off to head to the motorcyclist staple spot in the nearby mountains known as Mike’s Sky Ranch.

RideEarthBaja_firstupdate-09246

The road to Mike’s famous rancho is about 31 kilometers of pure unadulterated dirt fun (unless it’s wet, in which case it can be a bit of a nightmare).

L1001497

L1001500

While may rip on it with much lighter bikes at higher speeds, we still ripped it up pretty good.

L1001496

Stuart got off his bike to take a photo and his bike promptly took a nap in the sand. Whoops.

RideEarthBaja_firstupdate-09252

Deep ruts of sand, rocky turnouts, downhills, and even a little creek crossing at the end. We were pulsing with adrenaline. It was awesome, even on our huge, heavy loaded bikes. Mike’s was sadly completely empty save for us.

RideEarthBaja_firstupdate-09260

L1001502

We put some stickers with its new (and plentiful) companions…and ate some lunch and had a beer before heading back the same way, now even faster.

RideEarthBaja_firstupdate-09265

L1001508

From the highway, we made it to San Felipe before we lost all the light, which is a cool if somewhat touristy beach town with a beautiful lighthouse.

L1001536

After stopping I broke out some tools to ensure all bolts were still properly torqued after all the bumpy dirt roads. I’d lost one bolt in my bash plate already!

L1001550

San Felipe is on the Mex-5, a road that isn’t yet fully paved. It runs by the coast of the Sea of Cortez and eventually connects with the Mex-1, and was a significant leg of the old Baja 1000 off-road race track.

L1001542

L1001526

We had some great fish tacos (Baja is made of great, fresh fish tacos) and toured town taking photos. It seemed really apocalyptic with boats on dry land and many derelict buildings.

L1001544

The next day we rode down the Mex-5, treated by incredible views of the Sea of Cortez from the volcanic landscape.

L1001590

L1001592-2

Incredible landscapes.

RideEarthBaja_firstupdate-09329

It’s unreal how some parts of this coast harbor absolutely no life, just sharded rock and pumice from long-dead volcanoes. Some beach spots (Puertecitos, for instance) still have hot springs that you can dip into at low tide, emanating that classic sulfuric smell.

RideEarthBaja_firstupdate-09345

Incredible turn after turn on this freshly (and excellently) paved road. We stopped at the oft-visited Alfonsina’s at Gonzaga Bay. Gonzaga Bay seems to be a quirky community, complete with its own security guard, runway and airplane.

RideEarthBaja_firstupdate-09339

RideEarthBaja_firstupdate-09343

We met a few other travelers, including a Canadian couple driving this beautiful 1953 car up and down from Canada to Baja and back.

Great fish tacos here, too (no surprise there).

L1001598

The Pemex gas station (Pemex is the state-run and only gas station company in Mexico) at Gonzaga Bay was completely out of gas, and we decided to just push our luck and head down the road.

We’d heard some horror stories of the unpaved section of this road connecting with the Mex-1. Some people at Alfonsina’s called it bad — so bad, in fact, one man told a story of a girl traveling North from Argentina who supposedly called it the worst road she’d ridden, ever. We did find the spot the road ran out, and gave way to dirt:

Mexico’s working very hard on it, it seems; I’d be surprised if it isn’t all paved by next year. It was a pleasure riding some of it on dirt.

We made it to the turnoff for the connector to the Mex-1, and right there it was:

L1001617

RideEarthBaja_firstupdate-09377

Coco’s Corner. A famous stop of the Baja 1000 and of many trough-travelers. Coco has lived here for 26 years and is an incredibly friendly, generous man. We lost most of our light and really loved the desert scenery… and started debating if we should make it over the worst part of the road.

RideEarthBaja_firstupdate-09356

RideEarthBaja_firstupdate-09358

Coco chimed in and said we could stay in one of his trailers for free. Incredibly cool. Thanks, Coco.

L1001624

L1001629

It gave us a chance to shoot desert sunset…

RideEarthBaja_firstupdate-09800

… and the crisp, clear desert night.

And we even recorded some time-lapses. Coco seemed to really enjoy the company so we watched a movie with him — the hilarious 90s erotic thriller ‘Fear’. We ate some ramen he offered and turned in early.

RideEarthBaja_firstupdate-09360

(Coco also collects underwear and other garments. Yup)

L1001653

At the crack of dawn Coco invited us inside to drink some coffee. We paid him some cash for the beers, water and hospitality to reward his generosity and chatted a while. He offered another movie but we had to be on our way… the rest of Baja awaited!

L1001660

Until next time, where we go over the pass and explore Baja California Sur.

Categories
Motorcycles Reviews

Ride Review: Ducati Multistrada 1200S (2015)

I must admit, I have always been attracted to Ducati bikes. My first bike in the US was a 1997 Ducati Monster 750, and its character, sound and good looks are things I still love today. I rode a Ducati GT1000 to the Arctic last year, but like my Monster of old it was a street bike, and not a touring bike per sé. I’d be lying if I wasn’t interested in how Ducati’s flagship touring bike would hold up on a solid long road trip. Can Ducati make a true touring bike that holds it own, without losing what makes a Ducati so damn fun and exciting to ride?

I was lucky enough to get the opportunity to ride Ducati’s latest and greatest bike — the 2015 Multistrada 1200S — for all of August through Europe, riding through five countries and thousands of kilometers to answer this question once and for all.

L1002572

The basics

Staying true to its brand and formula, the Multistrada is powered by a 90° L-twin dual-spark engine shrouded in bright red (or optionally white) plastics and aggressive styling. Since a while back, Multistradas are liquid cooled, but riding it you can still feel some serious heat coming from the top cylinder. It’s a hot-blooded, red racehorse of a bike that just happens to have all the requisite farkles for comfortable touring.

Ducati Mulitstrada 1200s 2015 review (13 of 29)

Design

At first glance, the new 2015 Multistrada is visually quite similar to the previous model. There’s a few areas where the aesthetics have improved; the ‘beak’ is a bit downplayed, some lines are smoother and more continuous. The biggest changes are apparent to the rider; the new, much improved instrument cluster and handlebar controls and the engine between your legs.

The Multistrada seems to have people split on its design: some truly love it, others seem to find it offensive.

Ducati Mulitstrada 1200s 2015 review (2 of 29)

No matter which camp you are in, it certainly looks modern — and strikes a fine balance between the aggressive curves of its superbike sister, the Ducati 1199 Panigale and the hooligan-oriented upright-posture Hypermotard, all the while adding comfortable touring features. In Europe I received a lot of compliments on it from all sorts of motorcyclists. If anything, it looks fierce.

A highly appreciated change Ducati made was the simplification of the cluster and its controls. But the changes to the main instruments don’t just end with the appearance of the cluster; the actual main display featuring your tachometer, speedometer and more basic information moved from traditional LCD technology to a true transflective LCD. Transflective LCD technology is fairly new, and has a serious advantage on motorcycles: it is incredibly bright in sunlight. I found it an incredibly nice experience, as a motorcycle rider that has always preferred traditional gauges over digital displays.

Ducati Mulitstrada 1200s 2015 review (28 of 29)

The cleverness of the instruments don’t end there; if I rode through a tunnel or the sun set, the display inverted its color scheme and became dark, making sure I wasn’t getting blinded by an all-white LCD screen. The cluster also has accommodations for media controls as well as GPS from a Bluetooth-connected phone, but sadly at the time of riding the ‘Ducati Link’ app that enables such functionality wasn’t yet available.

All in all, it added up to one of the best instrument displays I’ve seen on any bike. A bit of a shame is that Ducati has deemed it an extra: the entry-level, less-farkled non-S Multistrada 1200 has a much more basic greyscale LCD instead.


Performance

Coming from the 2014 Multistrada 1200S, the engine has been slightly upgraded: there’s 10 more claimed horsepower on the bike, which is a nice addition in a bike with little to no noticeable weight change.

Ducati Mulitstrada 1200s 2015 review (27 of 29)

A first for Ducati is the introduction of DVT, or ‘Desmodromic Variable Timing’. While variable valve timing has been a thing in cars for a while, Ducati has debuted it in its Multistrada — arguably to improve its engine character and performance on the lower end of the power band in first gear, while also improving the fuel economy. Bundled with the most advanced engine Ducati has put out yet are a host of electronic systems: an Intertial Measurement Unit (IMU) coupled with ABS, which can adjust braking power and application even while the bike is leaned over while maintaing stability.

Things get even crazier: the IMU can send data to the on-board computer so that as you lean the bike, the headlights automatically light up more of the turn you are turning into. It’s kind of insane when you experience it, and yet incredibly easy to get used to. The lights themselves, regardless of where they were aiming, seemed good at their job. If anything, a bit too good: by EU spec, seemed rather bright and aimed a bit high; I often got flashed by oncoming cars at night, which made me double-check if my high beam was on. (it wasn’t)

Throttle is ‘ride by wire’, which means that almost every aspect of the engine character and throttle response can be controlled by the computer. This enables the four riding modes, but also the sub-settings of each which you can tweak if you’d be so inclined. Features include Ducati Wheelie Control, Traction Control and about a dozen more settings. I played a bit with the basic settings, but found myself often staying with the ‘Touring’ setting which strikes a good balance of control, performance and comfort.

I did have moments, however, where it felt a bit like the ‘ride by wire’ created a bit of a disconnect between my inputs and what the bike was doing. It was a bit jarring, and it’s hard to put my finger on exactly when it kicked in, but perhaps I am simply too used to a Ducati being a bit aggressive and raw in its performance. The Multistrada felt — at times — a little too smoothed, as if the computer tried to average my inputs rather that respond to them. Something that could be fixed with adjustments of the many settings on board, possibly — but I found it apparent even in the supposedly untamed ‘Sport’ setting.

Ducati Mulitstrada 1200s 2015 review (17 of 29)

The bike is tall, as many bikes in its class, but thanks to its narrow, sculpted seat which is practically carved into the shape of the bike, it is easy to reach the ground. It’s certainly shorter than the comparable Triumph Tiger or BMW GS bikes in its class, in part thanks to the seating position putting you ‘in’ the bike rather than ‘on’ it. It makes for a well-planted position that lends itself well for aggressive cornering as well.

Touring

While the views expressed in this review are exclusively my own, the touring comfort aspect was also tested by my girlfriend in Europe who rode on the back. Pillion provisions are exceptional with the factory luggage option: the top hard case has a little back rest for your passenger, and the general geometry of the bike is such that your passenger will have a ton of space behind you to sit and move around.

After about three weeks of riding around Europe, we both reached the judgment that the Multistrada was easily the most comfortable bike we’d toured on. In its ‘Touring’ riding mode with full adaptive electronic suspension and the stock seat, it was no issue riding on it all day long. If you feel like it, you can even adjust the height of the seat.

Ducati Mulitstrada 1200s 2015 review (9 of 29)

The seat may be a bit secondary, though: it became instantly obvious how much comfort the suspension provides when I turned off the ‘Touring’ mode and switched to ‘Sport’ for a day. My butt was seriously hurting – I almost felt like it was bruised. Back to ‘Touring’ and the DSS (Ducati Skyhook Suspension) adaptive suspension made it nice and comfy again and my behind took the subsequent kilometers in stride.

Stock, the bike comes with a windscreen and hand-guards; the handguards, like the Ducati Hypermotard, have integrated turn signals which clean up the bike’s appearance nicely.

Ducati Mulitstrada 1200s 2015 review (8 of 29)

Other niceties are the one-hand adjustable windscreen and cruise control. While these are pretty standard features on a serious touring bikes, the implementation was superb. Compared to the equivalent BMW 1200GS — possibly the current highest-selling touring bike — the cruise control and windscreen controls were simpler and easier to use.

Ducati Mulitstrada 1200s 2015 review (10 of 29)

As a cherry on top of the almost-Science Fiction levels of technology in the new Multistrada, the bike comes complete with a keyless ignition system. There’s a key in case you need it, but much like modern cars you can just keep the key in your pocket and hit the starter to take off. It even automatically locks when you walk a certain distance away from the bike.

Luggage

A touring bike isn’t a true touring bike without solid luggage options. In the past, Ducati offered a standard touring kit with hard panniers and this year’s model is no different. The case set is made by Givi and consists of a hard top case and side panniers.

Ducati Mulitstrada 1200s 2015 review (20 of 29)

While I am told it has been improved from the last year’s set, the Givi cases still fall short in several places. The side cases are side-loading, which means you have to open them up with the lid facing outward instead of being able to load them from the top. This usually results in most of your stuff falling out, even if you use the internal stowing straps. While likely a limitation of the ‘aerodynamic’ profile of the panniers, it’s just a deeply impractical design for more than minimal touring.

The aerodynamics of the cases is nice, but the general aesthetic is reminiscent of the hard luggage often seen on scooters, and clashes with the overall aggressive styling of the bike.

L1030122

Fortunately there’s plenty of aftermarket luggage options available by now — though, do check fitment, as luggage mounting points have changed from the 2014 to the 2015 Multistradas.

Conclusion

Modern sport-touring bikes have departed from the mid-90s notion of being heavy and bulky thanks to Ducati’s practical reinvention of the category with its aggressively road-oriented Multistrada. With the 2015 1200S model, it adds enough features, technology and comforts to make BMW owners swoon — and the Bavarian company too, perhaps, as it recently entered the market by introducing its S1000-XR Multistrada-lookalike. However, Ducati shows its future vision in the new 2015 1200S: it is a solid update to an already impressive bike.

Ducati Mulitstrada 1200s 2015 review (6 of 29)

Whether or not the Multistrada is for you depends on what you want out of it. If you want the sheer, raw power and pleasure of a Ducati that is unforgiving, demanding and forces you to become a better rider, it is possible to work your way through the complexities of the Multistrada and peel down the layers of technology to reveal that yes, indeed, there is a high-powered race bike hidden in there.

But you shouldn’t — what this bike is perfect for is those people who want to take their time exploring well-paved parts of the world while still feeling like they are riding a sporty, aggressive bike that corners fantastically.

Where the BMW 1200GS is the motorcycle equivalent of a pocket knife, the Multistrada is designed for a specific purpose, much like a chef’s knife: touring the highway and carving the civilized, tarmac mountain and coast roads of Italy and beyond, where it will never fail to give you a comically big grin all day long.


Thanks for reading!


Categories
Travel

Riding South

Our new adventure

After our ride to the extreme end of the road in the Northern hemisphere last year, we are now gearing up to ride our bikes to the Southernmost part of the American continent: Patagonia. We intend to ride our bikes completely from San Francisco to Ushuaia, Argentina, coming as close as we possibly can of the South Pole by motorcycle.

This epic ride will take is through all of Central America and South America, and has required significant preparation and training. We’ll be departing as soon as late November, and intend to ride the entire way save for the small interruption of the Darien Gap. We may suspend our ride at times to return to San Francisco for short periods of work before resuming the trip so that we can explore the area we cover without being rushed.

ride south map

Plenty of preparations are in full swing at the moment, as we are preparing our bikes and rounding up our packs. I will be changing bikes this time around: riding to Alaska on a street bike was one thing, but Latin America is not quite the place to bring a Ducati SportClassic. We’re also changing around our camera and lens setups, so expect posts on that as we get closer to our departure date.

Follow our preparations here, and enjoy the ride updates as they happen!


Thanks for reading!


Categories
Gear Reviews Travel

Internet on the road: Google Fi

Staying connected abroad has gone through a few distinct phases. Initially, the way to push content to the internet from another country was by finding an internet café, internet connected hotel or other hosts that had a computer you could use. As technology improved, Wi-Fi became fairly commonplace even in less developed countries, people started traveling with laptops (and eventually, even updating or staying connected with phones and tablets).

It’s interesting to see that increasingly, this Wi-Fi is becoming increasingly congested or only available for a fee, while cellular data networks are getting built out and improved across the world. A decent internet connection is now practically ubiquitous in urban areas on Earth, and even pretty far outside of densely populated areas one can find a decent GPRS / 3G signal.

ap_resize.php

Enter Google Fi. For US residents, Google Fi seems like a pretty sweet deal. Similar to T-Mobile US, Google Fi offers you a fixed fee ($10) per GB of data used abroad. Switching countries doesn’t incur additional charges; it’s simply added up on your bill. In my trip across Europe, I uploaded photos, worked remotely, and even streamed video; I used 2 GB of data in that month through my phone.

It was incredibly useful for navigation and staying in touch.

L1020842

The phone — back then, only the Google Nexus 6, now also the Nexus 5X and 6P* — can share the data connection with my laptop, tablet and other devices, and at the end of the trip I was neatly charged only for 2 GB.

How’s the coverage, you ask? Overall, I found Google Fi’s roaming partners to be excellent. Throughout Europe, there was hardly any dead spots, and I usually got full 3G / 4G service. I haven’t been able to test it outside of Western Europe yet, but the results are encouraging.

What’s the catch? Well, there’s a few. For now, Google is limited to a few phones — though, this can be circumvented with some minor fiddling (* see footnote). The Nexus 6 was the biggest drawback of Google Fi as I was using it. Personal preferences aside (I find it outlandishly huge, even as a big dude), the phone ran out of battery in half a day and apps on it often crashed, losing directions while on the road. At times the whole thing randomly restarted.


Google Fi also requires you to pay for a ‘basic plan’: it’s not just data, but also a phone line. On the plus side, apart from that base monthly fee, you only pay for what you use: so if you used only 1 GB (domestically) one month while you usually use 3 GB, you pay less that month.

Another major issue is that for some puzzling reason, some verification text messages simply won’t be delivered to your phone. This can be simple two-factor authentication messages like Twitter or Apple’s, but also Bank of America’s ‘SafePass’ system for securely transferring large sums of money. There is a list on the Google Fi subreddit of working and broken services. Until this is fixed, Google Fi is little more than a nice travel hotspot that is neat but ultimately unreliable.
 

Verdict


I found Google Fi to be a great service in its general setup and usability. The initial experience of receiving your welcome package is very nice, US coverage is good and customer support is excellent. On the road and abroad, it performs spectacularly for getting internet in most places. Until the issues with disappearing text messages and phone compatibility are ironed out, however, I wouldn’t rely on it quite yet.


* in the US, Google Fi intelligently swaps between the T-Mobile and Sprint networks for improved coverage. Apparently, this requires some special hardware in the phone (a modem with support for all frequency bands, and possibly a particular baseband firmware).

However, once abroad, you can simply pop the Google Fi SIM card in an iPhone and it’ll work absolutely fine after tweaking some settings. I was able to use data, call phones and receive and send text messages just fine in France and Italy on Fi with an iPhone 6.


Thanks for reading!


Categories
Travel

Tips: Europe by Motorcycle

Riding your motorcycle abroad can be a daunting experience, particularly if you are just not used to the changes in driving style and general traffic rules. With these few tips, you can take a lot of the stress out of riding and focus more on enjoying the incredible scenery, food and people of Europe.

1 – Mind Right of Way

In the United States, you can get quite used to everything being explicitly explained in signage. Not only will you find this to be quite different in Europe — signs are often set in pictograms so they can be understood by people of various linguistic backgrounds — but there’s also situations in which there simply aren’t signs.

Rightofwaysign

Right of Way is often shown through street markings at an intersection. The general rule, even without these markings, is that whatever vehicle approaches from the right (your right) has the right of way. Keep this in mind when you come to an ambiguous traffic situation. Stay safe, and always look for markings on the street and not just on signs when you are confused.


2 – Be smart about speed

Screen-Shot-2015-10-19-at-5.43.09-PM.png

While Ride Earth certainly doesn’t condone illegal behavior, U.S. Interstate highways are fantastic places to speed. While the Highway Patrol is active, there’s no great fear of automated speed traps, cameras and other checks. You’ll find Europe, particularly the Western EU member states, to be far less lenient on speeding.

On many highways in France, the Netherlands, Germany (yes, even Germany), Italy, Spain, Belgium, and Denmark there are speed cameras installed that will measure your speed and snap a photo of your license plate if you exceed the posted limits. This is fairly straight forward, and the cameras are often marked as such. Be aware of other highway traffic abruptly slowing down to ensure they don’t get ticketed for speeding; a slow day slabbing it on the highway can reduce your attention on the road and you’re certainly at fault if you park your bike into the back of one of those cute, small European hatchbacks.

A newer type of speed control is called ‘Trajectory Control’ or SPECS, where an entire stretch of highway is used as a track to measure average speed. The method is simple; you merge onto a highway and at a certain overhead post your license plate is scanned. Several kilometers down the road, it is scanned again, and computers derive your speed based on the time you took to travel from one scan point to the other. If your average speed was even a few kilometers above the posted limits, you get a fine.

The name for this type of impossible-to-circumvent speed control varies per country; in Italy, you can see Italian signs mentioning ‘Tutor’ or ‘Safety Tutor’, whereas in the Netherlands and Belgium it is called ‘Trajectcontrole’, and finally, Austria labels it ‘Section Control’. As of this writing, those countries (as well as the UK) are the only ones using these systems.

Speed limits can and do change per country, so be aware of what the limit is in the country you are in! Look for these signs at the border:

Screen Shot 2015-10-19 at 5.42.05 PM


3 – Split lanes and filter

 
Unless you are from California, it may be quite an adjustment to you to split lanes and filter. Not only is it legal in Europe, but it is expected of you in most places. Only Germany has restrictive legislation when it comes to motorcycle lane splitting; you may filter (that is, move past traffic which is at a standstill) but not split when traffic is moving. Elsewhere, you are welcome to split at speed.

Remember to stay safe while splitting lanes. A good speed is 10-20 km faster than traffic. Many riders in Europe turn on their turn signals or hazard lights as they split for increased visibility. It’s possible you come to a place where you cannot progress further due to a lack of clearance, in which case it’s perfectly OK to just sit between cars for a little bit.

In general, you’ll find people have a more relaxed attitude towards traffic rules with motorcycles and scooters, and police generally condone ‘grey area’ behavior. In most Southern parts of Europe (Spain, the South of France, Italy) you’ll find it is very commonplace to park motorcycles and scooters on open areas in public places. Inner city roads, which typically do not allow the use of cars are open to motorcycles as well. A good rule of thumb is to observe what other riders do or even ask them what is locally acceptable.


4 – Adapt to local driving culture

 
Speaking of more relaxed attitudes towards traffic rules, it may be a bit of a culture shock to ride in places like Italy and Spain where the rules of the road are taken as a gentle suggestion rather than law. In Central / Southern Italy in particular, you’ll find it common for scooters, motorcycles and even cars to pass quickly in blind turns, overtake two abreast or do other maneuvers that are considered dangerous in the US.

L1020650

While they are certainly more dangerous and it’s not recommended to ride your bike like all the locals, where there is a different driving style, drivers also make different expectations and anticipate these types of situations. I found that passing on tight coastal roads with less clearance was at times safer than in California, as people actually pay attention to the possibility of oncoming traffic close to their lane.

Various places have different driving cultures, and you should take care to observe it. In Europe, the Northern countries tend to have a more relaxed and by-the-book attitude when it comes to driving, whereas near the Mediterranean you are expected to be assertive and at times even aggressive. Expect people to split your lane even when you aren’t sharing it; cars will pass you on highways without giving you excess space. Adapting to this is crucial to staying safe while you travel.


5 – Avoid toll roads

Roads in Europe are, in my experience, often stellar. A lot of the budget for road maintenance comes from access control in the from of tolls. If you travel far through a country, they can add up to a pretty significant cost. While motorcycles often get a discounted rate, I have paid over 20 euros in a day to toll roads at times.

L1040624

However, the greatest cost of toll roads is missing some of the most beautiful roads in Europe. The best way to experience the countries and varied nature and sights is to get off the main roads. Michelin produces excellent (paper) street maps with scenic roads highlighted in yellow. These roads are toll-free, often curvier, well-maintained and will only add a few hours to your day at most. When in doubt, take back roads and find yourself some local history and cuisine.

On top of these tips, I highly recommend verifying traffic laws beforehand and make yourself familiar with notable exceptions. This website has good resources for a few notable European countries and general rules and tips.

Feel free to leave questions about riding in Europe in the comments, and ride safe!


Thanks for reading!


Categories
Travel

What is Ride Earth?

Welcome to Ride Earth! Ride Earth is a website founded by Sebastiaan de With and Stuart Philkill focused on adventure travel, motorcycles and photography.

After our highly shared “Ride North” in 2014 where we rode our motorcycles to the Alaskan Arctic, we decided to create an outlet for our ongoing travels where we can both chronicle our own adventures as well as help others go on trips of their own, by giving out tips and advice from ourselves and seasoned adventurers as well as opening ourselves up to any questions from our growing reader community.

Whether or not you are a seasoned traveler or someone curious about motorcycle travels, we hope to offer something for you.

Ride Earth doesn’t end there. There has never been a time where more products for travel and adventure have been offered for our consideration, and we hope to use this website as an avenue where you can read how this gear holds up under the pressure of taking it on real trips with actual, heavy use and abuse. We’re both absolutely crazy about gear, and we translate that into some pretty serious and honest reviews. You can read Sebastiaan’s Leica M review — in which he practically drives a full-frame digital rangefinder camera into the ground — to see what that entails!

Finding if an item truly lives up to its potential is only provable when taken on the trail or on the road, and we intend to give you an honest look into how our current (and the latest!) gear holds up.

Ride_North_Stus_pics-144

The Ride Earth team currently consists of Stuart Philkill and Sebastiaan De With – two friends with a huge passion for motorcycles, photography, adventure and the gear that enables our adventures.

Stuart Philkill

 
Ride_North_Stus_pics-202

 
Stuart’s interest in photography began as a child. He would play with everything he could find: from disposables to his father’s Nikon SLR. After a degree in biology left him with a future in a lab, he decided to take advantage of his youthful freedom and explore a creative career. 8 years later he is a freelance cinematographer and photographer. He began riding a motorcycle when he moved to the city for university. Originally it was the utilitarian advantages that appealed to him, be he quickly found that they’re incredibly fun to ride and it seems girls like them too. His combined passion for both cameras and motorcycles has led to opportunities exploring the world and capturing every possible moment.

Sebastiaan de With

 
Ride_North_Stus_pics-169

 
Sebastiaan de With is a hired-gun designer, photographer and explorer from the Netherlands. He moved to San Francisco four years ago and has been exploring the American continent non-stop since. He loves European bikes, and his deep love for Ducati motorcycles still shows whenever a good-sounding V-twin comes around a bend. He does all the design and implementation of Ride Earth and does design work full-time at his design agency, Pictogram. He currently rides a BMW HP2.

Thanks for reading Ride Earth! You can support us by following us on your social media of choice and signing up for our email updates. We promise we’ll only share our very best adventure stories, photos and reviews with you. Plus, as we have just launched, we’ll be giving away some goodies before we head to South America!


You can contact us by email here.

Thanks for reading!